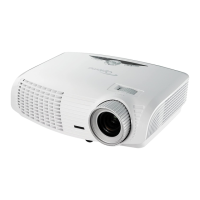
Refer to the “Power On/Off the Projector”
section on pages 13-14.
Adjust the brightness of the image.
Control the degree of difference between
the lightest and darkest parts of the picture.
Shifts the projected image position horizon-
tally.
/
Adjust image distortion horizontally and
makes a squarer image.
/
Adjust image distortion vertically and
makes a squarer image.
Press “Zoom” button to zoom in and zoom
out of image.
Select the display mode from Cinema,
Bright, TV, sRGB and User.
Press “Menu” to launch the on-screen
display (OSD) menu. To exit OSD, Press
Use to select items or make
adjustments to your selection.
Confi rm your item selection.
Mask off a few pixels on each edge of the
image to be displayed. Use this function
to adjust if image source happens to have
noise near any edge of the display image.
Scale the image at a 4:3 aspect ratio.
Scale the image at a 16:9 aspect ratio.
The input source will be displayed without
Enable the viewing of the letterboxed non-
anamorphically enhanced movie at full
screen width. Part of the original image will
be lost if the image aspect ratio is less than