Please note that
damage resulting from
incorrect installation
will invalidate the war-
ranty.
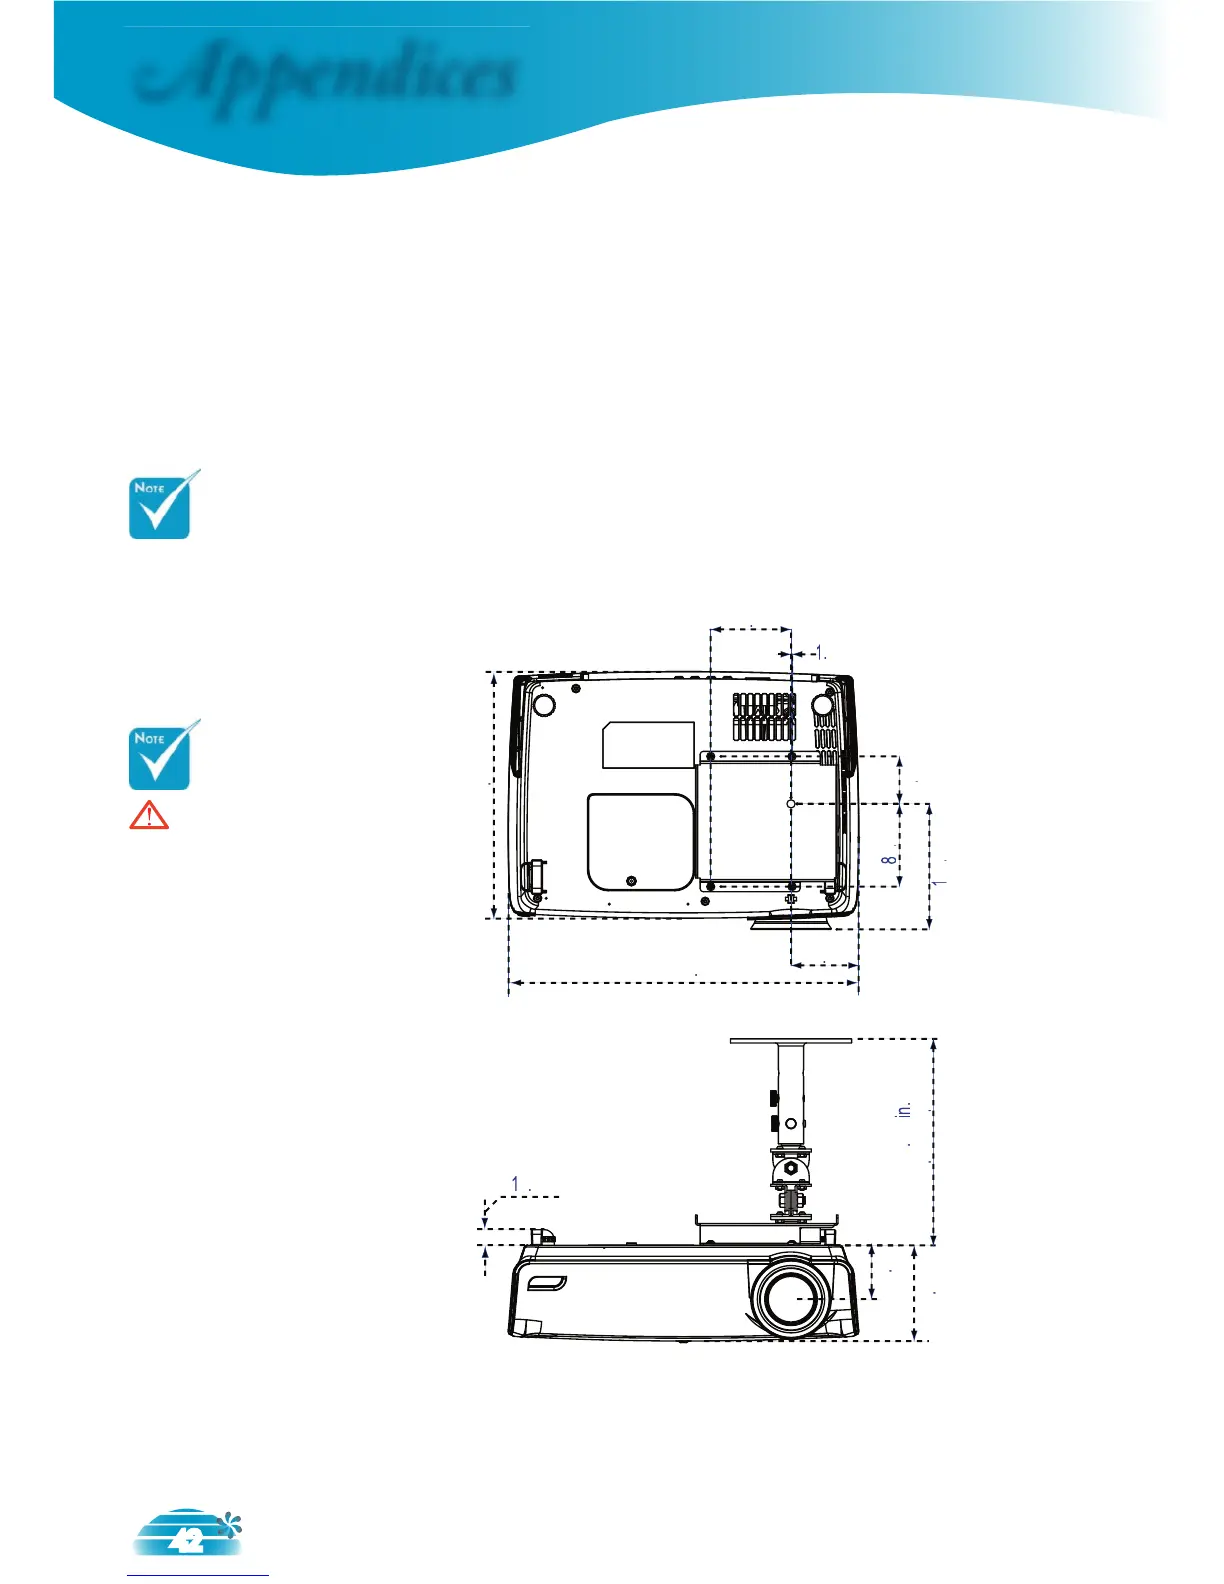
Ceiling Mount Installation
1. To prevent damaging your projector, please use the ceil-
ing mount package for installation.
2. If you wish to use a third party ceiling mount kit, please
ensure the screws used to attached a mount to the projec-
tor met the following specifi cations:
Screw type: M3
Maximum screw length: 10mm
Minimum screw length: 7.5mm
Warning:
1. If you buy the ceiling
mount from other com-
pany, please ensure
that there is at least
10cm distance between
the bottom cover of
the projector and the
ceiling.
2. Avoid placing the
projector near sources
of heat such air-con-
ditioning units and
heaters otherwise it
may overheat and shut
down automatically.
3. Ceiling mounting
shall be mounting on
metal or concrete.