B
NO
C
D
E
A
5
5
1
F
4
1
4
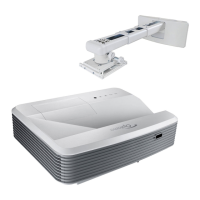
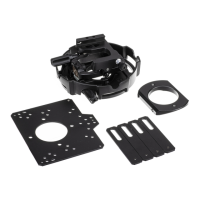
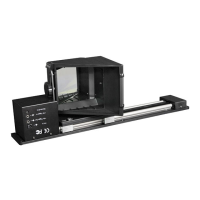
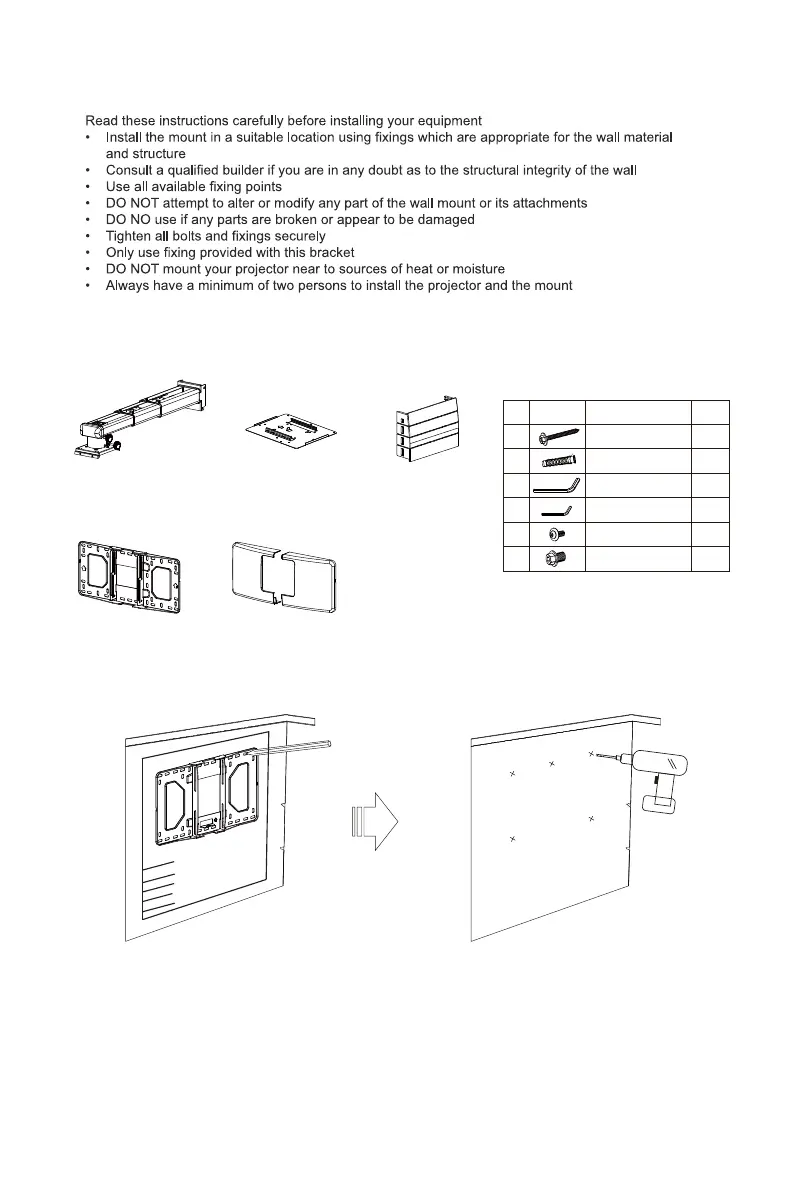
Support
Arm
x
1
Wall Plate x 1
Projector Mounting
Plate x 1
Wall Cover x 1
Wall Plate Cover x 1
diagrammatic
presentation
quantity
Screw
(M6x55)
Αnchor bolt
L5 Allen key
L3 Allen key
Screw(M4x8)
Screw(M6x15)
Package Overview
Step 1: Attach the wall plate to the wall
● For concrete wall mounting, thickness of the wall must be not less than 4'' (100mm). Anchor bolt and
screw (M6x55) are needed to be used for concrete wall installation.
● For Dry-wall mounting, thickness of the dry-wall must be not less than 4.5" (114mm). Only screw (M6x55)
is needed to be used for installation, and gypsum board thickness less than 0.59" (15mm).
Note: If the thickness of wall is not strong enough, reinforce it sufficiently before installation.
Specification
2
Fixing Kit
● If the board has been installed, please align the center line of the projector lens on the installation chart with
that of the screen or board to the locate the place of the mount period.
10
8
0P(1
920
x108
0)
Safety
 Loading...