12
• Press ON “X” MIN to water those stations for the desired
(“X”) number of minutes.
To Cancel Remote Control Device Operation
and Return Control to Timer:
• Press the OFF/CLEAR button on the Remote Control Device.
This cancels any current commands from the device
and returns control back to the timer.
Section 5: Using the Optional
Rain-Freeze Sensor
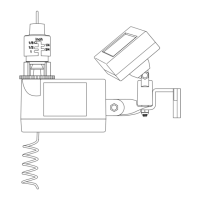
An optional rain-freeze sensor can be purchased separately to
prevent programmed watering for a specied period of time
after rain falls or during periods when temperatures fall below
a specied temperature. The sensor has settings for RAIN, OFF
and RAIN/FREEZE. Please refer to the manual that accompanies
the rain-freeze sensor for installation and programming instruc-
tions.
NOTE: The rain-freeze sensor will function only when the selection
dial on the timer is turned to AUTO.
Section 6: Installing Indoor Mount
Sprinkler Timer and Remote
Control Device Sleeve
NOTE: Before installation, please have the following tools on hand:
• Phillips screwdriver
• Wire strippers
Installing the Sprinkler Timer
in Five Easy Steps
1. Select a Location
Select a location with the following criteria:
• Near an electrical outlet. (Avoid using an outlet controlled
by a switch.)
• In a dry, indoor location, where operating temperatures
are not below 32° or above 122° Fahrenheit (below 0
degrees or above 50 degrees Celsius).
• Not in direct sunlight.
• Accessible to sprinkler wires from valves.
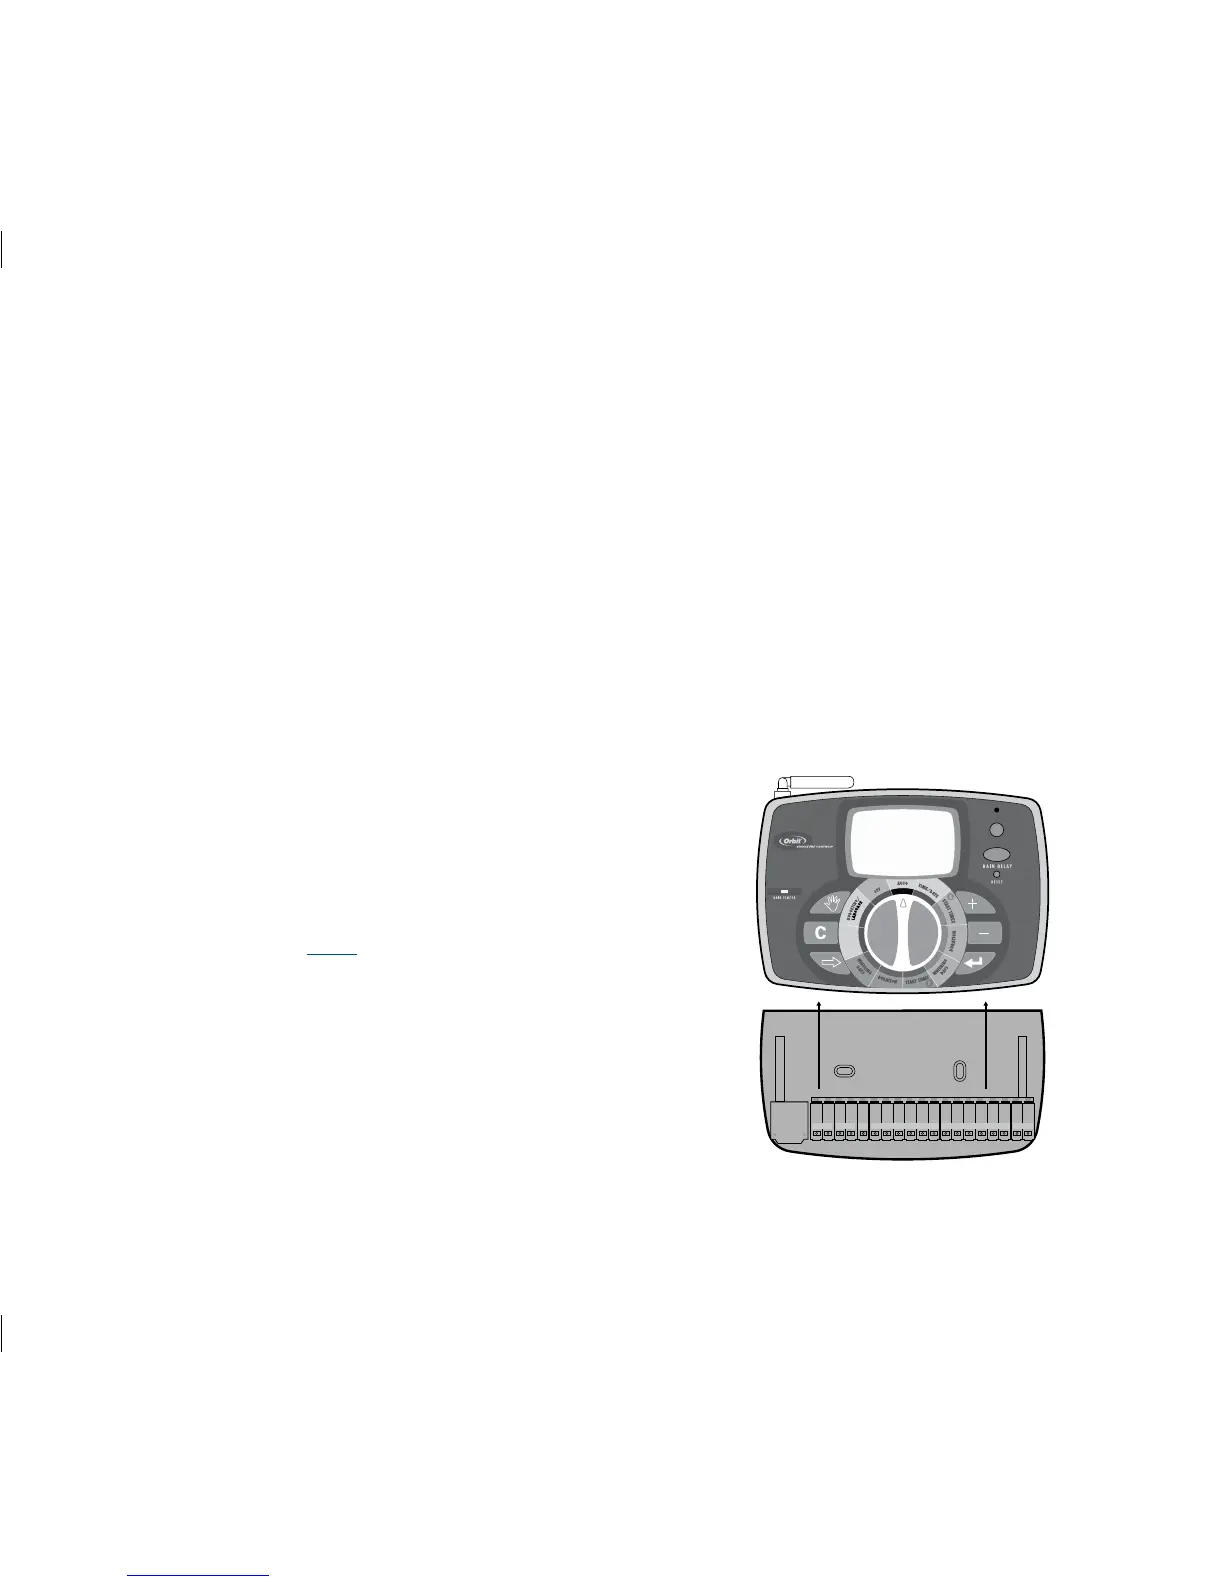
Figure 3: Mounting the Docking Port



 To Next Page