118
UTILISATION
118
INSTALLATION
MĂSURI DE PRECAUȚIE
CÂND PUNEȚI ASPIRATORUL ÎN BAZINUL DE ÎNOT, AERUL DIN INTERIORUL
ASPIRATORULUI TREBUIE EVACUAT DUPĂ CUM URMEAZĂ:
INTRODUCEȚI SAU SCOATEȚI ASPIRATORUL DIN BAZINUL DE ÎNOT CU PARTEA
INFERIOARĂ A ASPIRATORULUI ORIENTATĂ SPRE PERETE, PENTRU A EVITA ORICE
ZGÂRIETURI PE BAZINUL DE ÎNOT.
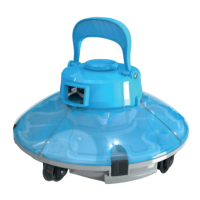
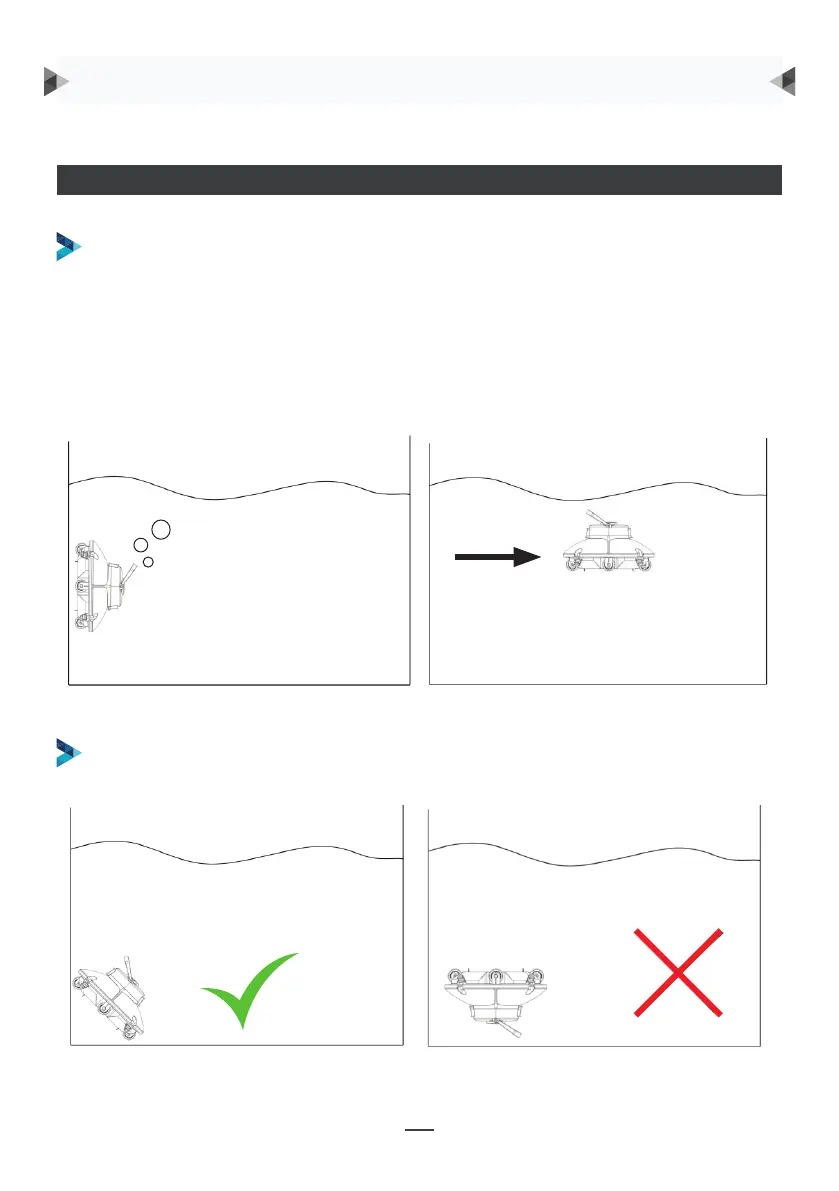
1. Țineți aspiratorul și scufundați-l vertical timp de 5-6 secunde până când nu ies bule
(Fig. 1).
2. Apăsați butonul pentru pornire și rotiți aspiratorul la 90 de grade.
3. Scufundați-l orizontal în bazinul de înot până când un număr mare de bule este
evacuat din duză (Fig. 2).
INSTRUCȚIUNI DE OPERARE
4
IV. Operating instruction
4.1. Precautions
a. When putting the cleaner into the pool, the air inside the cleaner should be discharged as follow:
① Hold the cleaner and submerge it vertically for 5-6 seconds until no bubbles come out (Fig. 1).
② Press the switch button to power on and rotate the cleaner 90 degrees.
③ Submerge it horizontally into the pool floor until a large number of bubbles are discharged from
the nozzle (Fig. 2).
Fig. 1 Fig. 2
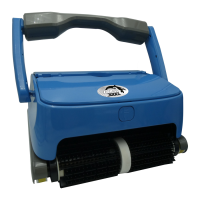
b. Put into or lift out of the pool with the cleaner bottom towards the wall to avoid any possible
scratches to the pool.
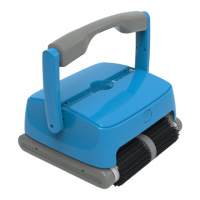
C. Please ensure that the top cover of the cleaner is tightly assembled to its chassis.
4
IV. Operating instruction
4.1. Precautions
a. When putting the cleaner into the pool, the air inside the cleaner should be discharged as follow:
① Hold the cleaner and submerge it vertically for 5-6 seconds until no bubbles come out (Fig. 1).
② Press the switch button to power on and rotate the cleaner 90 degrees.
③ Submerge it horizontally into the pool floor until a large number of bubbles are discharged from
the nozzle (Fig. 2).
Fig. 1 Fig. 2
b. Put into or lift out of the pool with the cleaner bottom towards the wall to avoid any possible
scratches to the pool.
C. Please ensure that the top cover of the cleaner is tightly assembled to its chassis.
 Loading...