134
UTILISATION
134
INSTALLATION
FÖRSIKTIGHETSÅTGÄRDER
NÄR DU SÄNKER NER POOLROBOTEN I BASSÄNGEN BÖR LUFTEN INNE I
POOLROBOTEN KOMMA UT SÅ HÄR:
SÄTT I ELLER LYFT UT UR BASSÄNGEN MED POOLROBOTENS BOTTEN MOT VÄGGEN
FÖR ATT UNDVIKA EVENTUELLA SKADOR PÅ BASSÄNGVÄGGEN.
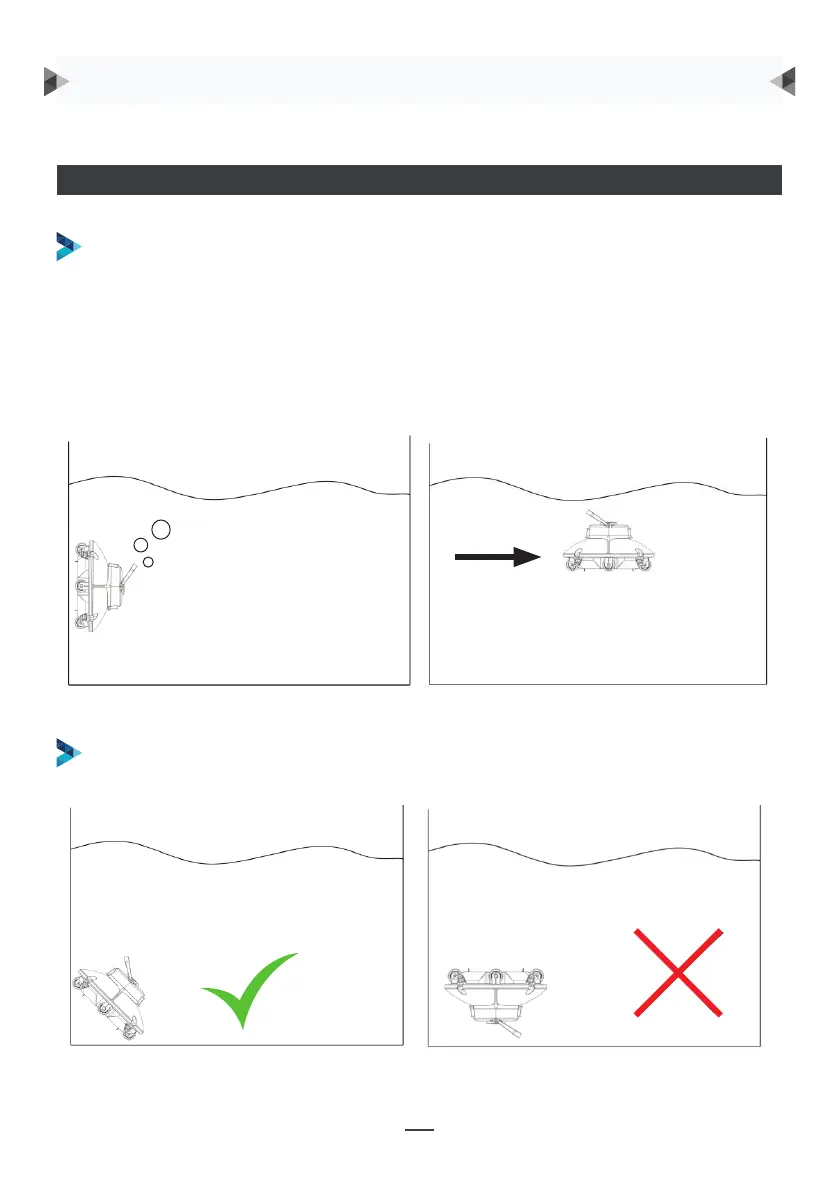
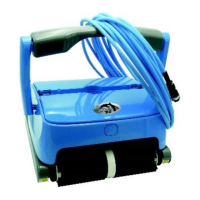
1. Håll poolroboten och sänk ned den vertikalt i 5-6 sekunder tills inga bubblor kommer
ut (fig. 1).
2. Tryck på omkopplarknappen för att slå på och rotera poolroboten 90 grader.
3. Sänk ned den horisontellt mot bassänggolvet tills ett stort antal bubblor töms från
munstycket (fig. 2).
BRUKSANVISNING
4
IV. Operating instruction
4.1. Precautions
a. When putting the cleaner into the pool, the air inside the cleaner should be discharged as follow:
① Hold the cleaner and submerge it vertically for 5-6 seconds until no bubbles come out (Fig. 1).
② Press the switch button to power on and rotate the cleaner 90 degrees.
③ Submerge it horizontally into the pool floor until a large number of bubbles are discharged from
the nozzle (Fig. 2).
Fig. 1 Fig. 2
b. Put into or lift out of the pool with the cleaner bottom towards the wall to avoid any possible
scratches to the pool.
C. Please ensure that the top cover of the cleaner is tightly assembled to its chassis.