6
UTILISATION
6
INSTALLATION
VORSICHTSMASSNAHMEN
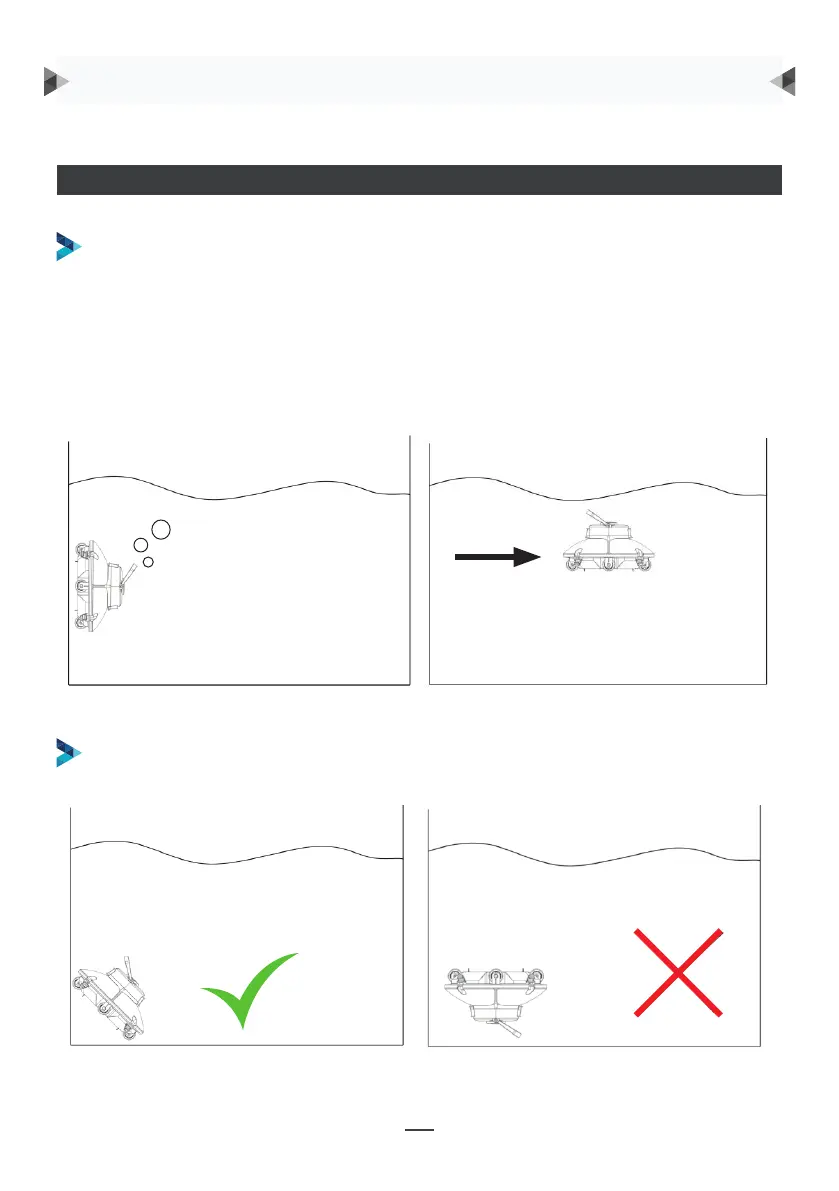
BEIM EINSETZEN DES REINIGERS IN DAS SCHWIMMBECKEN SOLLTE DIE LUFT IM
INNEREN DES REINIGERS WIE NACHFOLGEND BESCHRIEBEN ABGELASSEN WERDEN:
DEN REINIGER MIT DEM BODEN DES REINIGERS ZUR WAND HIN IN DAS
SCHWIMMBECKEN EINSETZEN ODER AUS DEM BECKEN HERAUSHEBEN, UM
MÖGLICHE KRATZER IM SCHWIMMBECKEN ZU VERMEIDEN.
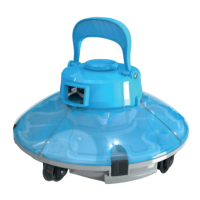
1. Halten Sie den Reiniger fest und tauchen Sie ihn 5-6 Sekunden lang senkrecht in das
Wasser ein, bis keine Blasen mehr austreten (Abb. 1).
2. Drücken Sie den Einschaltknopf, um den Reiniger einzuschalten, und drehen Sie ihn um
90 Grad.
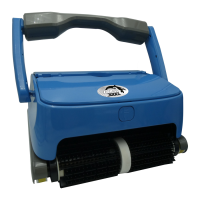
3. Tauchen Sie ihn anschließend waagerecht zum Beckenboden, bis eine große Anzahl
von Blasen aus der Düse austritt (Abb. 2).
BEDIENUNGSANLEITUNG
4
IV. Operating instruction
4.1. Precautions
a. When putting the cleaner into the pool, the air inside the cleaner should be discharged as follow:
① Hold the cleaner and submerge it vertically for 5-6 seconds until no bubbles come out (Fig. 1).
② Press the switch button to power on and rotate the cleaner 90 degrees.
③ Submerge it horizontally into the pool floor until a large number of bubbles are discharged from
the nozzle (Fig. 2).
Fig. 1 Fig. 2
b. Put into or lift out of the pool with the cleaner bottom towards the wall to avoid any possible
scratches to the pool.
C. Please ensure that the top cover of the cleaner is tightly assembled to its chassis.
 Loading...