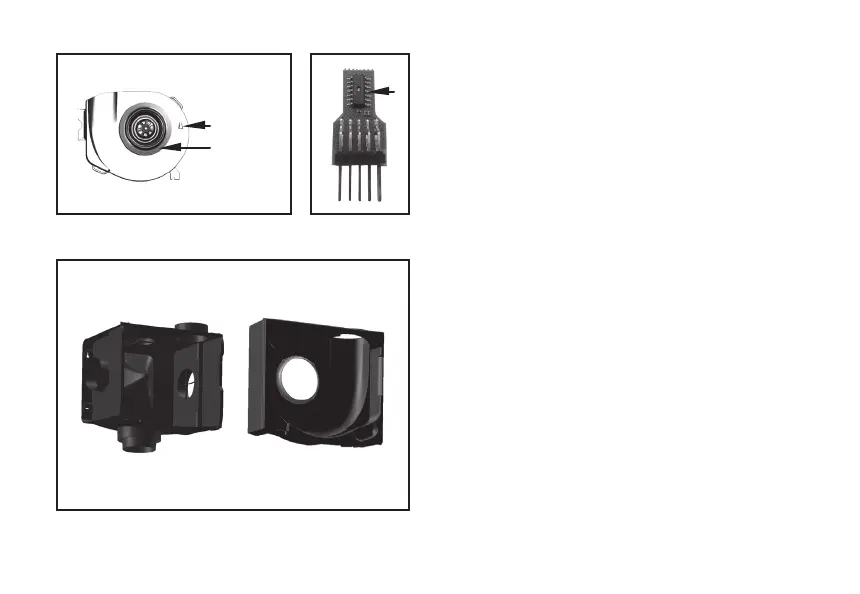
Humidity sensor maintenance
The humidity sensor (g. 11 and g. 12) can be cleaned with
a dry brush.
Removing and installing volute
The volute can be detached from the suction plenum by
gently pulling it out. You can now clean the suction plenum
(g. 13).
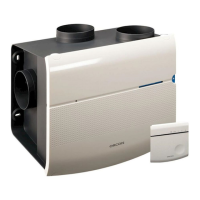
Indication LED on the device
The green LED on the receiver PCB indicates the scenario
status of the MVS-15RH. When the LED repeatedly ashes
green once, the MVS-15 is operating normally. If the
LED repeatedly ashes green twice, the MVS-15RH is in
position 2 or 3 due to increased humidity levels. If the LED
repeatedly ashes green three times, the MVS-15RHB CO
2
is in position 2 or 3 due to increased CO
2
levels. If the LED
repeatedly ashes green four times, the MVS-15RHB is in
position 3 due to the timer scenario.
A short orange ash indicates that a signal has been
received from a CO
2
room sensor or remote control. The red
LED indicates a fault code on the device.
Fig. 11 Motor Plate with motor and humidity
sensor
Fig. 12 Humidity
sensor
Fig. 13 Plenum box with volute and inlet ring
Motor
Humidity
sensor
14