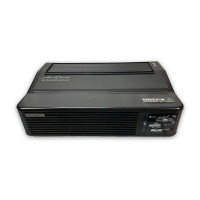
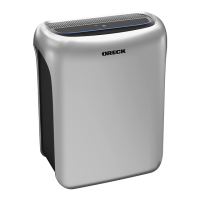
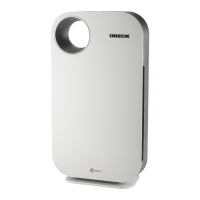
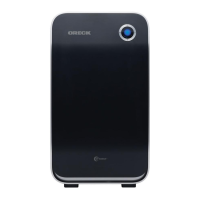
2. Control Section removal 4 screws accessed from the
inside of the unit must be removed. This may be easier if
you flip the unit over on its Top. This position will also make
the Power Section more accessible.
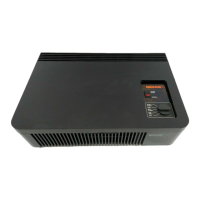
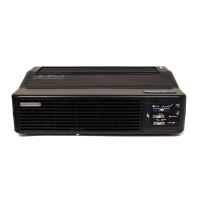
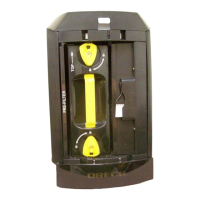
Cell Sense
Switch
PCO Module
Sense Switch
3. Power Section removal-Remove the 4 screws
indicated.
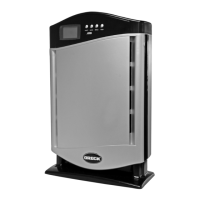
4. Grill removal-With the Control and Power
Sections removed the Grill attachment screws
are Available for removal: 4 screws per grill, 2 at
the top and 2 at the bottom.
If you remove either grill keep in mind that
when reinstalling, the end of the grill with
the deep ribs is down and the end with the
shallow ribs is up.
5. Back Cover removal-Normally the back
cover will not need to be removed. If removal is
necessary then remove the 6 screws indicated.
11
 Loading...