GB
4
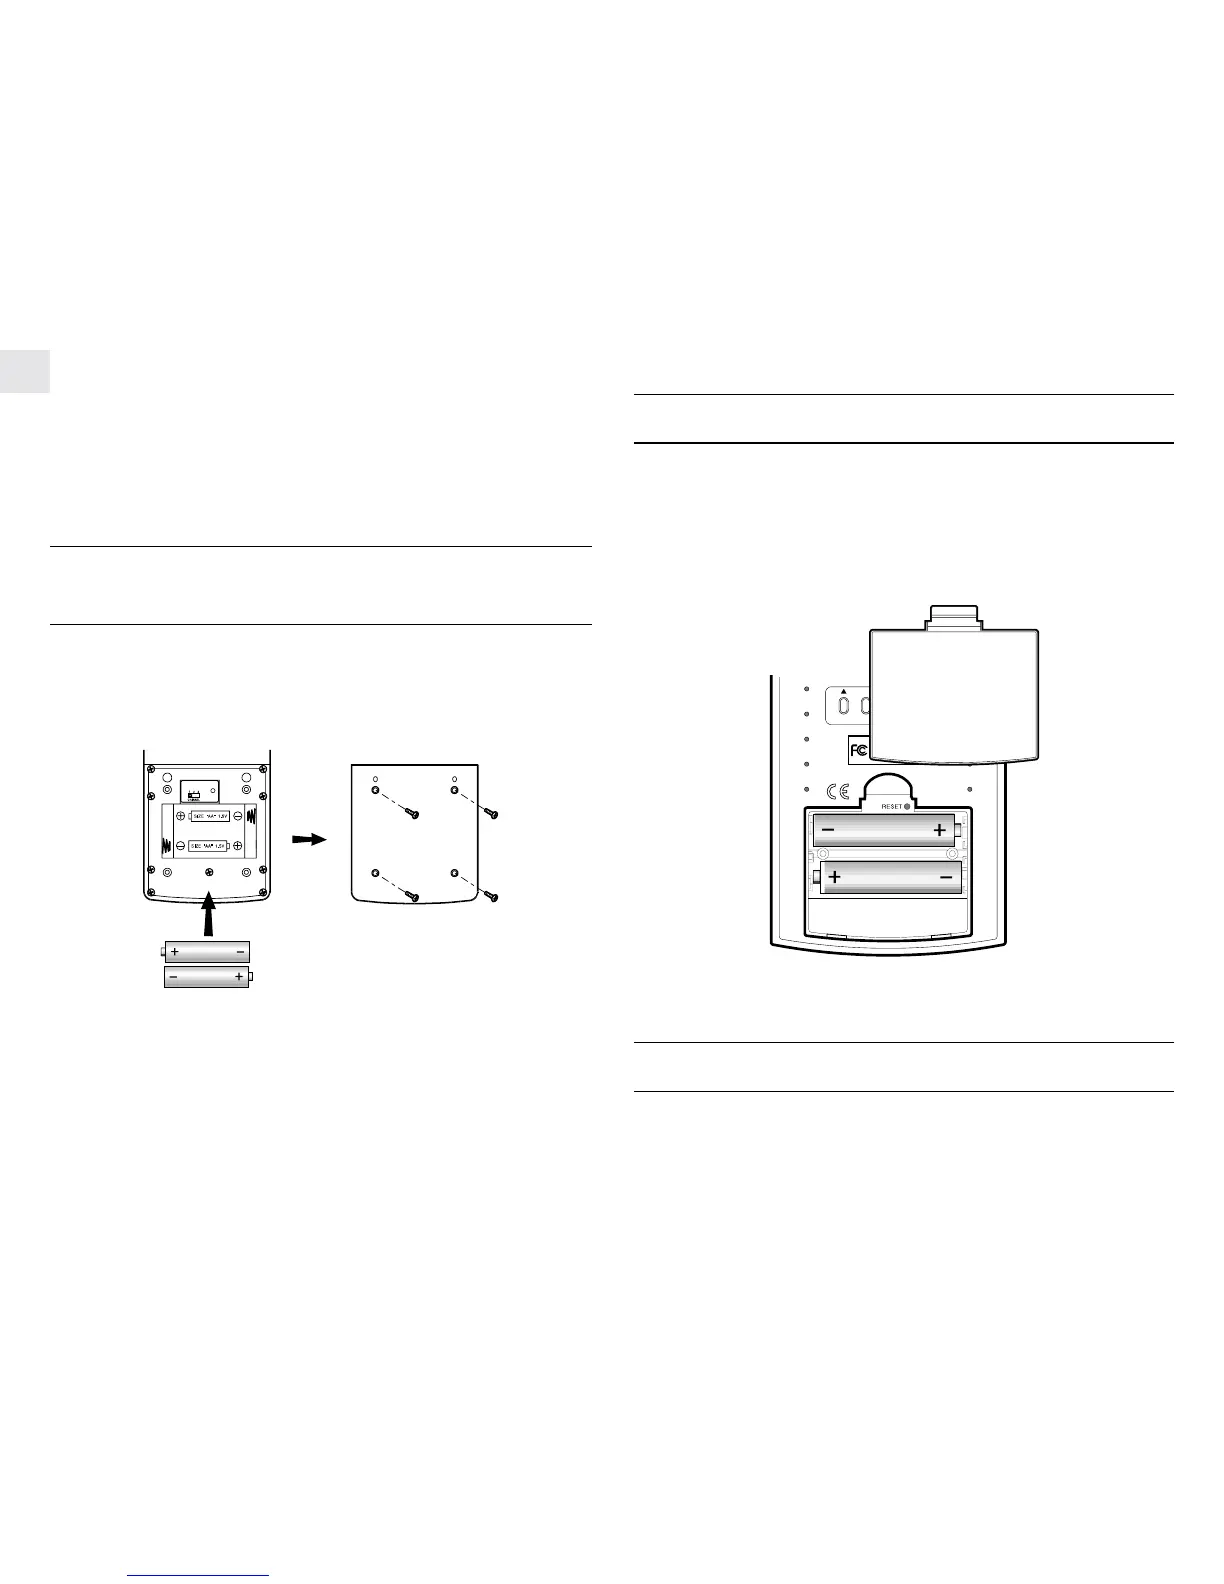
MAIN UNIT BATTERY INSTALLATION
1. Gently lift the tab on the battery compartment door and
remove door.
2. Install 2 AA (UM-3) size alkaline batteries according to the
polarities as shown. Press [RESET].
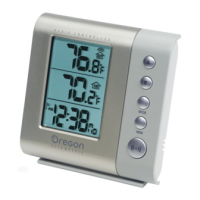
ZONE
Remote Thermometer
FOR HOME OR OFFICE USE
3. Replace the battery compartment door.
LOW BATTERY WARNING
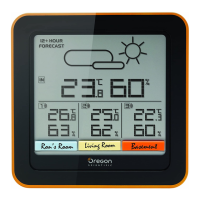
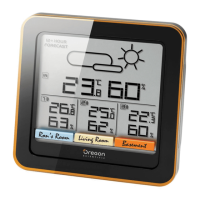
The RMR-166 features low battery warning icons for the main
unit and remote sensor(s). The main unit low battery warning icon
will be displayed on the second line of the LCD screen. The low
See “Wireless Transmission” for important information about
wireless data transmission.
NOTE: Although the remote sensors have been designed for out
door use, do not place the remote sensor in direct sunlight,
rain or snow.
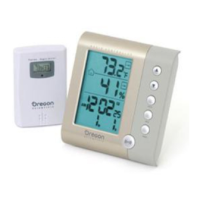
REMOTE SENSOR BATTERY
INSTALLATION & CHANNEL SELECTION
1. Remove the screws on the battery compartment door.
2. Using the [CHANNEL] slide switch select the channel num-
ber of 1, 2 or 3 for that remote sensor..
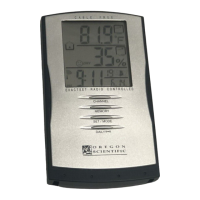
RESET
3. Insert 2 AA (UM-3) size alkaline batteries according to the
polarities as shown. Press [RESET].
4. Replace the battery compartment door and secure the screws.
NOTE: Once a channel is assigned to a remote sensor, it can only
be changed by removing the batteries or resetting the unit.
 Loading...