CONNECTION CONNECTION
Connecting Speakers
Using The Pre-Amp Outputs
The Connect and Operate pages below refer to the MAX12. Both the MAX8 and Control12 connect and operate in the
same way. The only difference being that the MAX8 only has 4 stereo zone outputs and the Control12 has no speaker
outputs just pre-amp outs.
Connect & Operate
Before you begin to install the NERO MAX or CONTROL it is important to implement good installation practices:
1. Make sure that AC power is disconnected before making ANY connections to the main unit and attached devices.
2. Install in a well ventilated environment.
3. Ensure any vents are not blocked to allow for proper circulation.
4. Do not install above or below sources of heat.
5. Use good quality cabling.
6. The unit may be installed in a rack using the provided rack mount ears.
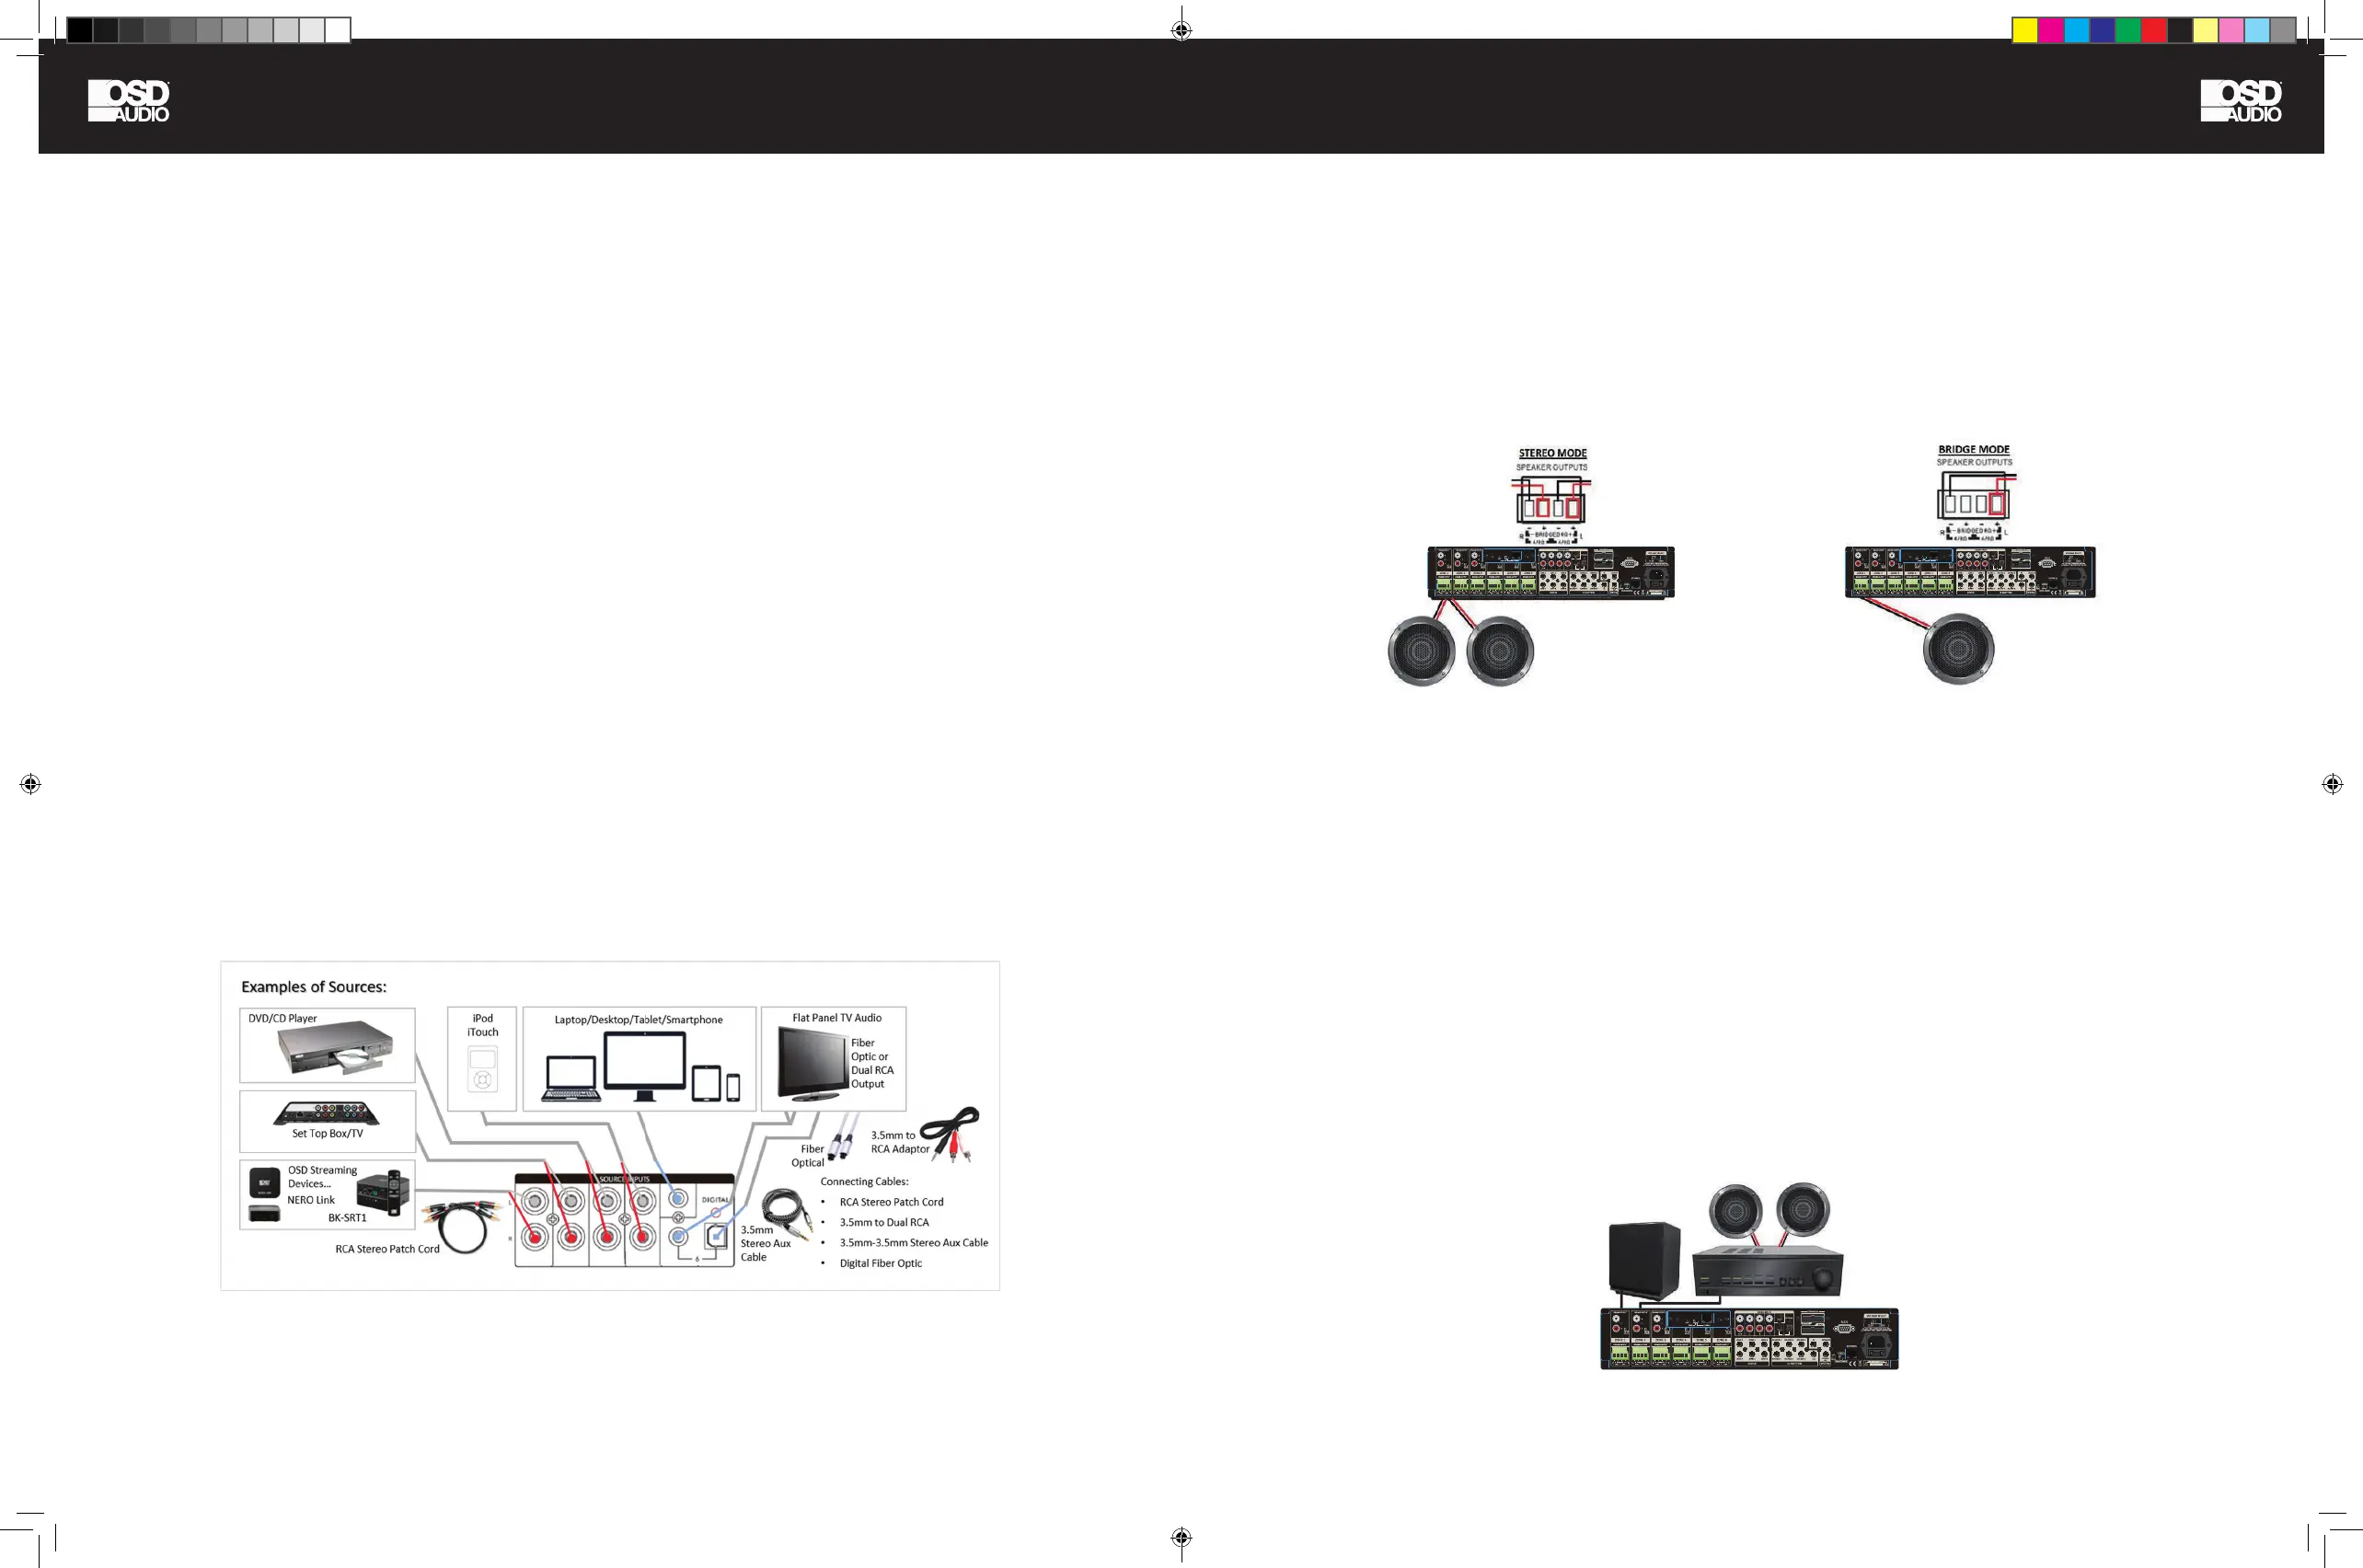
Connecting the Sources
Up to 6 dedicated sources can be connected to a single NERO MAX 12. Source 1-4 features Right and Left Female
Unbalanced RCA Stereo Inputs (RCA Stereo Patch cords). Source 5 is 3.5mm Female input (Dual RCA to single Stereo
3.5mm adapter cable or 3.5mm to 3.5mm Stereo Aux cable) to RCA and Source 6 offers a choice of 3.5mm Stereo Input
or Digital Fiber Optic Input (Optical Fiber Cable).
Note: Input 1 can be used as a global input for all zones when a source is connected to input 1
and the 12VDC is applied to the PA-IN (tip is positive) then source 1 will broadcast to all zones. If
no 12VDC is applied, then the rst input will be operating under normal conditions
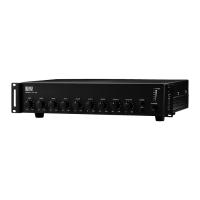
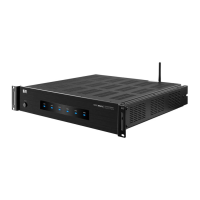
The NERO MAX12 & 8 can work with speakers that are 4-8 Ohm. There are two modes that can be set for different
setups: Stereo or Bridged. An 8 Ohm speaker can only be used when in Bridged mode. To choose between modes, use
the mode switch to determine modes for each zone (Number 2 Panel Descriptions, page 5.)
Once you have properly identied the desired mode, strip about 1/4” of insulation and twist the copper strands. Connect
the speaker wire to the screw down terminal as indicated on the amp. To loosen the terminal turn counterclockwise and to
tighten the terminal turn clockwise. For better quality, we recommend used 12-14 AWG stranded copper speaker wire.
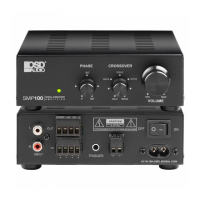
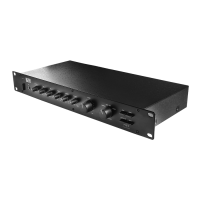
There are 3 unbalanced, line level Pre-Amp outputs that correspond to the rst 3 Outputs. These can be used to connect
an additional amplier, expand zones, or to connect a powered subwoofer. The Pre-Amp output levels are not xed and
are able to be controlled via OSD Control App, keypad, or RS232. Both pre-amp outputs and speaker out-puts work
simultaneously, both the speaker-volume and the pre-amp output-level adjust volume at the same time.
Bridge Mode: There are 2 ways to congure the Bridge mode feature.
1. To power a single speaker in a zone/room.
Convert your stereo signal into a mono signal using a product like our SMC21 (Stereo to Mono Convertor). Connect the
mono RCA to the left RCA input for that zone, select Bridge YES. Connect a single 8 Ohm speaker in the zone/room.
2. To connect 2 speakers in a zone/room.
Connect the left and right RCA’s to the left inputs of 2 zones/amp, link both zones in the OSD Control App
(example: Living Room left and Living Room right), select Bridge YES and connect 2 8 Ohm speakers in the zone/room.
N E R O -M A X 1 2
2022-07-20
UL
62368
N E R O -M A X 1 2
2022-07-20
UL
62368
N E R O -M A X 1 2
2022-07-20
UL
62368
NERO MAX-CNTRL man.indd 10-11 11/14/22 11:37 AM
 Loading...