, BLENDER OPERATING INSTRUCTIONS
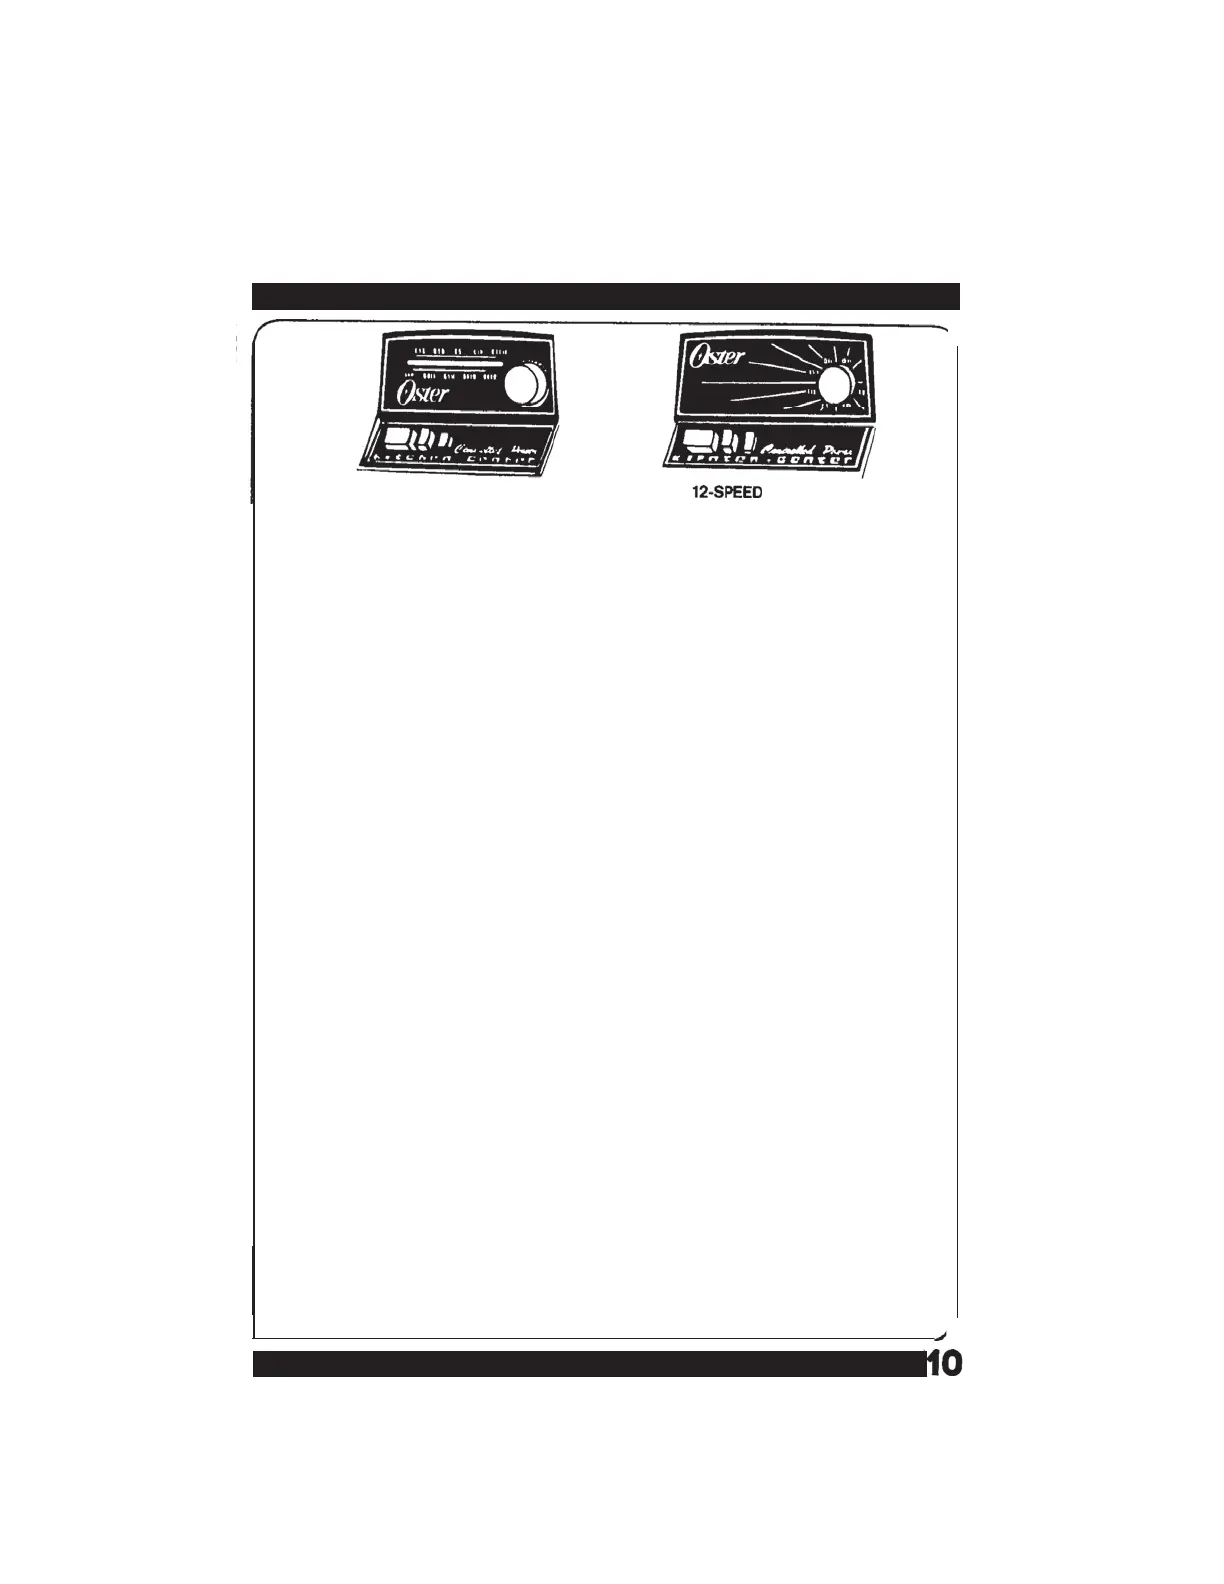
IO-SPEED CONTROLS
CONTROLS
USING “PULSE” BUTTON
The blender has 2 distinct methods of operation: CONTINUOUS run for blending,
liquefying and fine chopping, and CONTROLLED CYCLE BLENDING for coarse
chopping pieces of food, such as chopped vegetables, nuts or cheeses. Controlled
cycle blending consists of turning the motor “on” and “off” intermittently, using the
“PULSE” button. During the “on” portion of the cycle, food is chopped and tossed
away from the blades. During the “off” portion of the cycle, the food is distributed
around the blades to make processing more uniform. IN ALL THE RECIPES. GIVEN
IN THIS BOOK, THE CONTROLLED CYCLE BLENDING FEATURE IS REFERRED TO
AS A CYCLE. A cycle consists of operating the blender for about 2 seconds and
then allowing the blades to coast to a stop.
NOTE: Use the Blending Guide for speed selection. The words refer to the speed
selection used in the Oster recipes. The words are not descriptive of the blend-
ing action.
TO PROCESS FOODS
1. Assemble container (see page 9, Assembly of Container).
2. Put ingredients into blender container, cover firmly, and place container into ring
on motor base (see page 9, Mounting the Container).
3. Select method of operation.
CONTROLLED CYCLE OPERATION
a.
Dial speed as given in recipe. Rest hand on container.
b.
Push “PULSE” button and hold in for 2 seconds. Release button and allow
blades to come to a stop. Repeat as required by recipe.
c. When processing is completed, push “OFF” button.
CONTINUOUS OPERATION
a.
Dial speed as given. Rest hand on container.
b.
Push “ON” button to start processing.
c. If necessary to use rubber spatula, push “OFF” button. Repeat order of opera-
tion to continue processing.
d.
When processing is complete, push “OFF” button.
CAUTION:
NEVER LEAVE BLENDER WHILE IT IS PROCESSING. If container should
turn while motor is on, push “OFF” button immediately and tighten jar in container
bottom. (See page 9, Tightening and Mounting the Container on motor base.)