36 37
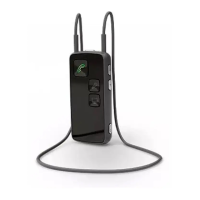
How to use FittingLINK for coupler-based
verification using hearing instrument analysers
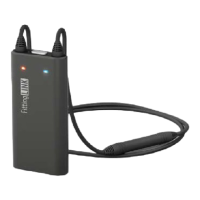
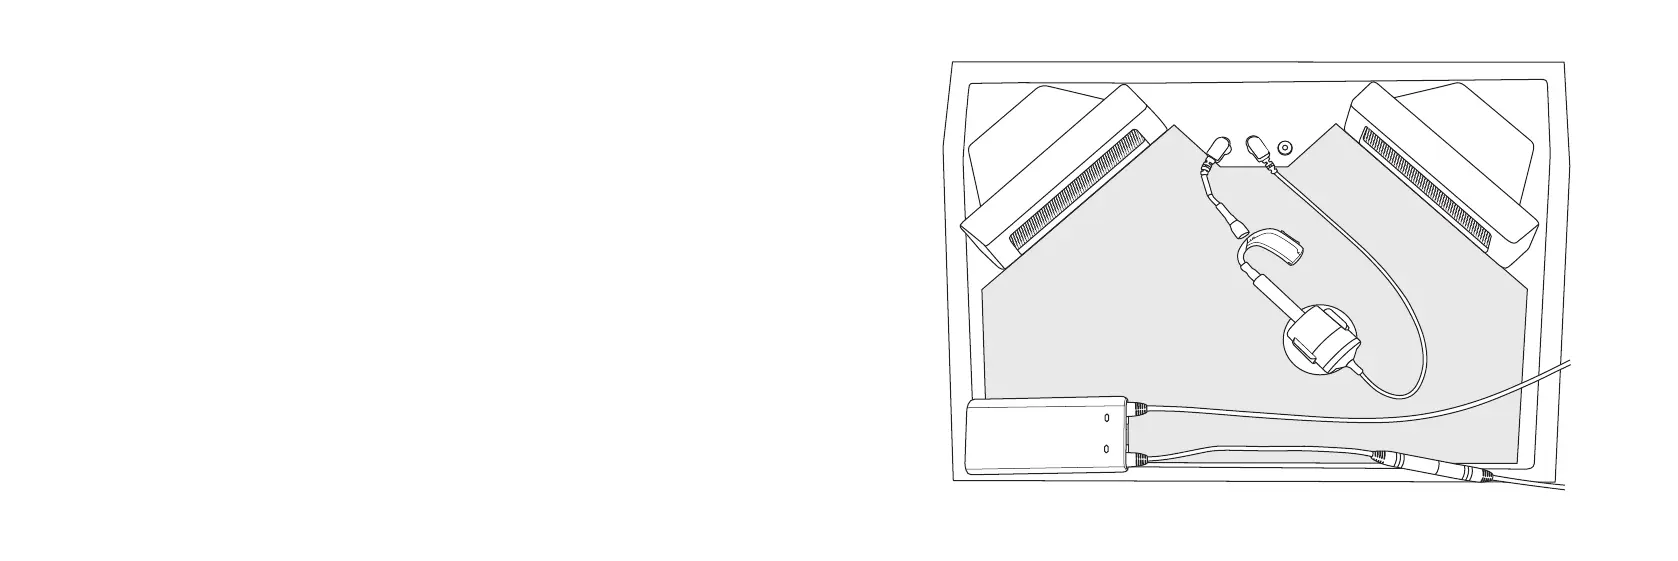
Place FittingLINK in the test chamber. Connect the hearing instrument to the 2cc coupler
and place the hearing instrument 5-10 cm away from the outside of the neck loop, as
shown here.
Close the lid of the test chamber and proceed with the coupler-based verification.
Please note that FittingLINK will not work in some test chambers, due to the chambers
being too small to ensure the 5-10 cm distance, or due to electromagnetic interference.
If this is the case, programming must be done using the hearing instrument programming
cables and a non-wireless programming interface (e.g., EXPRESSlink).