Installation
6
OWC Data Doubler
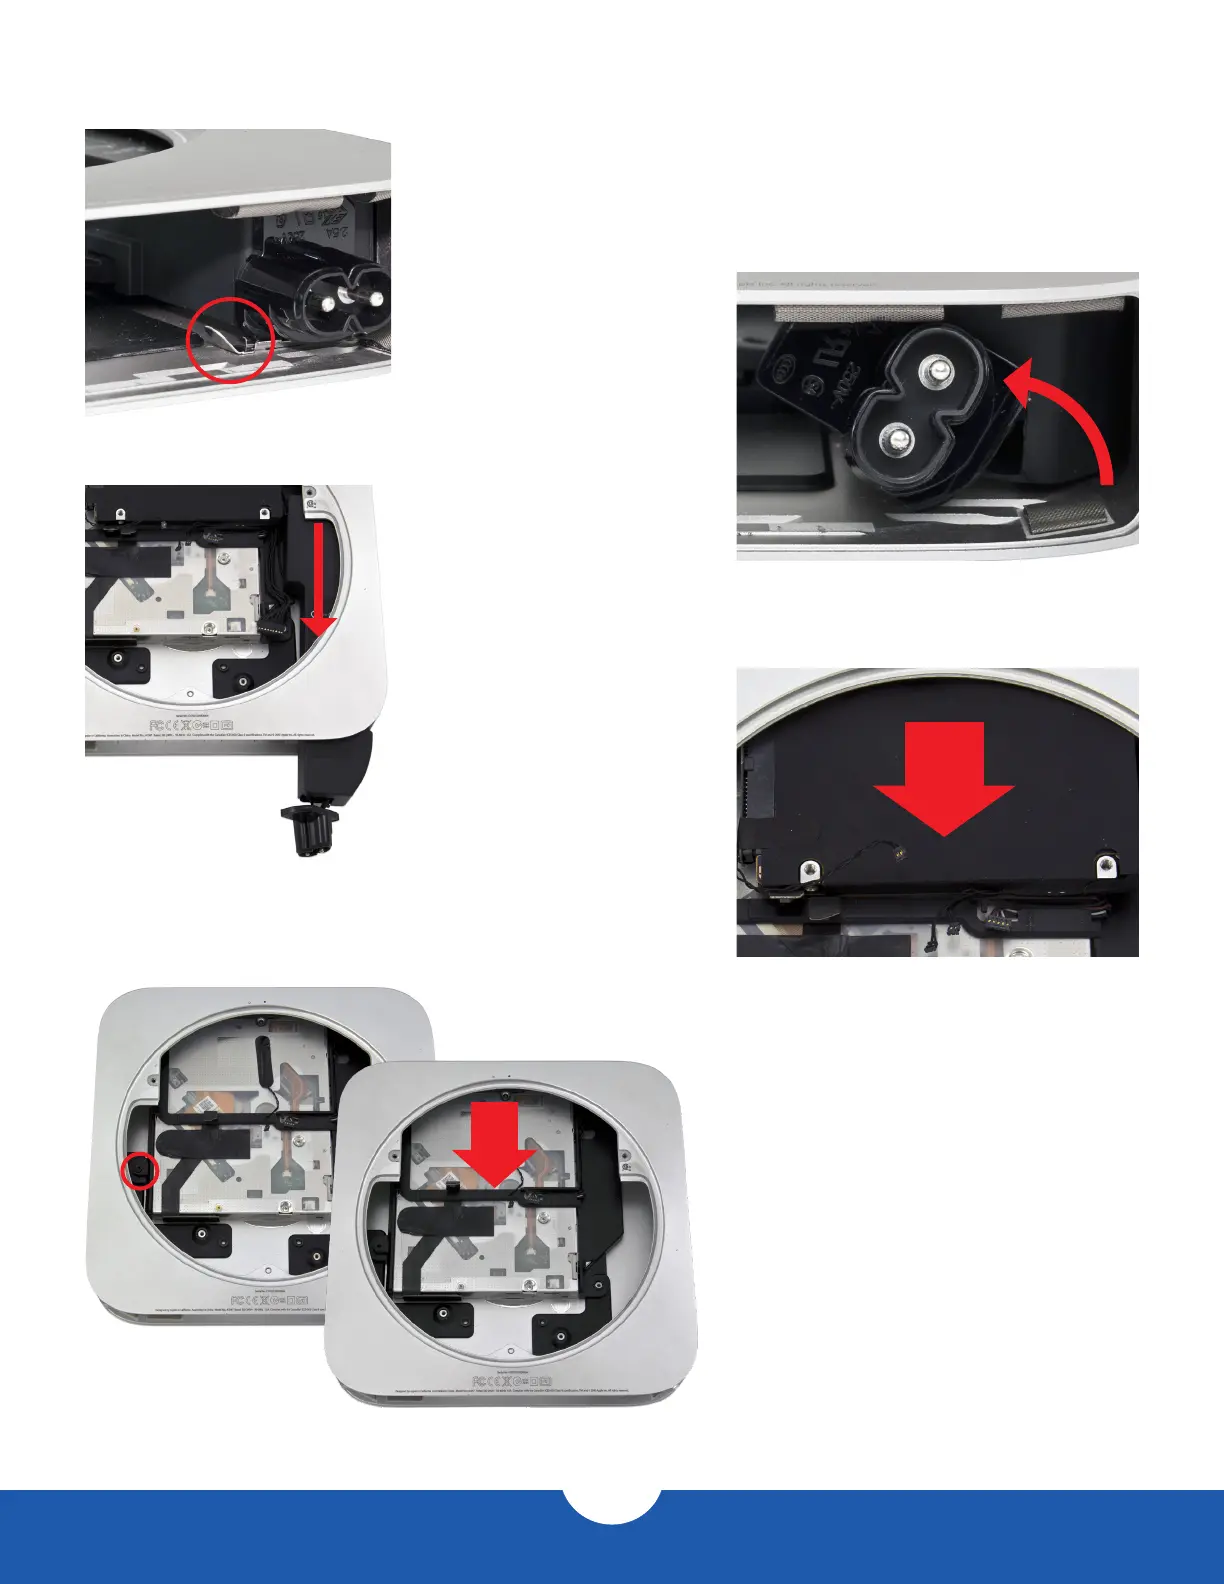
19. Find the metal retention clip holding the power cord socket in place, as circled in
the picture to the left. Slide the retention clip to the left in order to release the power
cord socket.
20. Rotate the power cord
socket counterclockwise
90° to disengage it from
the housing, as shown
in the picture to the right.
21. Remove the power supply by
pulling it straight out of the
housing, as shown in the picture
to the left. You may need to
rotate the power supply slightly
to the left.
22. Slide the hard drive out
of the housing, as shown
in the picture to the right.
23. Remove the T6 screw securing the optical
drive carrier to the housing, as circled in the
picture to the far left.
24. Remove the optical drive assembly, including
the optical drive and the drive carrier, in
the direction indicated by the arrow at left.