EasyManuals Logo
Home>OWC>Storage>Mercury Elite Pro Dual

OWC Mercury Elite Pro Dual Assembly Manual & User Guide

OWC Mercury Elite Pro Dual
16 pages
To Next Page IconTo Next Page
To Previous Page IconTo Previous Page
Page #9 background imageLoading...
Page #9 background image
MERCURY ELITE PRO DUAL
DEVICE SETUP
7
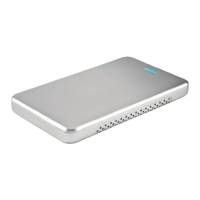
7. The inner chassis can t into either end of the outer enclosure, but only one end
works for the assembly process. To determine the correct end, turn the outer
enclosure on its side and look at the bottom. As shown below, the screw holes at
the front of the outer enclosure are close to the silicone feet. The screw holes at
the rear of the outer enclosure are farther away from the silicone feet.
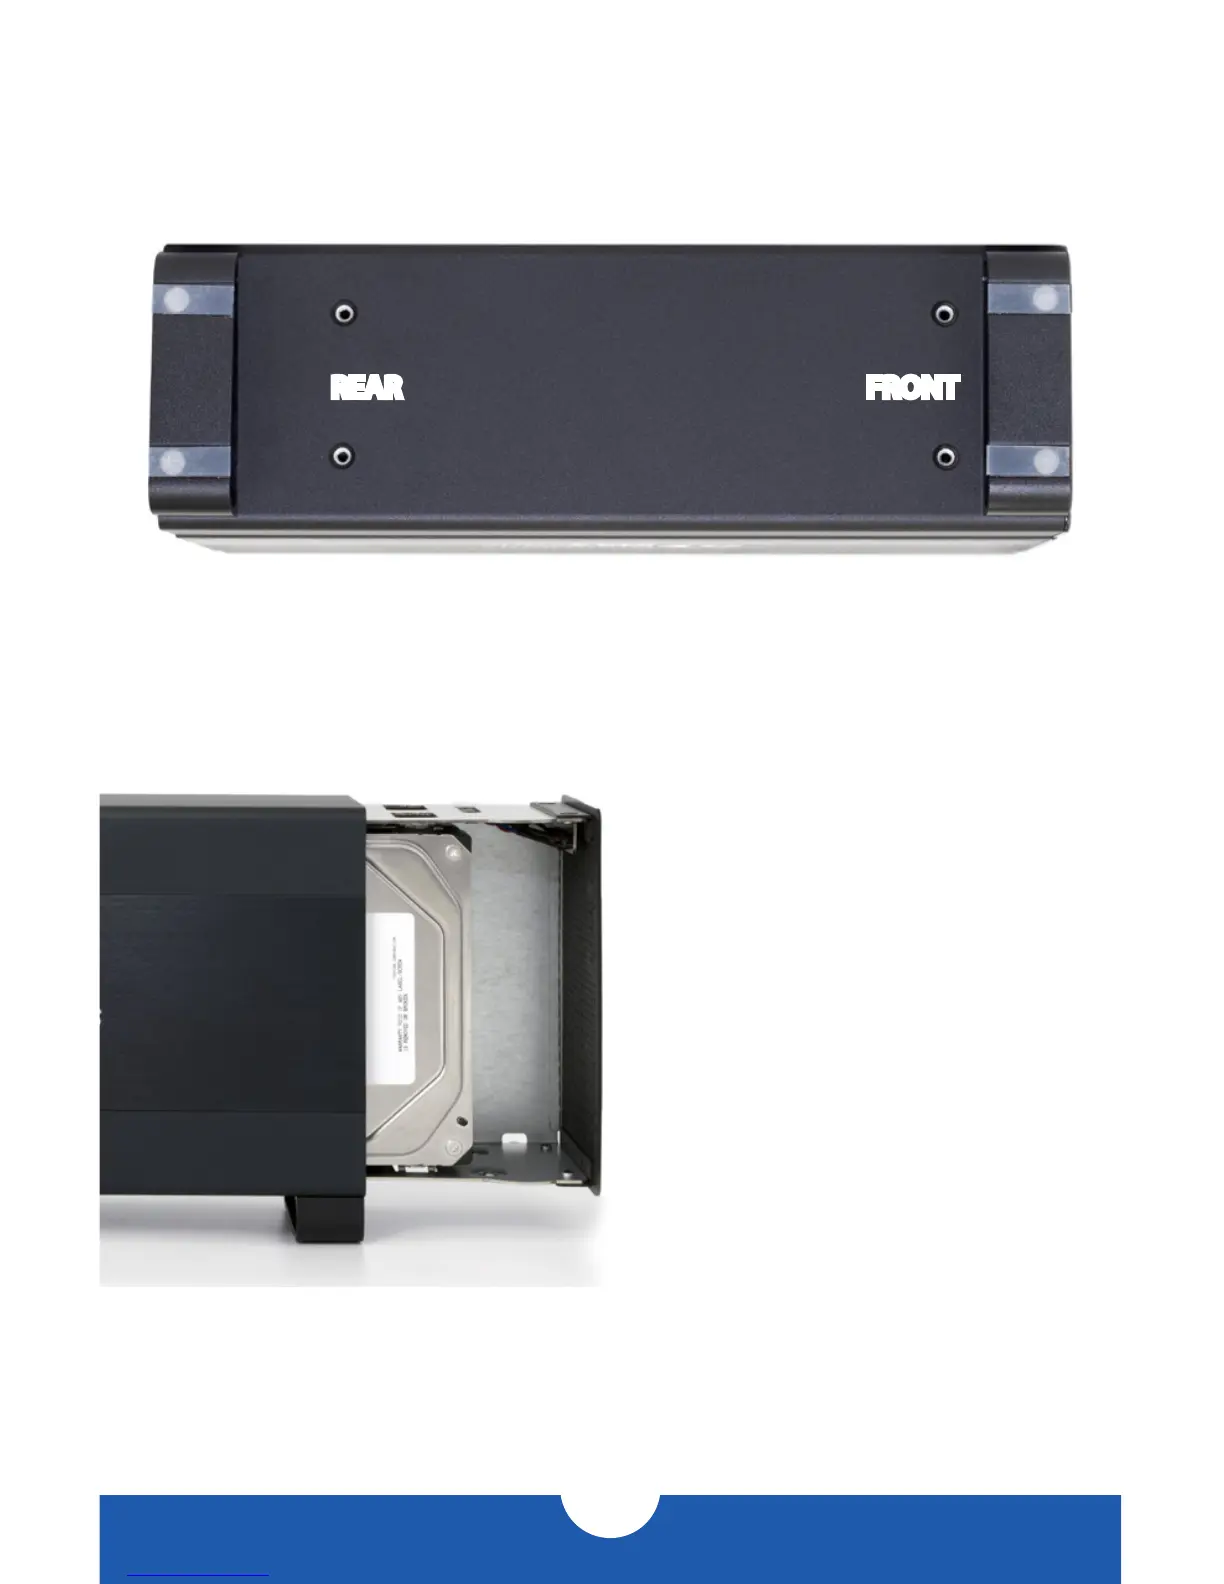
8. Once you have determined the
correct side for inserting the inner
chassis, slide it back into the outer
enclosure, as shown at left.
REAR FRONT

Other manuals for OWC Mercury Elite Pro Dual

Questions and Answers:

Question and Answer IconNeed help?

Do you have a question about the OWC Mercury Elite Pro Dual and is the answer not in the manual?

OWC Mercury Elite Pro Dual Specifications

General IconGeneral
Hot-swapYes
RAID levels0, 1
Storage drive size3.5 \
Total storage capacity8000 GB
Number of storage drives supported2
InterfaceThunderbolt
Product colorAluminum
Storage temperature (T-T)-40 - 65 °C
Operating temperature (T-T)5 - 42 °C
Storage relative humidity (H-H)5 - 95 %
Operating relative humidity (H-H)8 - 90 %
Cache internal128 MB
Weight and Dimensions IconWeight and Dimensions
Depth228.6 mm
Width71.2 mm
Height133.4 mm

Related product manuals