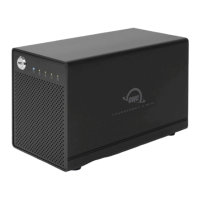
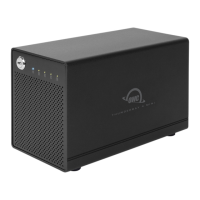
OWC THUNDERBAY 4 MINI
INTRODUCTION
2
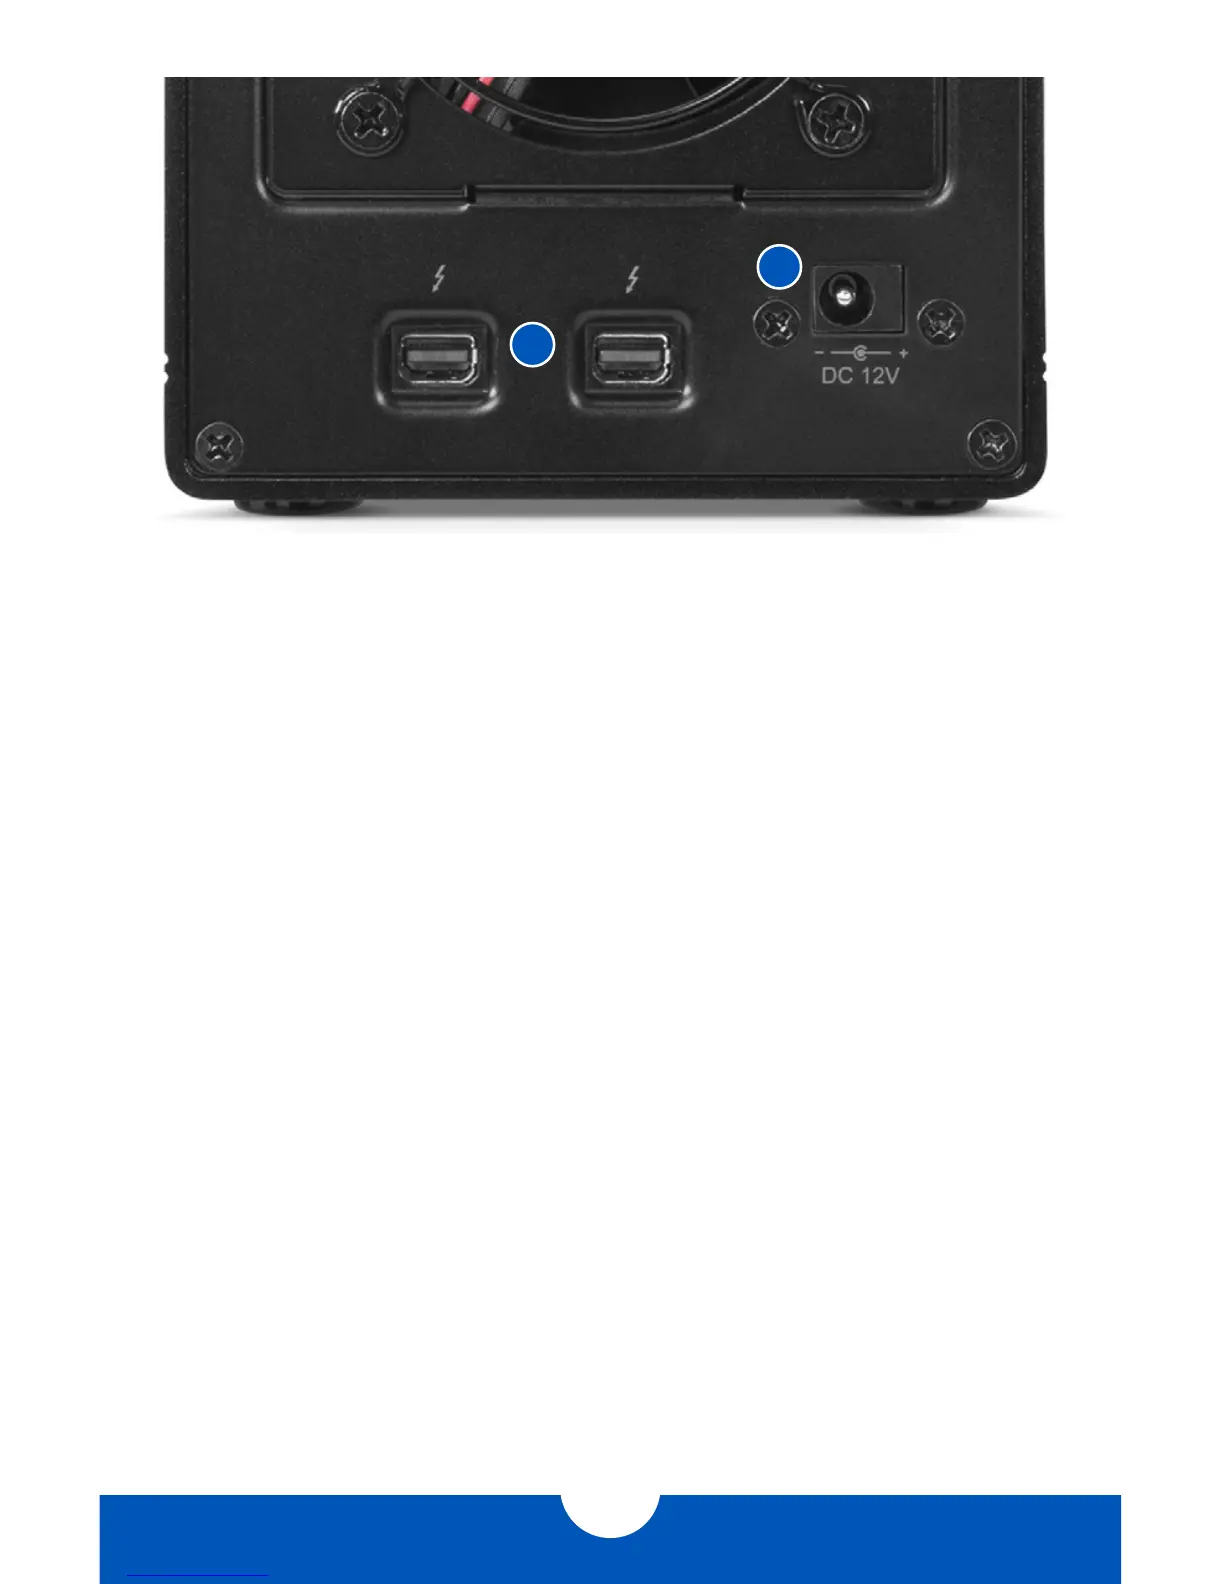
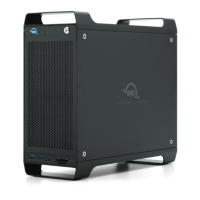
1.5 REAR VIEW
1.5.1 Rear Features
1. Thunderbolt 2 ports — Attach the included Thunderbolt cable to one of these ports
and to your computer, or to another Thunderbolt device. Use the other Thunderbolt 2
port to add more Thunderbolt devices to the chain.
2. Power input — Connect the included power supply here.
NOTES:
• There is no power switch on the OWC ThunderBay 4 mini. As long as the power supply
is connected, the device mini will turn on when it receives a data signal through the
Thunderbolt cable. If there is no Thunderbolt cable connected, or if the computer is off
or in a sleep or hibernation mode, the ThunderBay 4 mini will turn off.
• Thunderbolt device chains can support up to six Thunderbolt devices.
• Thunderbolt 2 is backwards compatible with Thunderbolt, but any devices connected
in a Thunderbolt chain after a Thunderbolt device will operate at original Thunderbolt
speed (10Gb/s) rather than Thunderbolt 2 speed (20Gb/s). If mixing Thunderbolt 2 and
original Thunderbolt devices, make sure all Thunderbolt 2 devices are in front of the
Thunderbolt devices (i.e. computer>Thunderbolt 2 devices>Thunderbolt devices).
• For the safe removal of your drives and to ensure that no data is lost, always eject or
unmount the drives from your operating system before unplugging the ThunderBay 4
mini or removing the drives.
1
2