3
ONLINE MANUAL
Scan this QR Code with your
mobile device to take you to
the online manual.
18V LITHIUM
ION
POWERED BY
18V LITHIUM
Suits: OCS-018
ION
18V LITHIUM
Suits: OCS-018
ION
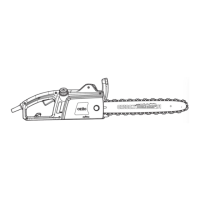
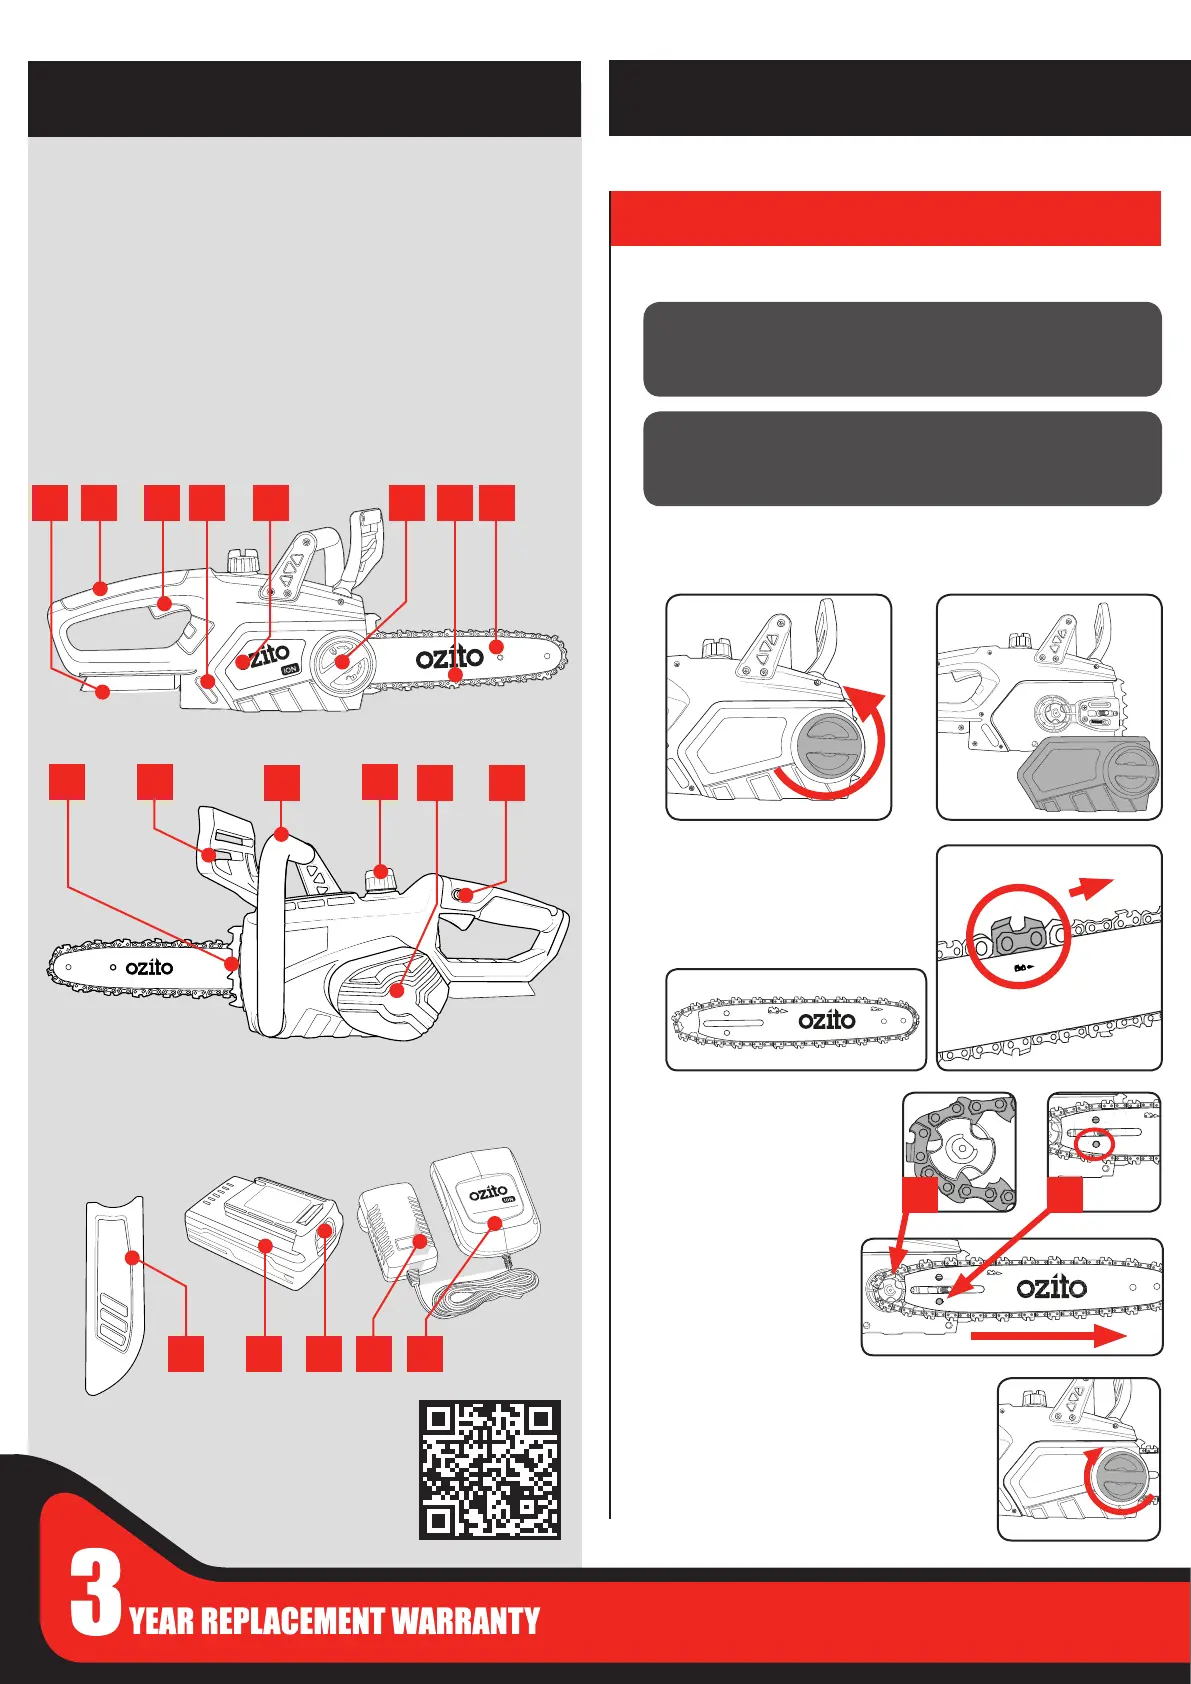
Fitting the chain and bar
1. Completely unscrew the guide
bar locking knob, in a counter
clockwise direction.
3. Fit the chain over the guide bar,
making sure that the cutters are
facing in the direction of rotation.
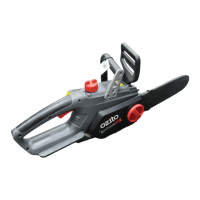
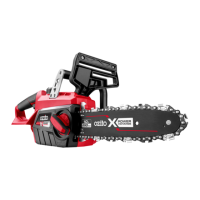
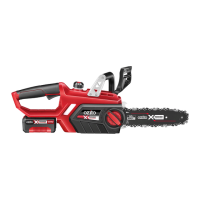
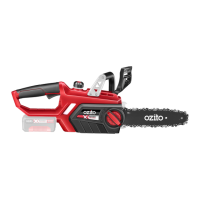
1. Battery seating
2. Rear handle
3. Trigger switch
4. Oil level window
5. Side cover
6. Guide bar locking knob
7. Chain
8. Guide bar
9. Bucking spikes
10. Safety chain brake
11. Front handle
12. Chain oil tank cap
13. Motor cover
14. Lock-off button
15. Guide bar cover
16. Battery
17. Battery release tab
18. Battery charger
19. Battery charger cradle
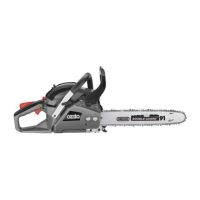
CORDLESS CHAINSAW
ACCESSORIES
KNOW YOUR PRODUCT
1. ASSEMBLY
SETUP & PREPARATION
CAUTION! ALWAYS BE SURE THAT THE TOOL IS
SWITCHED OFF AND THE BATTERY PACK IS REMOVED
BEFORE CARRYING OUT ANY WORK ON THE TOOL.
CAUTION! ALWAYS WEAR GLOVES WHEN HANDLING
THE CHAIN AS IT IS VERY SHARP AND CAN CUT YOU
WHEN IT IS NOT MOVING.
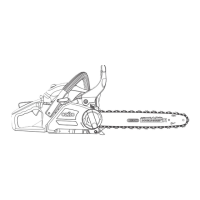
3mm gap is
the ideal tension
3mm gap is
the ideal tension
3mm gap is
the ideal tension
3mm gap is
the ideal tension
B
2. Remove the guide bar cover.
3mm gap is
the ideal tension
4. Place the guide bar and chain
in position, ensuring that
the chain is around sprocket
wheel (A). Also ensure that the
chain tension pin (B) ts into
the guide bar. If it does not t,
it can be adjusted slightly with
the chain tensioning
screw. The chain must
not slip off the bar when
you do this.
5. Pull the guide bar forward
until the chain is closely
seated. Make sure that all the drive links are
in the groove of the bar.
3mm gap is
the ideal tension
A
3mm gap is
the ideal tension
3mm gap is
the ideal tension
6. Attach the side cover and secure it with the
side cover lock. Do not fully tighten the side
cover lock until after adjusting the chain
tension.
31 2 4 5 6 7 8
9 10
11
12
13 14
15 16 17 1918