60
Chapter 5 Preparation
5
Proceed with the flange back adjustment for the lens.
<Notes>
≥For details on how to handle the lens, refer to the
operating instructions of the lens.
≥While the lens is removed, attach the mount cap to
protect the unit.
5-3 Attaching the lens and
performing the flange
back and white shading
adjustments
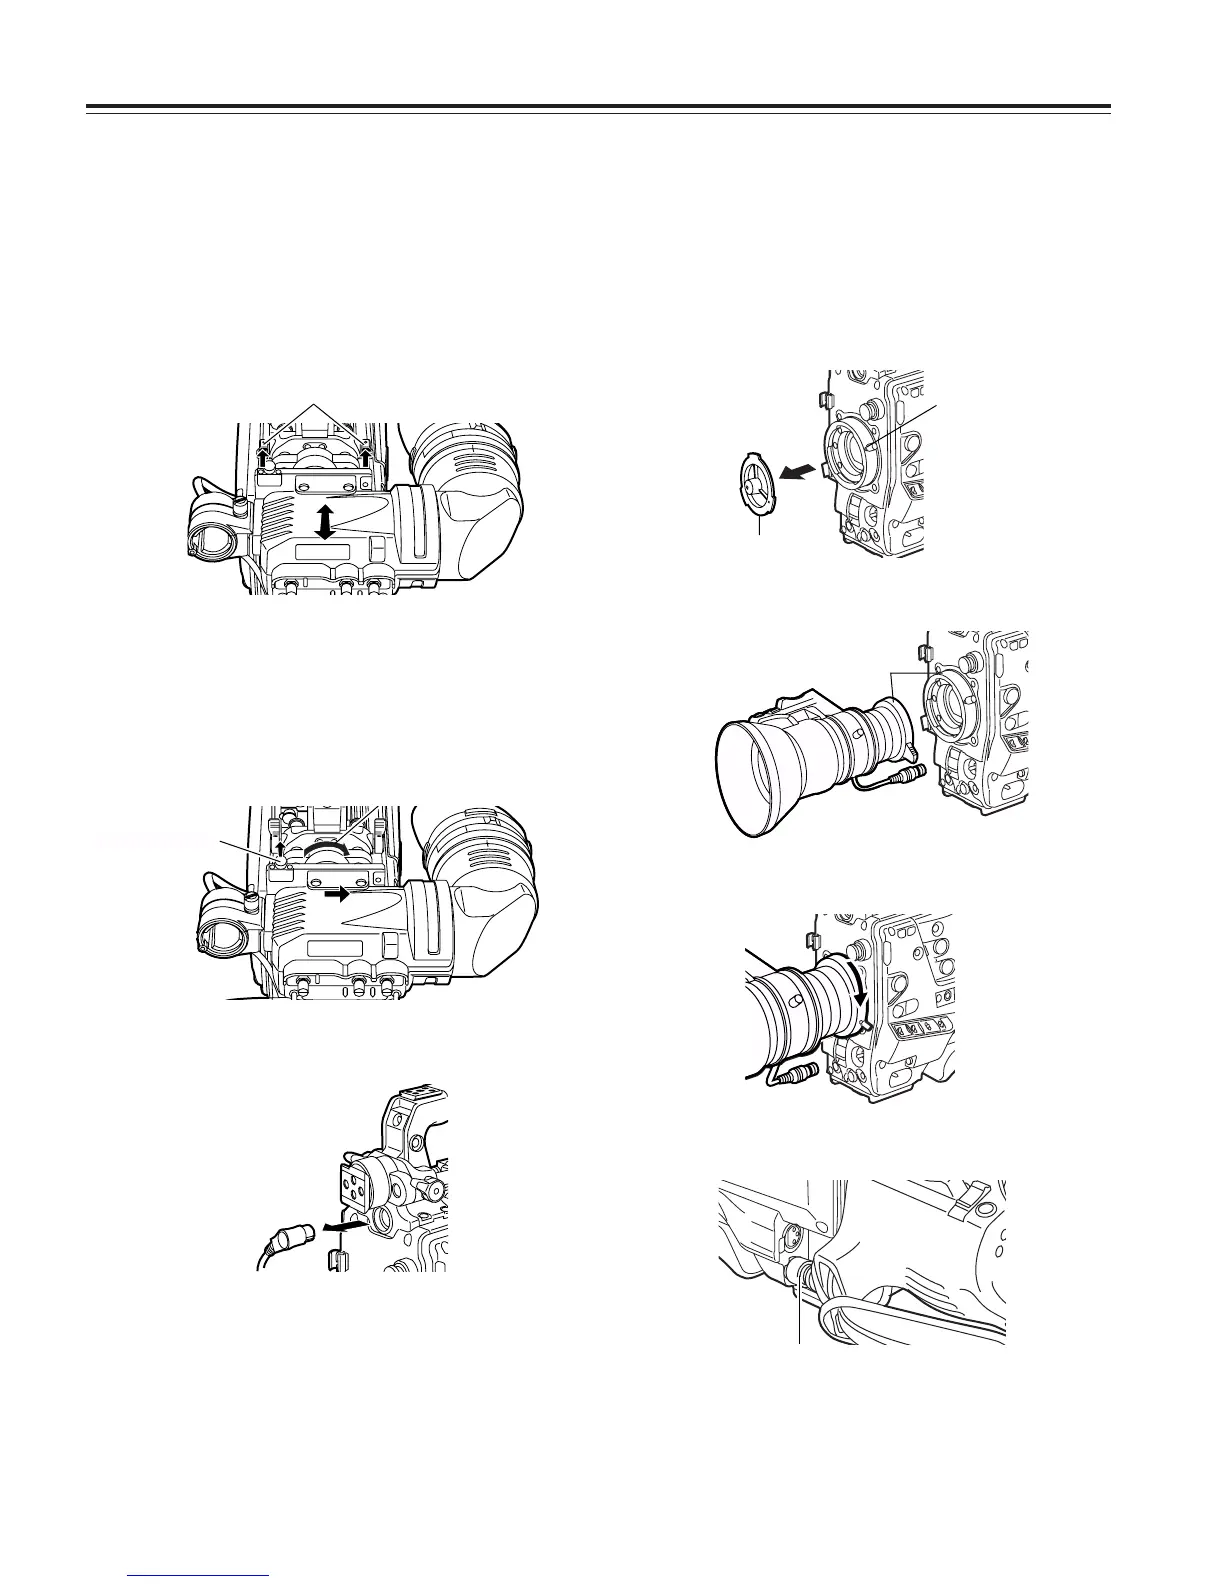
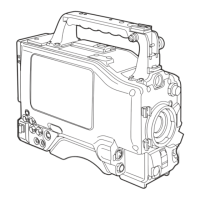
Attaching the lens
1
Raise the lever for securing the lens, and detach the
mount cap.
Lever for
securing the lens
Mount cap
Mark
2
Align the center mark of the lens with the groove in the
top center of the lens mount, and attach the lens.
4
Push the cable into the cable clamp, and connect it to the
LENS socket.
3
Push down the lever for securing the lens to secure the
lens.
LENS socket
Adjusting the viewfinder’s front-back position
1
Loosen the viewfinder front-back position anchoring ring.
2
Slide the viewfinder to the front or back, and adjust it to a
position that allows easy viewing.
3
Tighten the viewfinder front-back position anchoring ring.
Viewfinder front-back position anchoring ring
Removing the viewfinder
2
While pulling up the viewfinder stopper, remove the
viewfinder by sliding it in the direction of the arrow.
3
Release the viewfinder cable and mic cable from the
cable clamps, and disconnect the cables.
1
Loosen the viewfinder left-right position anchoring ring.
Viewfinder stopper
Tighten the ring.




 To Next Page