46
CONTRAST ADJUSTMENT (SDTV)
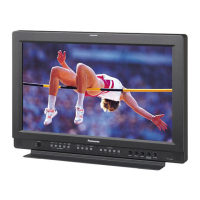
Measuring Instruments Signal generator (Crosshatch signal)
Oscilloscope
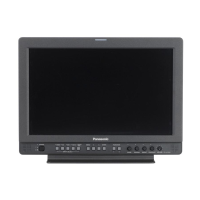
Card (Slot) Component/RGB Input Card (Slot 1)
Test Points TP-47G [CRT SOCKET PWB]
TP-GND [CRT SOCKET PWB]
Adjustment Points S*01 (4:3 Overscan Contrast), SM** (4:3 Underscan Contrast),
SN** (16:9 Overscan/Underscan Contrast) [Service Menu]
Notes: • Perform the following adjustments after completing the
1080/60i signal Contrast adjustment.
• Set the CONTRAST data in the Setup Menu to "00".
• The SO value (see the description of the HDTV Contrast
Adjustment) becomes the reference value for the follow-
ing adjustments. When this data is changed, it is required
to re-adjust the data of all of the adjustment signals (HDTV,
SDTV and NTSC/PAL).
When re-adjusting the 1080/60i signal, use the SI.
• When overscan data of a signal is changed, it is required
to re-adjust the underscan data of the same adjustment
signal.
• When the 4:3 data of a signal is changed, it is required to
re-adjust the 16:9 data of the same adjustment signal.
1. Apply the 480/60i crosshatch signal to INPUT A (Terminal Y on the
Component/RGB Input Card).
2. Set the CONTRAST potentiometer on the front panel to the center
click position.
3. Connect the oscilloscope across TP-47G and TP-GND.
4. Adjust SE01 in the Service Menu to set the voltage amplitude <A>
in the figure on the right to 30 V ± 2 V.
5. Set the ASPECT button on the front panel to ON so that the scan-
ning size is 16:9.
6. Adjust SN25 to set the voltage amplitude <A> to 30 V ± 2 V.
7. Set the ASPECT button on the front panel to OFF and the UNDER
SCAN button to ON to set the scanning size to underscanning for
the 4:3 ratio.
8. Adjust SM13 to set the voltage amplitude <A> to 30 V ± 2 V.
9. Set the ASPECT button on the front panel to ON to set the scanning
size to underscanning for the 16:9 ratio.
10. Adjust SN28 to set the voltage amplitude <A> to 30 V ± 2 V.
11. Set the ASPECT and UNDER SCAN buttons on the front panel to
OFF.
12. Vary the adjustment signal and adjustment data, and re-perform
adjustments in steps 1 to 11 above (see Table 2).
1 Vertical interval
(V. sync)
<A>
30V ± 2V
Adjustment
Scanning Size
Aspect Ratio
Signal
4 : 3 16 : 9
480/60i
Overscan SE01 SN25
Underscan SM13 SN28
576/50i
Overscan SF01 SN31
Underscan SM16 SN34
480/60p
Overscan SG01 SN37
Underscan SM19 SN40
Table 2
 Loading...