8
CQ-RXBT490W/CR-LXBT490W
Preparation
First Time Power On
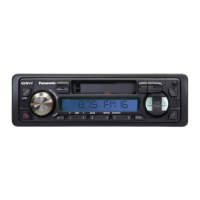
1
Set your car’s ignition
switch to the ACC or ON
position.
2
Press [SOURCE] (PWR).
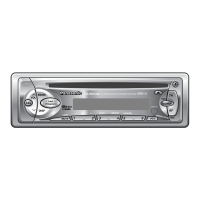
Battery Installation
Pull the insulation film
out from the backside of
the remote control unit
gently.
Insulation film
Note: Battery Information:
Battery Type: Lithium battery (CR2025) (Included in
the remote control unit)
Battery Life: Approximately 6 months under normal
use (at room temperature)
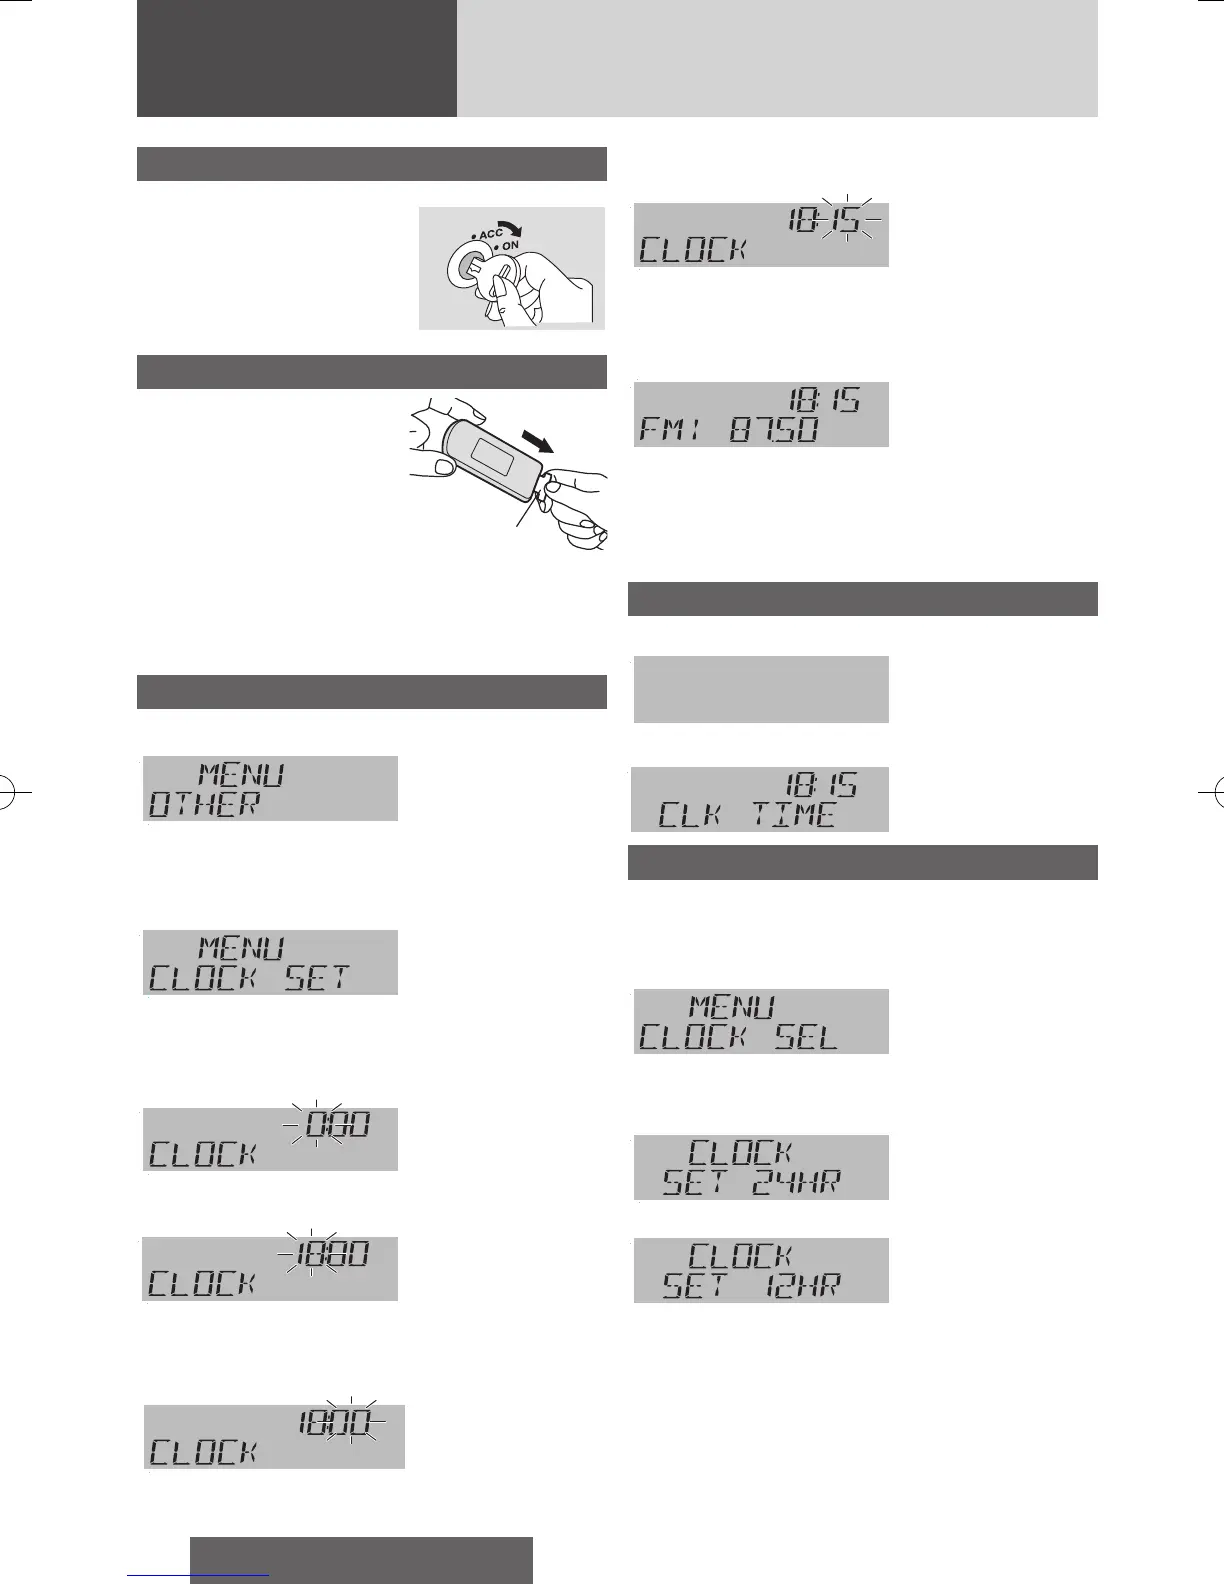
Clock Setting
1
Press [MENU].
2
Press [VOL] (PUSH SEL), and turn [VOL]
clockwise or counterclockwise to select
“CLOCK SET”.
3
Press [VOL] (PUSH SEL), and turn [VOL]
clockwise (q) or counterclockwise (w) to
adjust.
Hour blinks.
4
Adjust the hour.
Hour entered
q : sets the hour ahead.
w : sets the hour back.
5
Press [VOL] (PUSH SEL).
Minute blinks.
6
Adjust the minute.
Minute entered
q : sets the minute ahead.
w : sets the minute back.
7
Press [VOL] (PUSH SEL).
Completed
Notes:
¡ “CLK ADJUST” is displayed when the clock is not
adjusted.
¡ When you want to readjust the clock, repeat steps 1
to 7.
Clock Display at Power Off
Press [DISP] to change the display.
Display off
cd
Clock display
(Default)
Clock Display Setting
1
Press [MENU].
2
Press [VOL] (PUSH SEL), select “CLOCK
SEL”.
3
Press [VOL] (PUSH SEL), and turn [VOL]
clockwise or counterclockwise to select.
the 24-hour system
used (default)
cd
the 12-hour system
used
Notes:
¡ The clock display setting (12-hour/24-hour) is ac-
tivated once the rotary selection is made, the clock
display is corresponded to your setting after exiting
the clock display setting mode.
¡ Selection of the 12-hour system displays “AM” dur-
ing AM hours and “PM” during PM hours.
¡ To exit from the clock display setting, press [DISP].
 Loading...