51
• The distance given above are the minimum distance required in order to maintain proper performance.
Allow as much space as possible in order to get the best performance from the units.
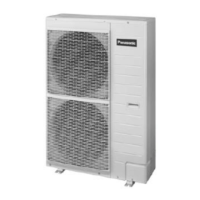
10.5.4. Transporting and installing the outdoor unit
• Transporting
1. The outdoor unit should be transported in its original packaging as close to the installation location as possible.
2. If suspending the outdoor unit, use a rope or belt, and use cloth or wood as padding in order to avoid damaging the unit.
• Installation
1. Read the “Selecting the outdoor unit installation location” section thoroughly before installing the outdoor unit.
2. If installing the unit to a concrete base or other solid base, use M10 or W3/8 bolts and nuts to secure the unit, and ensure
that the unit is fully upright and level.
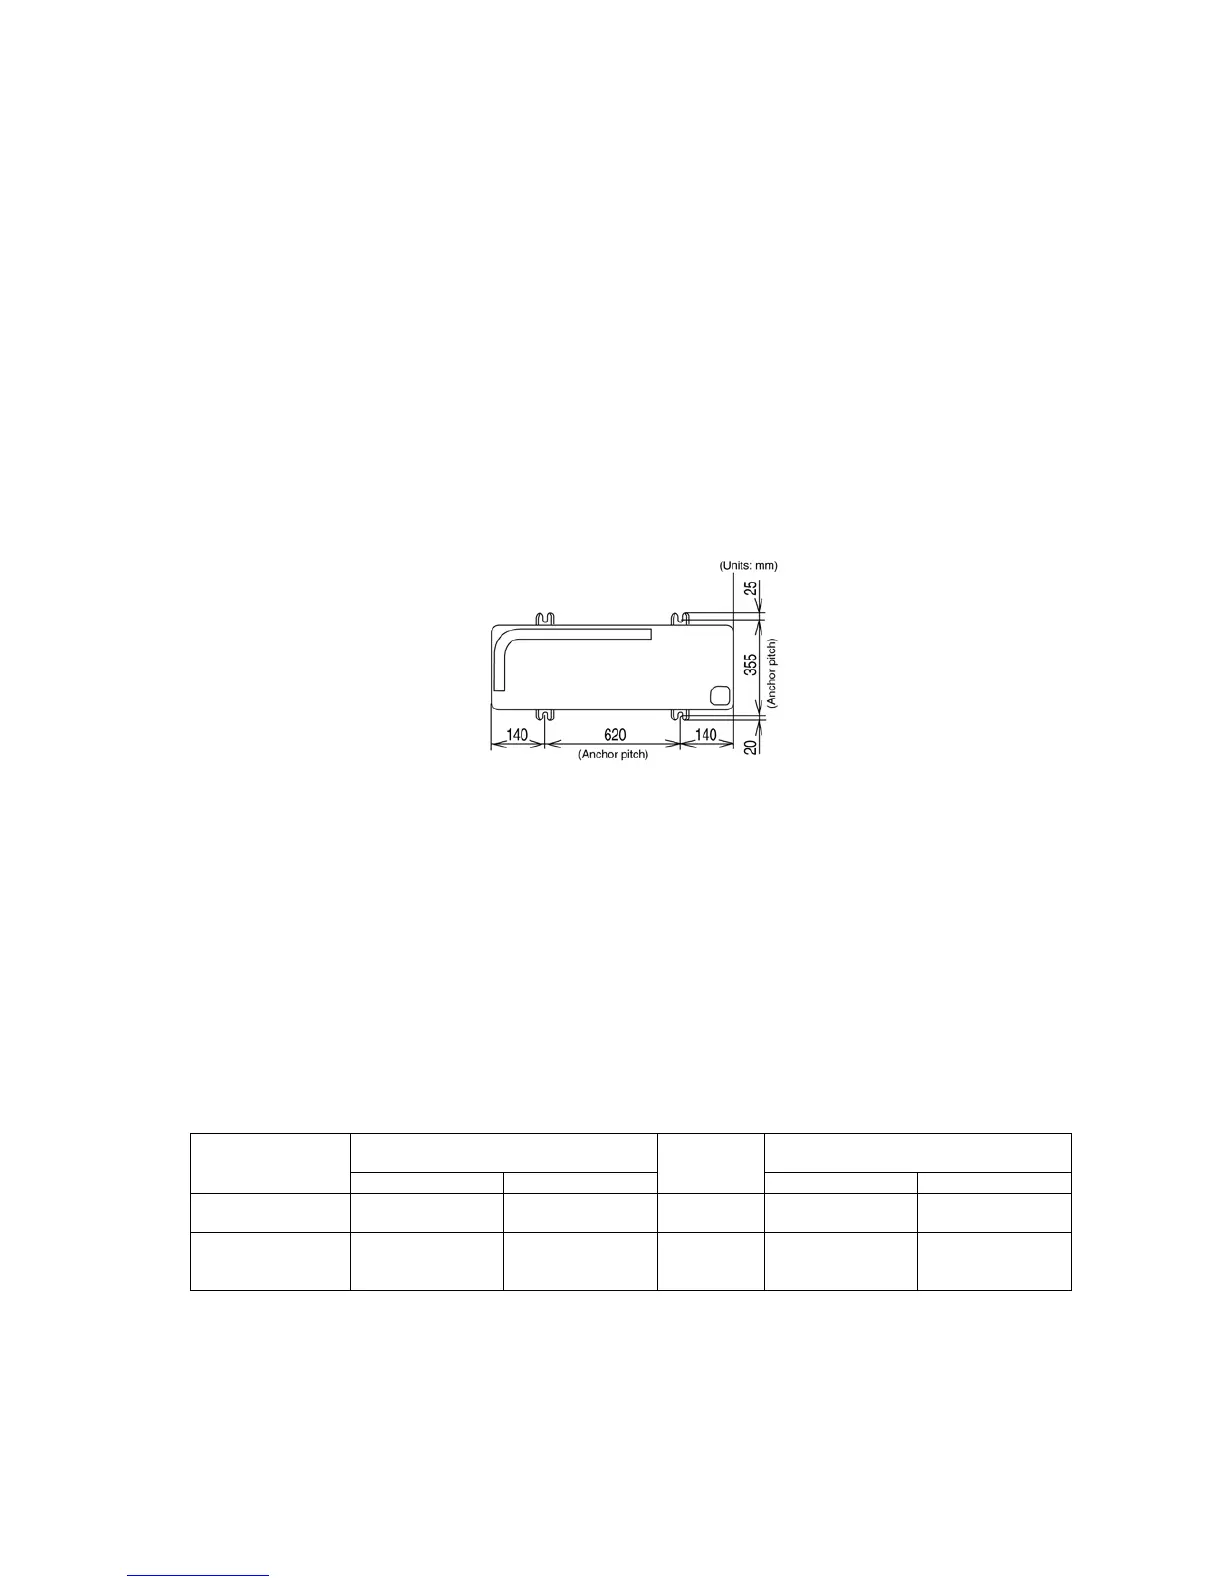
(The anchor bolt positions are shown in the diagram at the right side.)
In particular, install the unit at a distance from the neighbouring building which conforms to regulations specified by local
noise emission regulation standards.
3. Do not install the outdoor unit to the building’s roof.
4. If there is a possibility that vibration may be transmitted to the rooms of the building, place rubber insulation between the
unit and the installation surface.
10.5.5. Connecting the pipes
• Use a clean pipe which does not include water or dust for inside of piping.
• When cutting the refrigerant pipes, a piping cutter must be used. Before connecting the refrigerant pipes, blow nitrogen and blow
off dust in the pipes.
(Never use tools which cause a lot of dust such as a saw and a magnet.)
• When waxing replace nitrogen inside the piping after removing dirt and dust. (In order to prevent oxidization scale from forming
inside the piping).
• The refrigerant pipes are of particular importance.
The installation work for refrigerant cycles in separate-type air conditioners must be carried out perfectly.
1. Refer to the table below for the pipe diameters equivalent lengths and indoor/outdoor unit difference of elevation.
* Note
Values inside brackets indicate length when operating at 50Hz power supply.
Model Name Pipe diameter (mm) Equivalent
length (m)
Difference of
elevation (m)
Liquid-side pipes Gas-side pipes Outdoor Unit Upper Outdoor Unit Lower
CU-D24DBQ6
CU-D28DBQ6
ø9.52 ø15.88 50 30 20
CU-D34DBQ7
CU-D43DBQ7
CU-D50DBQ7
ø9.52 ø19.05 50
*(40)
30 20
 Loading...