INSTALLATION
I
-Wall thickness is
4.5"~
6"
(11
4mm
~1
52mm)
12.
Linkuptheplug connector and close the
cover.
(Fig.
12)
A
CAUTION
The connection of the plug connector should
be tight. After the plug connector is connected
and fixed, make sure it does not tilt.
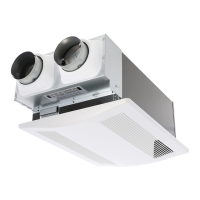
13. Replace the panel by hanging thepanel from
the mounting hinge on the top of the black
plastic frame and "swinging" the cover down
into place.
After replacing, move the lever left and right
to confirm the movement of the shutter
.
(Fig.
13)
A
CAUTION
Stop the fan while closing the shutter.
Open the shutter while running the fan.
1 4. Detach hood and hood base by loosening the
screw . (Fig.
14)
15. Insert duct collar into duct and adjust the
upper edge of hood base to horizontal.
Secure hood base by using
screwll
(ST4.2x20)
in accessory and seal the gap between the
wall and hood
base by
sealant. (Fig.
15)
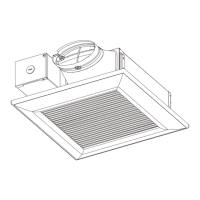
16. Install hood on hood
base
and secure it
by
using
screw . (Fig.
16)
The rib of the hood should
be
matched firmly
with the claw of the hood base.
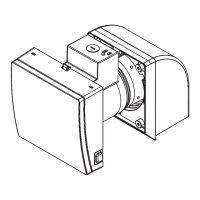
Plug connector
Cover
i Q
Place it as the fig direction
Fig. 12
Fit completely
Mounting hinge
Shutter
Close
Open
Fig. 13
Hood
Hood base
Fig.15
Screw
Fig.16
8