11
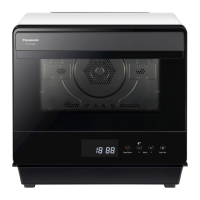
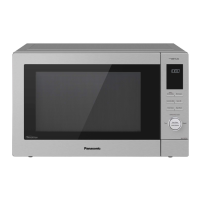
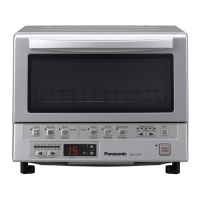
Operations
Clock Setting
After connecting the oven to the power supply, the symbol will be visible on
the display. The hour is fl ashing.
1. Press or to adjust the hour. (Hour should be within 0 - 23.)
2. Press
, the minutes will fl ash.
3. Press or to adjust the minutes. (Minute should be within 0 - 59.)
4. Press
to fi nish the clock setting.
■ Note
• To modify clock setting, press and simultaneously for approximate 3 seconds,
the hour will fl ash, and follow step 1 - 4 above.
Function Setting
1. Rotate “Function Setting” knob to choose the cooking function as require.
2. Rotate “Temperature Setting” knob to choose the cooking temperature as require.
3. Press
for approximate 3 seconds to start cooking. will be visible on the
display, indicating the heating is in progress.
4. Press
twice, will be visible on the display.
5. Press or to adjust duration of cooking in hours. (
Hour should be within 0 - 10.
)
6. Press
, the minutes will fl ash.
7. Press or to adjust duration of cooking in minutes. (Minute should be within
0 - 59.)
8. Press
to start the countdown. Current time and will be visible on the display.
9. If steps 4 - 8 are omitted, the default cooking time will be 10 hours. (This means the
oven will shutdown automatically after 10 hours.)
■ Note:
• Press twice to see the countdown time.
• The buzzer will beep when the countdown reaches . will fl ash and the oven
will shut down automatically. Press any button to stop the buzzer and
will go off.
• The oven lamp will light up for all the cooking functions.
•
and functions are not for heating.
Using the Oven
 Loading...