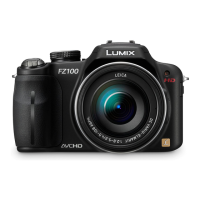
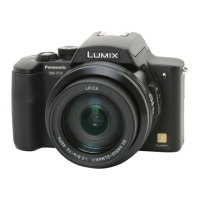
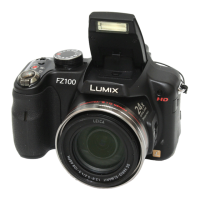
Do you have a question about the Panasonic Lumix DMC-FZ100P and is the answer not in the manual?
Procedure to safely discharge the capacitor on the Flash P.C.B. using a resistor.
Techniques to reduce component damage from static electricity, focusing on ES devices.
Procedure for replacing the lithium battery, including important cautions.
Procedure for performing initial settings after main PCB or Flash-ROM replacement, including cautions.
Detailed steps and examples for setting model suffixes in the INITIAL SETTINGS menu.
Instructions for setting the model suffix in the INITIAL SETTINGS menu and confirmation.
Description of the error code memory function, how to display it, and its interpretation.
Detailed list of error codes, their descriptions, problematic parts, and detecting devices.
Explanation of the ICS function for displaying camera settings at the time of picture taking.
List and images of specialized tools and fixtures used for servicing the unit.
Requirement to use "DIAS" software after replacing the Main P.C.B. for adjustment flag release.
Cautions for servicing the FLASH P.C.B., including capacitor discharge and high voltage.
Procedure for removing the Main P.C.B., detailing screws, connectors, and flex cables.
Detailed table listing items, figures, and removal steps for disassembly.
Procedure for removing the Flash P.C.B., with cautions and capacitor discharge instructions.
Procedure for removing the LCD Unit, including locking tabs, screws, and case parts.
Procedure to release initial settings necessary for automatic alignment.
Methods for backing up Flash-ROM data before disassembly.
Steps to execute electrical adjustment, including flag reset and startup.
How to reset and check status flags for electrical adjustments.
Steps to execute OIS adjustment, including flag reset and button presses.
Steps for performing initial settings after adjustments are completed.
Overall block diagram illustrating the camera's system architecture and component connections.
Diagram showing interconnections between various PCBs and units within the camera.
| Effective pixels | 14.1 megapixels |
|---|---|
| Sensor size | 1/2.33" (6.08 x 4.56 mm) |
| Sensor Type | CMOS |
| Focal length (equiv.) | 25 - 600 mm |
| Optical zoom | 24x |
| Digital Zoom | 4x |
| Screen size | 3" |
| Screen dots | 460, 000 |
| Max shutter speed | 1/2000 sec |
| Shutter Speed | 8 - 1/2000 sec |
| Format | JPEG, RAW |
| Video Resolution | 1920 x 1080 |
| Battery Life | 410 shots |
| Image ratio w:h | 4:3 |
| ISO | 100 |
| Maximum aperture | F2.8 - F5.2 |
| Storage types | SD/SDHC/SDXC |
| Weight | 540 g |
| Dimensions | 124 x 82 x 95 mm (4.88 x 3.23 x 3.74") |
| Battery Type | Lithium-Ion battery pack |