Advanced (Recording pictures)
- 132 -
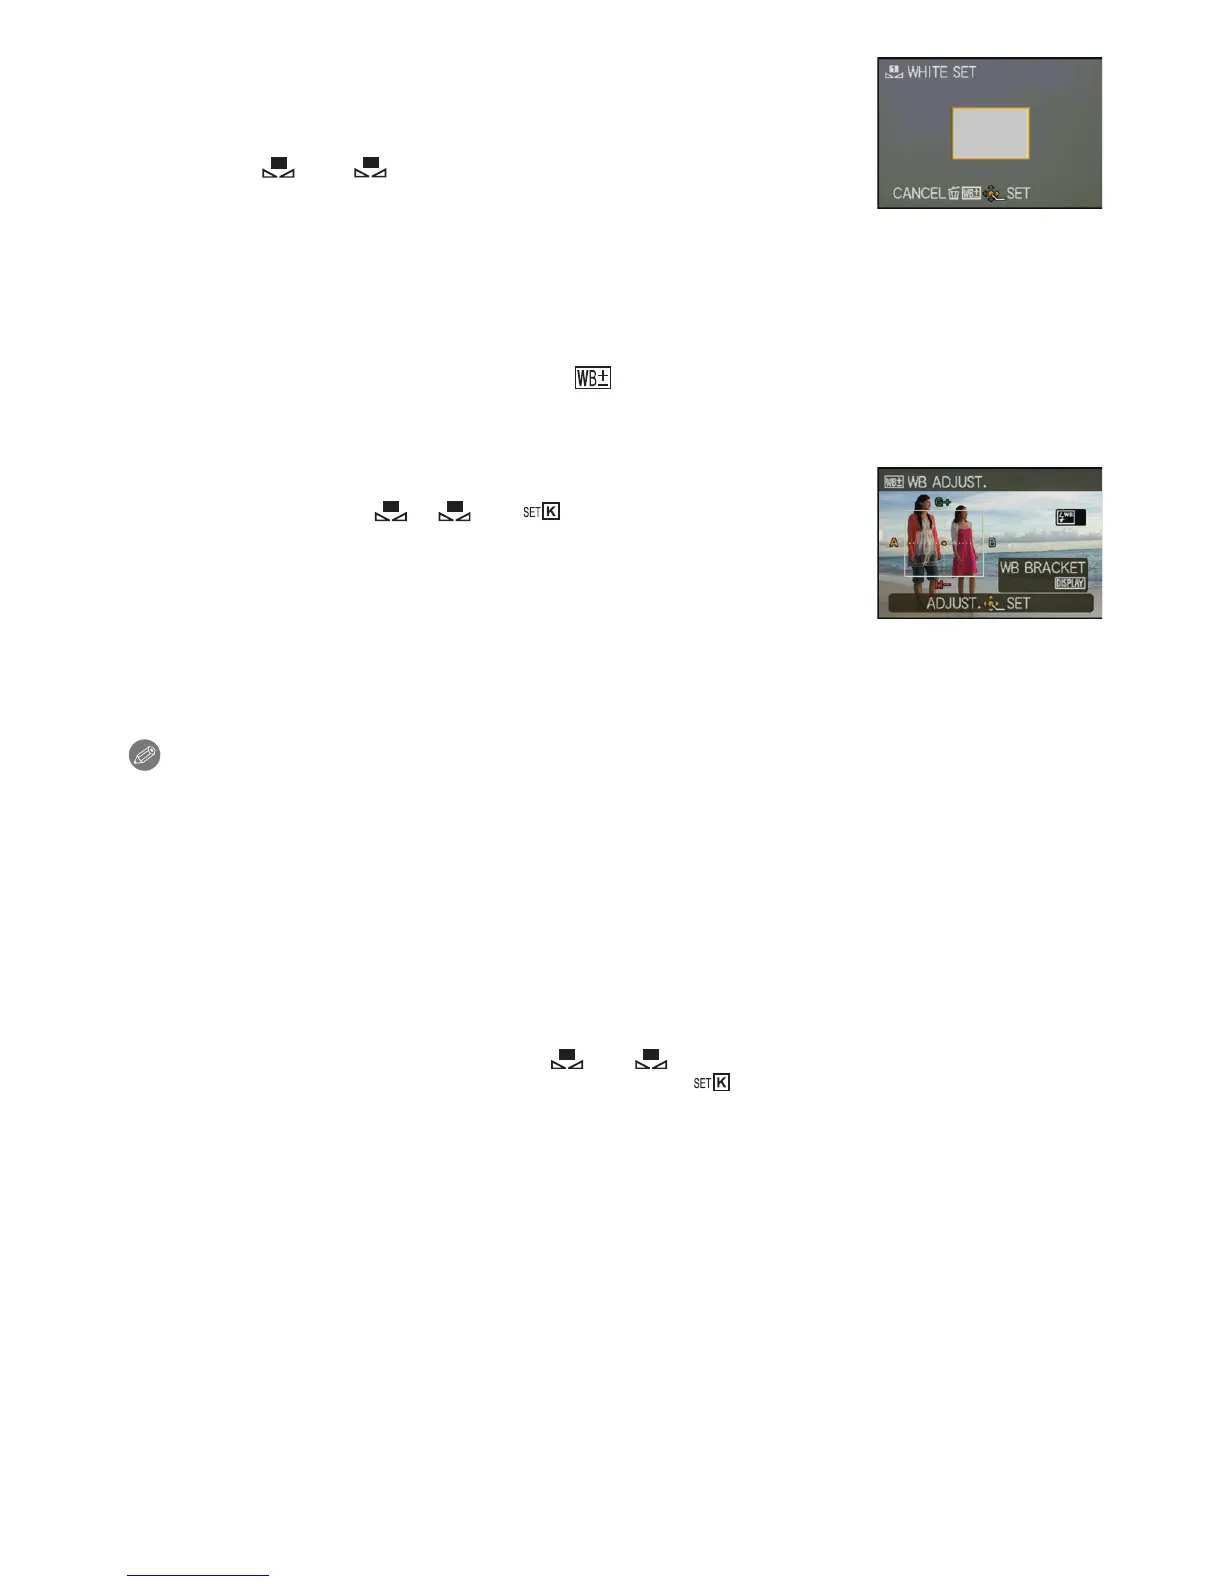
∫ Setting the White Balance manually
Set the White Balance value. Use to match the condition when
taking photographs.
1 Select [ ] or [ ] and then press 1.
2 Aim the camera at a sheet of white paper etc., so that the
frame in the centre is filled by the white object only and
then press [MENU/SET].
•
White Balance may not be set when the subject is too bright or too dark. Set the White
Balance again after adjusting to appropriate brightness.
∫ Finely adjusting the White Balance [ ]
You can finely adjust the White Balance when you cannot acquire the desired hue by
setting the White Balance.
1 Select [WHITE BALANCE] and then press 1.
•
Press 1 again if [ ], [ ] or [ ] is selected.
2 Press 3/4/2/1 to adjust the White Balance and then
press [MENU/SET].
Note
•
If you finely adjust the White Balance to A (amber), the White Balance icon on the screen will
change to orange. If you finely adjust the White Balance to B (blue), the White Balance icon on
the screen will change to blue.
• If you finely adjust the White Balance to G_ (green) or M` (magenta), [_] (green) or [`]
(magenta) appears beside the White Balance icon on the screen.
• Select the centre point if you are not finely adjusting the White Balance.
• The White Balance fine adjustment setting is reflected in the picture when using the flash.
• You can finely adjust the White Balance independently for each White Balance item.
• The White Balance fine adjustment setting is memorised even if the camera is turned off.
• The White Balance fine adjustment level returns to the standard setting (centre point) in the
following cases.
– When you reset the White Balance in [ ] or [ ]
– When you reset the colour temperature manually in [ ]
2 : A (AMBER: ORANGE)
1 : B (BLUE: BLUISH)
3 :G_ (GREEN: GREENISH)
4 :M` (MAGENTA: REDDISH)
1
1
 Loading...