4.1. Magnetron
1. Discharge high voltage charge.
2. Disconnect 1 grounding connector.
3. Remove 1 screw holding air guide A on the magnetron.
4. Remove 1 screw holding both thermistor and thermal cutout
bracket on the magnetron.
5. Disconnect 2 connectors from convection fan motor
terminals.
6. Remove 1 screw holding convection fan motor bracket on
the magnetron.
7. Remove another 2 screws holding convection fan motor
bracket on the top plate of the oven.
8. Disconnect 2 connectors from oven lamp terminals.
9. Remove convection fan motor assembly & air guide A.
10. Disconnect 2 high voltage lead wires from magnetron
filament terminals.
11. Remove 4 screws holding the magnetron.
NOTE:
After replacement of the magnetron, tighten mounting
screws properly in an x pattern, making sure there is no
gap between the waveguide and the magnetron to
prevent microwave leakage.
CAUTION
When replacing the magnetron, be sure the antenna gasket is in
place.
4 DISASSEMBLY AND PARTS REPLACEMENT
PROCEDURE
9
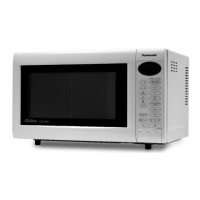
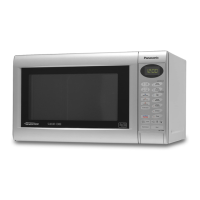
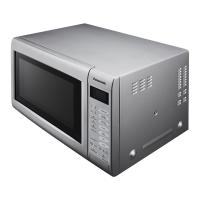
NN-CT585S / NN-CT565M / NN-CT555W
 Loading...