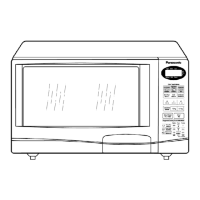
Do you have a question about the Panasonic NN-G335WF and is the answer not in the manual?
Schematic diagram for the NN-G315 model.
Schematic diagram for the NN-G335 model.
Procedure to ensure proper grounding of the microwave oven before repair.
Safety warning regarding residual charge in the high voltage capacitor.
Precaution against inserting foreign objects into the oven during operation.
Checks to perform after completing repairs on the microwave oven.
Steps for adjusting door latch and short switches for proper operation.
Method to test magnetron output power using a simple water heating test.
Illustrated diagram showing all parts of the microwave oven assembly.
List of all part numbers and descriptions for ordering replacements.
Instructions for disassembling and reassembling the microwave oven door.
Details on how microwave oven units are packed and what accessories are included.
Procedures for assembling the escutcheon base component.
Identification and listing of wiring materials used in the appliance.
Electrical schematic diagram for the digital programmer circuit.
List of parts specific to the digital programmer circuit.
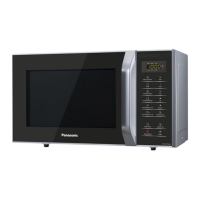
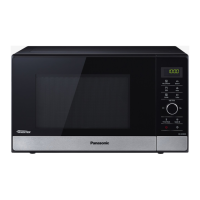
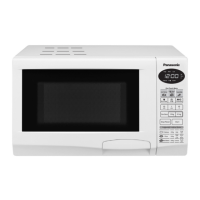
Control panel details for the NN-S215 model.
Control panel details for the NN-S235WF/M model.
Procedure for time cooking in two stages.
Operation steps for the Turbo Defrost function.
Operation steps for the Auto Cook function.
Operation steps for the Auto Reheat function.
Procedure to activate the child safety lock feature.
Procedure to deactivate the child safety lock feature.
Schematic diagram for NN-S215 models in QPQ and ZPE regions.
Schematic diagram for NN-S215 models except QPQ and ZPE.
Schematic diagram for NN-S235 models.
Explanation of how variable power cooking works for NN-S235 models.
Explanation of how variable power cooking works for NN-S215 models.
Importance of checking grounding before troubleshooting microwave ovens.
Safety advisory on discharging the high voltage capacitor before servicing.
Essential step to unplug the oven before replacing any parts.
Actions required when the 8 Amp fuse blows due to interlock switch issues.
Procedure for safely removing and replacing the magnetron assembly.
Steps for removing and replacing the DPC and membrane keyboard.
Procedures for replacing low voltage transformers and power relays.
Steps for removing and replacing the timer component.
Instructions for removing and replacing the fan motor.
Detailed steps for disassembling and reassembling the oven door.
Procedure for removing and replacing the turntable motor.
Testing procedures for interlock switches and power relay B.
Testing the short switch and monitoring its continuity.
Checking the continuity and resistance of the high voltage transformer.
Testing the continuity and resistance of the high voltage capacitor.
Procedures for checking the continuity of the magnetron filament and case.
Steps to test the functionality of the variable power controller.
Testing procedures for the diode (U) and protector diode.
Checking continuity of switch terminals on the membrane keyboard.
Steps for adjusting door latch and short switches for proper operation.
Method to test magnetron output power using a simple water heating test.
Guide on using an ohmmeter to test semiconductor components like diodes and transistors.
Illustrated diagram showing all parts of the microwave oven assembly.
List of all part numbers and descriptions for ordering replacements.
Instructions for disassembling and reassembling the microwave oven door.
Identification and listing of wiring materials used in the appliance.
Details on how microwave oven units are packed and what accessories are included.
Procedures for assembling the escutcheon base component.
Electrical schematic diagram for the digital programmer circuit.
List of parts specific to the digital programmer circuit.
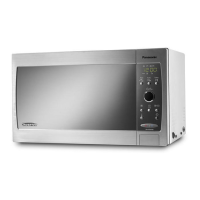
| Brand | Panasonic |
|---|---|
| Model | NN-G335WF |
| Category | Microwave Oven |
| Language | English |