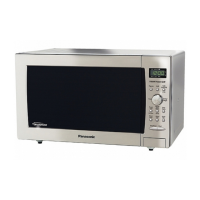
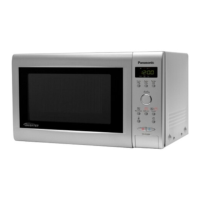
12. Release locking tabs of inverter reinforcement/grounding
bracket A hanging on both sides of oven cavity, then
withdraw the inverter reinforcement/grounding bracket A
outside slightly.
NOTE:
Pay attention to the sharp edges of inverter
reinforcement/grounding bracket A.
13. Hold the inverter reinforcement/grounding bracket A, then
remove 4 screws holding magnetron.
NOTE:
After replacement of the magnetron, tighten mounting
screws properly in an x pattern, making sure there is no
gap between the waveguide and the magnetron to
prevent microwave leakage.
CAUTION
When replacing the magnetron, be sure the antenna gasket is in
place.
6.2. Digital programmer circuit
(D.P.C) AU, (D.P.C.) DU,
membrane sheet, low voltage
transfarmer and power relay
CAUTION:
Be sure to ground any static electric charge built up in
your body before handling the DPC.
1. Disconnect all wiring connectors from D.P.C. board DU
(relay board).
2. Remove 1 screw holding escutcheon base on cavity front
plate.
3. Open the door of oven, slide the escutcheon base upward
and out slightly.
4. Forcibly pull out rotary dial directly.
5. Disconnect flat cable connecting between D.P.C. board AU
and DU from connector CN13 on D.P.C. board DU by
pulling upward slightly.
6. Remove 3 screws holding D.P.C. board DU (relay board) on
escutcheon base.
11
NN-GF668M
 Loading...
