7. Remove 3 screws holding grounding panel on escutcheon
base.
8. Remove 11 screws holding D.P.C. board AU (display &
rotary dial board) on escutcheon base.
9. Using solder wick or a desoldering tool and 30W soldering
iron carefully to remove all solder from the terminal pins of
the low voltage transformer and/or power relays.
CAUTION:
Do not use a soldering iron or desoldering tool of
more than 30 watts on D.P.C. contacts.
10. With all the terminal pins cleaned and separated from
D.P.C. contacts, remove the defective transformer/power
relays. Replace components making sure all terminal pins
are inserted completely, then resolder all terminal contacts
carefully.
To replace membrane sheet
11. Use tools such as kinfe etc. to lift the edge of escutcheon
sheet and peel off escutcheon sheet completely from
escutcheon base.
NOTE:
1. The membrane sheet is attached to the escutcheon
base with double faced adhesive tape. Therefore,
applying hot air such as using a hair dryer is
recommended for smoother removal.
2. When installing the new membrane sheet, make sure
that the surface of escutcheon base is clean.
6.3. H.V. Inverter
1. Discharge high voltage remaining in high voltage capacitor.
2. Remove 2 screws holding the inverter
reinforcement/grounding bracket A on oven cavity.
3. Remove 2 screws holding inverter reinforcement bracket B
on cavity top plate.
4. Remove 1 screw holding oven thermistor on cavity top
plate.
5. Release lead wire harness from locking tabs on Inverter
bracket A.
6. Disconnect 2 lead wires from fan motor terminals.
7. Disconnect all connectors from D.P.C. board LU.
8. Disconnect a big connector from the main harness which
connecting to D.P.C. board LU.
9. Disconnect 2 high voltage lead wires from magnetron
filament terminals.
10. Unplug connector CN701 & CN702 from H.V. Inverter
board.
11. Remove 1 screw holding inverter air guide bracket on
reinforcement bracket B, then release locking tabs, detach
air guide bracket.
12
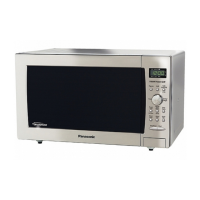
NN-GF668M
 Loading...