22
To Manually Adjust the Audio Recording
Level
This VCR adjusts the recording level automatically to prevent
sound distortion due to excessive peaks.
However, if you want to manually adjust the audio recording
level, perform the operation steps below before you start the
actual recording. We recommend you to adjust the level so
that it peaks at approximately i4 dB on the recording level
indicator.
1 Before recording, press the
AUDIO button ?.
2-a To adjust the left (L) and right
(R) channels simultaneously:
Press the Cursor buttons (21)
R to adjust the audio recording
level.
2-b To adjust the left (L) and right (R) channels individually,
use either of the following two operation methods:
Press the Cursor buttons (34) R to select either the
left (L) or right (R) channel and individually adjust their
audio recording level with the Cursor buttons (21) R.
Press the AUDIO button ? repeatedly to select either
the left (L) or right (R) channel and individually adjust
their audio recording level with the Cursor buttons (21)
R.
Example:
When the left (L) channel is selected.
≥ Adjusting the audio recording level of the normal audio
track (mono) is only possible when recording from an
external source, but not when recording TV
programmes via the VCR’s built-in tuner.
3 Press the EXIT button S to exit the On Screen Display.
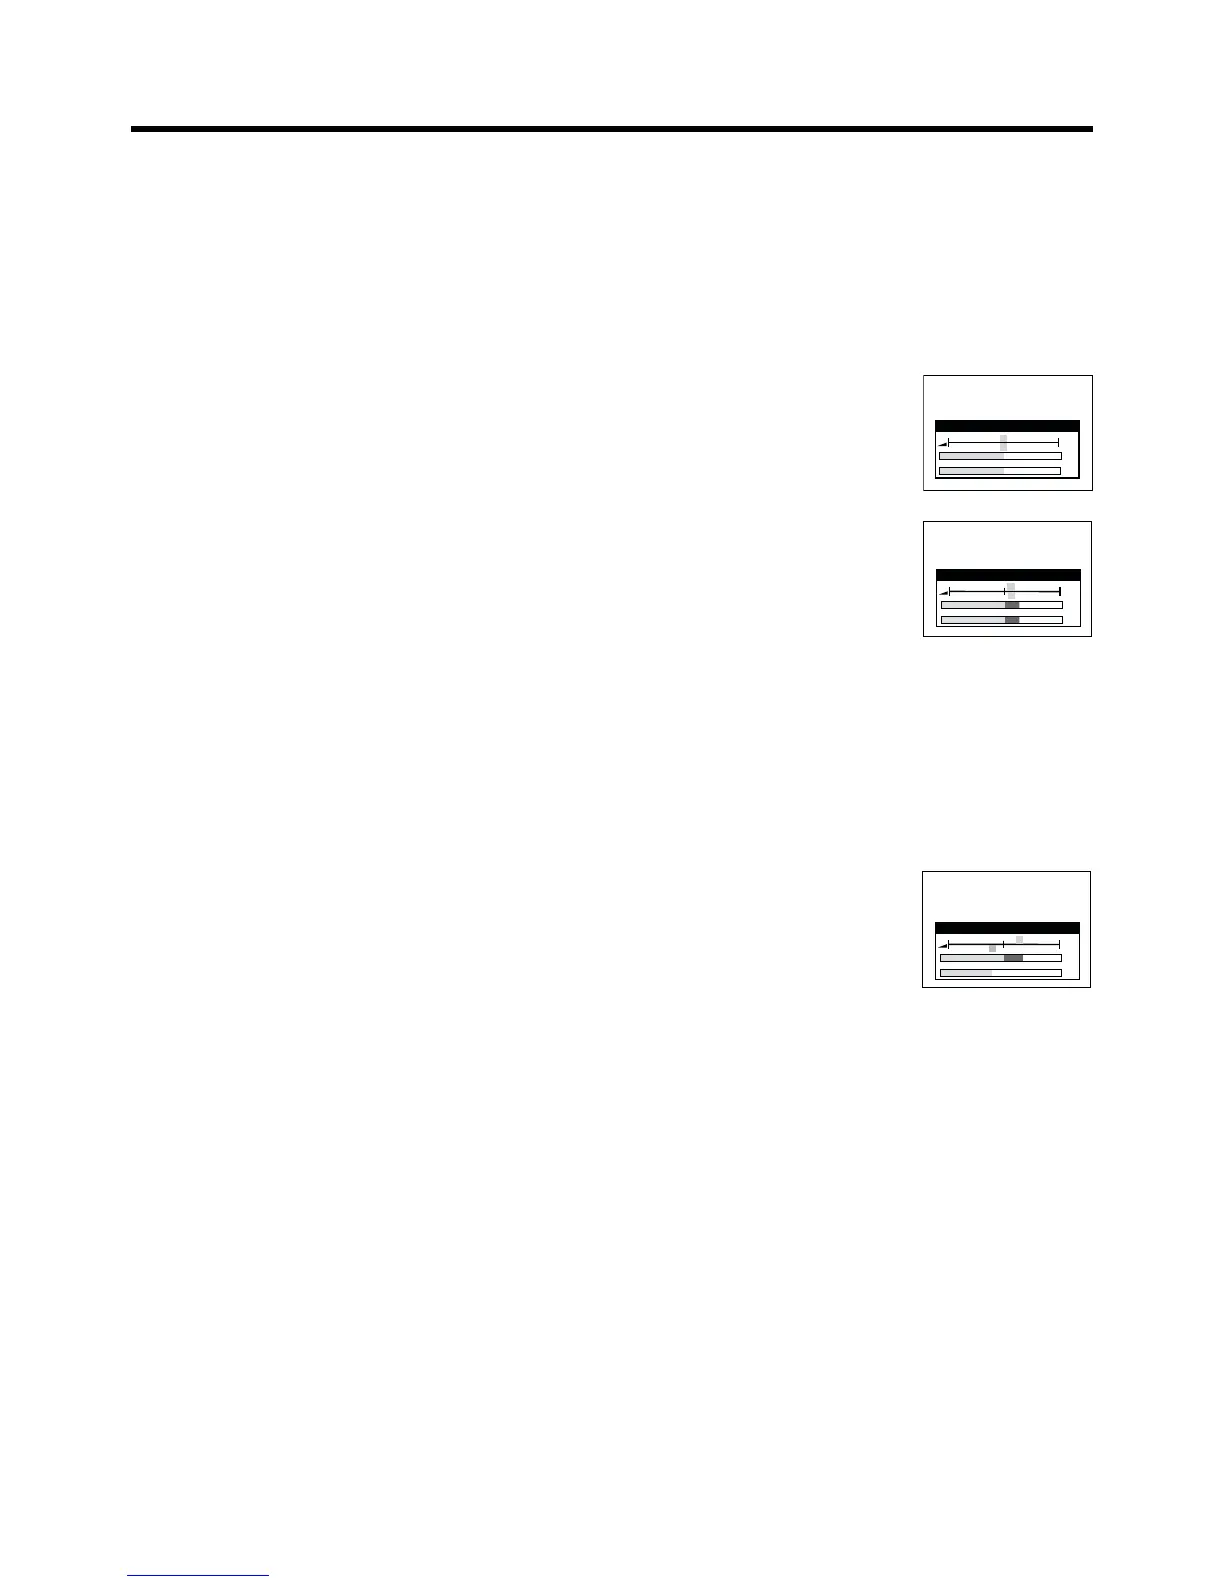
On Screen Display
Audio Rec Level (Stereo)
–
40 25 12 3 0 3 6 9 r12 dB
L
R
L
R
r
2
r
2
Audio Rec Level (Stereo)
–
40 25
12
3 0 3 6 9 r12 dB
L
R
L
R
r 4
s
3
Linked Timer Recordings by
external equipments
If an external equipment (for example a satellite receiver) with
a timer function is connected to the AV2 socket of this VCR
by a 21-pin cable, it is possible to control the recording of the
VCR from this equipment.
1 Make sure that “AV2” is set to “TIMER” mode.
(See page 55.)
2 Insert a video cassette with an intact erasure prevention
tab into the VCR.
3 Press the TIMER REC button D to switch the VCR over
to the timer recording standby mode.
4 Timer programming has to be done on the external
equipment, refer to its operating instructions.
5 To cancel the external control, turn off the timer
recording standby mode of the VCR by pressing the
TIMER REC button D again.
Notes:
≥ Make sure that the date and time of the timer of an external
equipment does not conflict with that of a VCR.
≥ To switch TV automatically to the picture from the VCR in
playback mode, connect the AV1 socket of this VCR to the
TV by a 21-pin cable as shown on page 43.
≥ Some external equipments may not work with this function,
refer to its operating instructions.