EasyManua.ls Logo

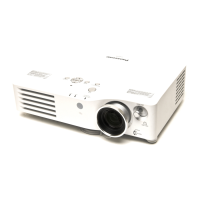
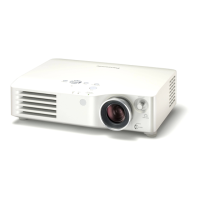
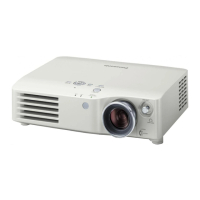
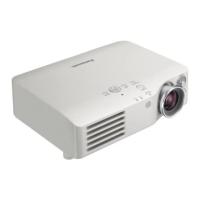
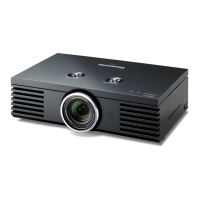
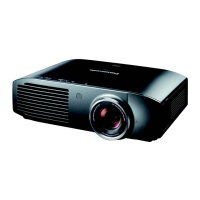
Panasonic PT-AX200E

Panasonic PT-AX200E
54 pages
To Next Page IconTo Next Page
Loading...
ENGLISH
Operating Instructions
LCD Projector
Model No. PT-AX200E
Before operating this product, please read the instructions carefully and save this manual for future use.
TQBJ0236

Table of Contents

Other manuals for Panasonic PT-AX200E

Questions and Answers:

Panasonic PT-AX200E Specifications

General IconGeneral
Projection technologyLCD
Projector native resolution1280x720
Keystone correction, vertical±30 °
Video inYes
Aspect ratio16:9
Dimensions (WxDxH)395 x 300 x 112 mm
Power requirements100 - 240 V AC, 50/60 Hz
Lamp typeUHM
Lamp power220 W
Light source typeLamp
Focal length range21.7 - 43.1 mm
Display resolution2764800 pixels
Power consumption (standby)0.08 W
Power consumption (typical)290 W
Market positioningHome cinema
Weight and Dimensions IconWeight and Dimensions
Weight4900 g

Summary

Important Safety Notice

General Safety Warnings

Essential safety information covering electrical hazards, operation, and handling precautions.

UK Mains Plug Safety Precautions

Settings Menu Structure

Safety Precautions: Electrical and Environmental

Electrical Safety Warnings

Covers mains lead, plug, socket safety, and avoiding electric shock hazards.

Environmental and Usage Safety

Precautions regarding heat, moisture, placement, and direct light exposure.

User Safety Guidelines: Handling and Operation

Safe Handling and Lens Care

Instructions for safe operation, avoiding direct light, and protecting the lens.

Battery and Remote Control Safety

Guidelines for safe battery insertion and remote control usage.

Advanced Safety and Transport

Installation and Usage Cautions

Remote Control Operation Guide

Remote Control Button Functions

Detailed explanation of each button's function on the remote control.

Projector Connectivity Ports

Back and Bottom View Terminal Connections

Details on various input/output terminals and their connection types for peripherals.

Setting Up: Screen Size and Throw Distance

Setting Up: Projection Methods and Angle

Image Positioning with Lens Shift

Connecting Peripheral Devices

Powering the Projector On and Off

Mains Lead Connection and Disconnection

Steps for safely connecting and disconnecting the main power lead.

Power Indicator Status Meanings

Explanation of the different states and indications of the projector's power indicator light.

Projector Startup and Shutdown Procedures

Starting the Projector

Step-by-step guide to turning the projector on, including initial checks.

Shutting Down the Projector Safely

Procedure for safely powering off the projector, including lamp cooling.

Image Projection and Adjustment

Selecting Input Signal and Positioning Image

How to choose the correct input source and adjust image position using lens shift.

Focusing and Image Sizing

Adjusting the focus ring and zoom ring for optimal image clarity and size.

Remote Control Operation Details

Image Adjustment and Aspect Ratio

Adjusting Image Parameters

Modifying picture settings like contrast, brightness, colour, sharpness.

Switching Aspect Ratio

Manually selecting aspect ratios (4:3, 16:9) to match content.

Custom Color Profile Creation

Profile Management: Saving and Loading

Input Signal Selection and Shortcuts

Menu Navigation System Guide

Main Menu Structure and Options

Picture Menu: Core Adjustments

Contrast, Brightness, Colour, Tint

Detailed guidance on adjusting contrast, brightness, colour saturation, and skin tone.

Picture Menu: Advanced Features

Picture Menu: Favourite Settings Management

Position Menu: Alignment Controls

Position Menu: Advanced Corrections

Function Button Customization

Troubleshooting: Indicator Lights

LAMP Indicator Troubleshooting

Diagnosing and resolving problems indicated by the LAMP indicator.

TEMP Indicator Troubleshooting

Diagnosing and resolving problems indicated by the TEMP indicator.

Maintenance: Cleaning Procedures

Cleaning Projector Surfaces and Lens

Instructions for cleaning the projector's outer surface and projection lens.

Maintenance: Lamp Unit Replacement

Replacing the Lamp Unit and Resetting Runtime

Removing and Installing Lamp Unit

Step-by-step guide for safely removing and installing a new projector lamp unit.

Resetting Lamp Runtime Counter

Procedure to reset the lamp runtime counter after replacement.

Troubleshooting Common Problems

Technical Information: Compatible Signals

Technical Information: Serial Control

Ceiling Mount Bracket Safety and Installation

Related product manuals