Do you have a question about the Panasonic PT-DZ13KU and is the answer not in the manual?
Essential safety guidelines and warnings before operating the projector, covering installation and handling.
Steps for initial focus adjustment, display language, installation, and screen settings upon first use.
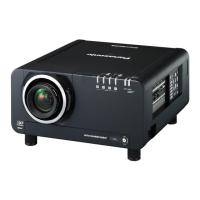
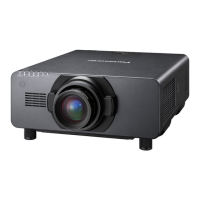
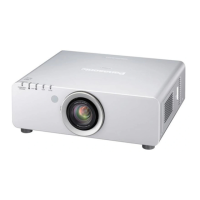
Identification and description of the projector body, control panel, and terminals.
Instructions for battery insertion, ID settings, and wired connection of the remote control.
Guidance on installation modes, mounting, and screen size/throw distance calculations for optimal placement.
Procedure for securely attaching and removing the optional projection lens, including handling precautions.
Details on connecting various external devices via HDMI, DVI-D, SDI, and RGB terminals.
Step-by-step instructions for connecting the power cord, switching the projector on, and switching it off.
Process for selecting input signals and adjusting image focus, zoom, and shift for optimal display quality.
Using shutter, on-screen display, input selection, status display, and other functions via remote control.
How to navigate the on-screen menu system and reset settings to factory default values.
Adjusting picture mode, contrast, brightness, color, tint, color temperature, gamma, and sharpness for optimal image.
Adjusting image shift, aspect ratio, zoom, clock phase, keystone, corner, and curved distortions for accurate projection.
Settings for digital cinema reality, blanking, input resolution, clamp position, edge blending, and frame response.
Configuring projector ID, projection method, cooling, high altitude mode, lamp selection, power, and standby settings.
Setting up network parameters, controlling the projector via web browser, and managing status and authentication.
Interpreting lamp, temperature, and filter indicators to diagnose projector status and identify potential issues.
Procedures for cleaning the air filter unit, replacing the air filter, and replacing the lamp unit for optimal performance.
Guide to common projector problems, their causes, and solutions with references to relevant sections.
Details on PJLink protocol, control commands, LAN control, RS-232C terminals, and cable specifications.
Comprehensive technical specifications including power, dimensions, weight, operating environment, and signal compatibility.
Physical dimensions of the projector and essential precautions for installing ceiling mount brackets.
| Resolution | 1920 x 1200 (WUXGA) |
|---|---|
| Contrast Ratio | 10, 000:1 |
| Display Technology | 3-Chip DLP |
| Lamp Life (Normal Mode) | 2, 000 hours |
| Lamp Life | 2, 000 hours |
| Input Ports | HDMI, DVI-D, VGA, Component, Composite |
| Lamp Type | UHM |
| Inputs | HDMI, DVI-D, VGA, Component, Composite |
| Dimensions (W x H x D) | 530 x 241 x 634 mm |