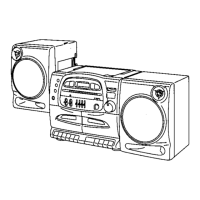
Recording
Compact
Discs
2
Preparation: Insert the
CD.
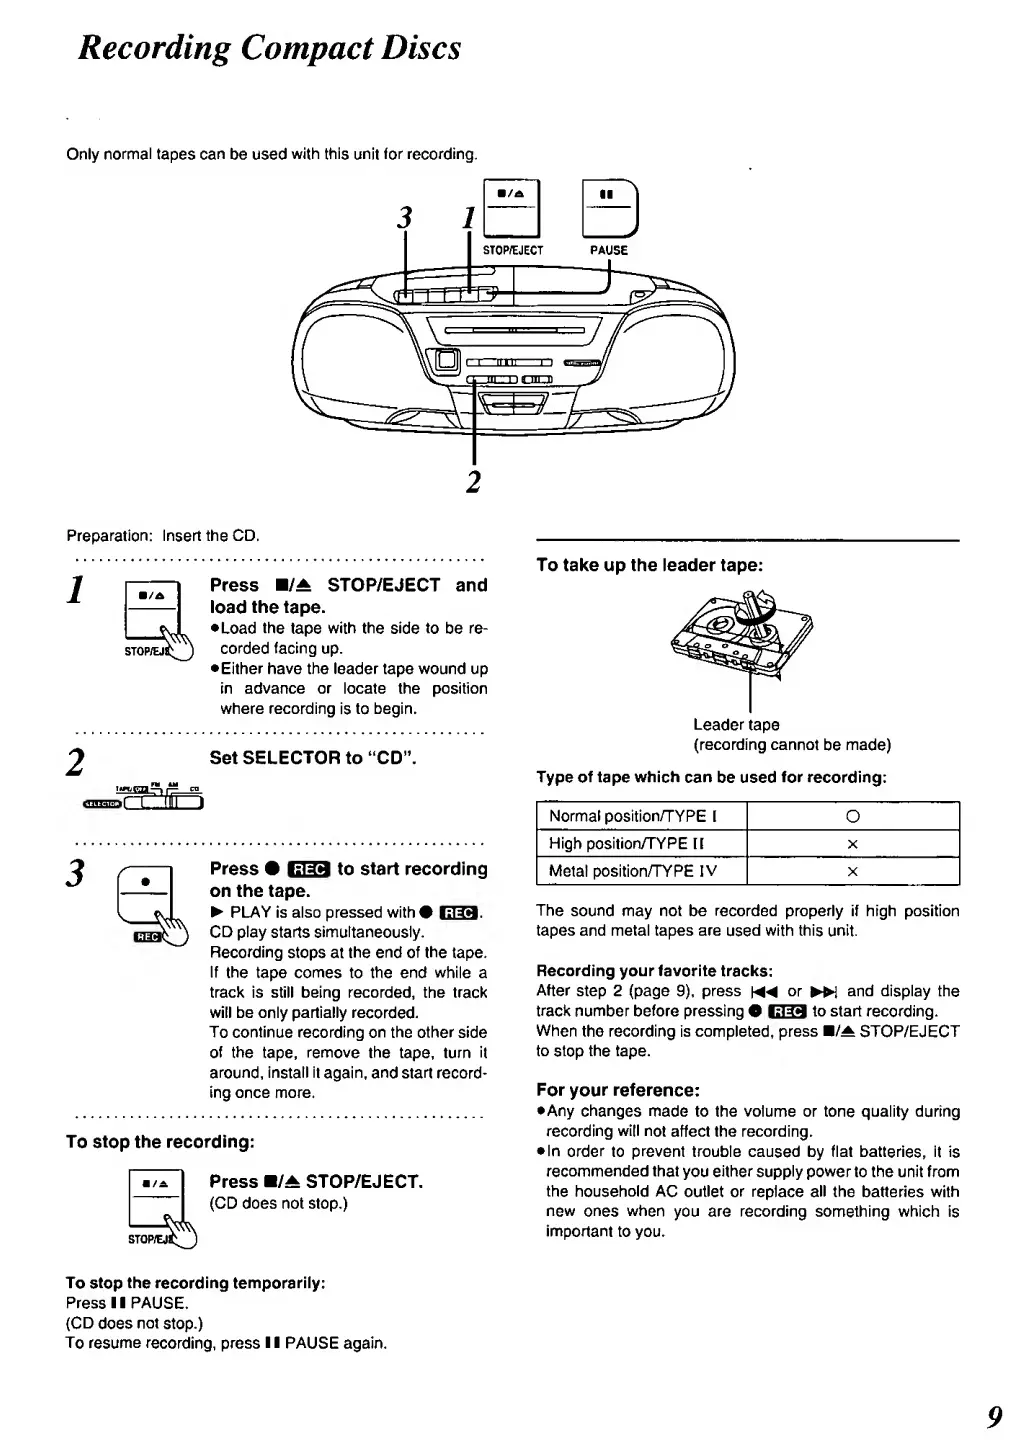
Press
H/A
STOP/EJECT and
load
the
tape.
•Load
the
tape
with
the side
to
be
re-
corded
facing
up.
•Either
have the
leader tape wound
up
in advance or locate the position
where recording
is to
begin.
Set
SELECTOR
to "CD".
Press
•
EIS
to
start
recording
on the tape.
PLAY Is also pressed with#
ESS.
CD play
starts
simultaneously.
Recording
stops at
the end
of
the
tape.
If
the
tape
comes
to the end while
a
track is still being recorded, the
tracl<
will be only partially
recorded.
To continue recording on
the
other
side
of
the
tape,
remove
the
tape, turn
it
around,
install It
again, and start
record*
ing once more.
To
stop the
recording:
Press
B/A
STOP/EJECT.
(CD does not stop.)
To take up the leader tape:
Leader
tape
(recording cannot
be
made)
Type of
tape
which
can
be used
for
recording:
Normal
position/TYPE
1
O
High position/TYPE
H
X
Metal position/TYPE
IV
X
The
sound
may not be
recorded
properly if high position
tapes and metal tapes are
used
with this
unit.
Recording
your favorite
tracks:
After
step 2 (page
9),
press
\MM
or
»i
and
display the
track
number
before
pressing
O
1339
to start
recording.
When
the recording is completed, press B/^
STOP/EJECT
to
stop
the
tape.
For
your reference:
•Any changes
made to the volume or tone quality
during
recording
will
not
affect the
recording.
•
In
order
to
prevent
trouble
caused
by flat
batteries, it Is
recommended that
you
either
supply power
to the
unit from
the
household AC
outlet
or
replace
all
the batteries with
new
ones
when
you are recording something which
is
important
to you.
To
stop
the recording temporarily:
Press
1
1
PAUSE.
(CD
does
not
stop.)
To resume
recording,
press
1
1 PAUSE again.
9