35
4. Pull out the NFC P.C.B. Unit..
37
4. Pull out the NFC P.C.B. Unit.
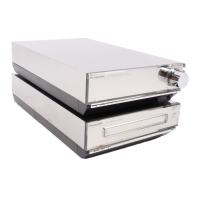
12.3.4. Body Chassis
1. Detach the lead wires fixed at hooking part of the Body
Chassis.
2. Remove the 3 screws (A) and remove the Body Chassis.
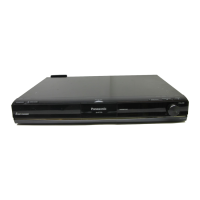
12.3.5. Power Supply P.C.B. Unit
1. Remove the connector (A) and (B).
2. Remove the 2 screws (A), then remove the Power Supply
P.C.B. Unit.
Screw (A)
Screw (A)
Body Chassis
Hooking part
12.3.4. Body Chassis
1.Detach the lead wires xed at hooking part of the Body
Chassis.
2.Remove 3 Screws (A) to remove the Body Chassis
13.3.5. Power Supply P.C.B.Unit
1.Disconnect the connector (A) and connect (B).
2.Remove the 4 screws (A), then remove the Power Supply
P.C.B. Unit.
Connector (A)
Connector (B)
Power Supply P.C.B.
Screw (A)
Screw (A)
Screw (A)