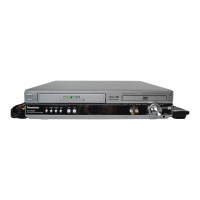
12.1. Checking & Repair Main
P.C.B., Power P.C.B., HDMI
Module P.C.B., FL and Head
phone P.C.B.
·
Follow the Item 10.5.
·
Follow the (Step 1) - (Step 4) of Item 10.6.
·
Follow the (Step 1) - (Step 3) of Item 10.7.
·
Follow the (Step 1) - (Step 3) of Item 10.8.
·
Follow the (Step 1) - (Step 3) of Item 10.9.
·
Follow the (Step 1) - (Step 3) of Item 10.10.
·
Follow the (Step 1) - (Step 3) of Item 10.11.
·
Follow the (Step 1) - (Step 3) of Item 10.12.
Step 1 Change cable (REEX0524) to extended cable
(REEX0633).
Step 2 Change cable (REZ1483) to extended cable
(REEX0465).
Step 3 Connect all the cables.
Step 4 Connect 2 fans.
Step 5 Turn over Power P.C.B., Main P.C.B., HDMI module
P.C.B., FL P.C.B. and Head phone P.C.B.
Step 6 Position mechanism base block and tray assembly in
horizontally.
Step 7 Connect the AC cord and switch on the power.
Step 8 Insert CD into tray assembly.
Step 9 Press DISC SELECTOR button to lock the CD. For
example, press “1” of “5 DISC SELECTOR” if the CD is placed
at the first disc tray.
11 Service Fixture and Tools
Prepare service tools before proccess service position.
Service Tools
Loading Motor P.C.B. - Main
P.C.B.
REEX0633 (11 pin)
Sensor P.C.B. - Power P.C.B. REEX0465 (11 pin)
12 Service Positions
43
SA-HT940P / SA-HT940PC
 Loading...