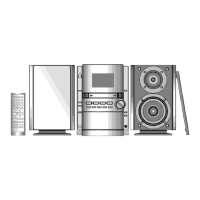
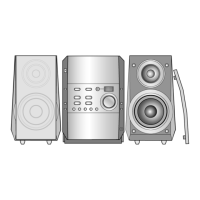
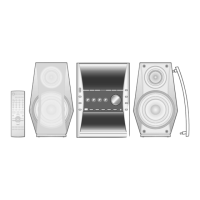
components.
2. For reassembly after operation checks or replacement, reverse the
respective procedures.Special reassembly procedures are
described only when required.
3. Select items from the following index when checks or replacement
are required.
4. Refer the Parts No. on the page of "Main Component Replacement
Procedures", if necessary.
Contents
- Checking Procedure for each major P.C.B.
- Checking of the Transformer P.C.B.
- Checking for the Main P.C.B.
- Checking for the CD Servo P.C.B.
- Checking for the CD Servo P.C.B.
- Checking for thePower P.C.B and Deck P.C.B.
- Diaassembly and Assembly of the Disc Tray and CD Traverse Unit
- Disassembly of the Disc Tray
- Disassembly of the CD Traveerse Unit
- Main Component Replacement Procedure
- Replacement of the CD Servo P.C.B. and Optical Pick-up Unit
Warning :-
This product uses a laser diode. Refer to caution statement
Precaution of Laser Diode.
ACHTUNG :-
- Die Lasereinheit nicht zerlegen.
- Die Lasereinheit darf nur gegen eine vom Hertsteller spezifizierte
Einheit ausgetauscht werden.
7.1. Disassembly Procedure for Each Major P.C.B. Checking
7.1.1. Checking for the Transformer P.C.B.
Step 1 Remove 2 screws each side.
Step 2 Remove 7 screws from the rear panel.
9