What to do if Panasonic Stereo System sound quality is poor?
B
bsaundersAug 6, 2025
If you are experiencing poor sound quality or are unable to record with your Panasonic Stereo System, try cleaning the heads. If you're trying to record and the erasure prevention tabs have been removed, cover the holes with adhesive tape.
I
ireedAug 12, 2025
Why my Panasonic SC-VK725D Stereo System has no power?
S
Stephanie SmithAug 12, 2025
If your Panasonic Stereo System has no power and switches to standby mode, first, ensure the AC power cord is securely inserted. It's also possible the unit entered standby due to the sleep timer or auto-off function.
K
khullAug 18, 2025
How to fix subtitles on Panasonic SC-VK725D?
R
Rachael WeaverAug 18, 2025
If the subtitles are not displayed or the subtitle position is wrong on your Panasonic Stereo System, you can adjust the position in the Display Menu under “Subtitle Position”. Also, ensure that you have enabled subtitles to be displayed. Note that subtitles may not be available on all discs.
J
James BaileyAug 25, 2025
Why can't I access the setup menu on my Panasonic Stereo System?
A
Antonio FischerAug 25, 2025
If you cannot access the Setup menu on your Panasonic Stereo System, make sure that 'DVD/CD' is selected as the source. Also, cancel any program and random play settings.
D
David RileyOct 30, 2025
What to do if my Panasonic SC-VK725D is not responding to remote or buttons?
N
nicole22Oct 31, 2025
If your Panasonic Stereo System isn't responding to button presses or the remote, DVDs won't play, or you've forgotten your password, try these steps: Ensure you are using discs compatible with the unit. Be aware that some disc operations might be restricted. If the issue is due to lightning or static, turn the unit off and on again. For condensation, wait 1-2 hours. Replace depleted remote batteries and aim the remote at the sensor. Turn off CD Mode by pressing [CD MODE]. Check the video/audio connections and the power/input settings of connected devices. Ensure the disc has recorded content. To reset a forgotten password, press and hold [L STOP] on the unit and [h10] on the remote until 'Initialised' disappears from the TV. As a last resort, turn the unit off and on to restore default se...
Troubleshooting for display lighting up continuously in standby, dark display, or specific error messages like 'NO PLAY', 'NO DISC', 'F61', 'DVD U11', 'ERROR', 'DVD HMM'.
Troubleshooting for region code messages, no on-screen display, incompatible group/content, protected content, no audio, dirty disc, authorization errors, or expired rented movies.
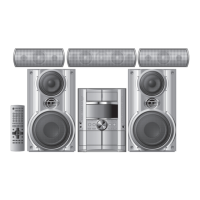
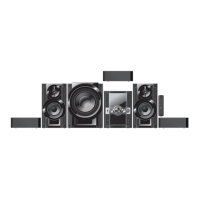
Specifications for VK725D front speakers, including type, units, impedance, input power, output sound pressure, crossover frequency, frequency range, dimensions, and mass.
Specifications for VK725D surround speakers, including type, units, impedance, input power, output sound pressure, frequency range, dimensions, and mass.
Specifications for VK725D center speaker, including type, units, impedance, input power, output sound pressure, crossover frequency, frequency range, dimensions, and mass.
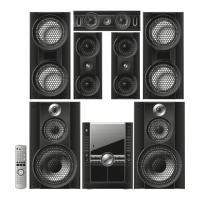
Specifications for VK825D front speakers, including type, units, impedance, input power, output sound pressure, crossover frequency, frequency range, dimensions, and mass.
Specifications for VK825D center speaker, including type, units, impedance, input power, output sound pressure, crossover frequency, frequency range, dimensions, and mass.
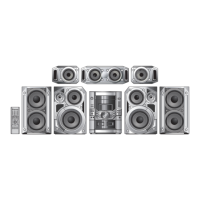
Specifications for VK925D front speakers, including type, units, impedance, input power, output sound pressure, crossover frequency, frequency range, dimensions, and mass.
Specifications for VK925D center speaker, including type, units, impedance, input power, output sound pressure, crossover frequency, frequency range, dimensions, and mass.