
Y
yatestaraAug 17, 2025
What to do if my bread does not come out of the Panasonic SD-ZP2000?
- Ccarly81Aug 17, 2025
If the bread tub is stuck, cover the surface with a kitchen towel until the bread comes out.
What to do if my bread does not come out of the Panasonic SD-ZP2000?
If the bread tub is stuck, cover the surface with a kitchen towel until the bread comes out.
Why my Panasonic SD-ZP2000 bread does not rise well?
Several factors can prevent your bread from rising properly. Ensure you're adding ingredients in the correct order as per the recipe. Also, use a dry yeast from a sachet that specifies 'instant dry yeast'. Finally, confirm that you've properly attached the kneading blade in the bread pan before starting.
How to prevent Panasonic Bread Maker from over rising?
To prevent your bread from rising too much, ensure you are accurately measuring ingredients. Use the provided measuring spoon for dry yeast and the measuring cup for liquids to measure the correct amount of water. Also, verify that you're using the correct amount of flour, using scales or the measuring cup.
What to do if I smell burning from my Panasonic SD-ZP2000 Bread Maker?
If you notice a burning smell while your bread is baking, it's likely that some ingredients have spilled onto the heating element. After the machine has cooled down completely, gently wipe the heating element clean.
What to do if my Panasonic SD-ZP2000 bread has not been baked?
If your bread hasn't been baked, it could be due to selecting the wrong menu. The dough menu does not include a baking process. If this is the case, remove the unbaked bread from the bread pan and start again with new ingredients, selecting the appropriate baking menu.
How to fix my Panasonic SD-ZP2000 Bread Maker brioche?
To improve your brioche results, follow the bread mix recipe, ensuring the mix is between 350 – 500 g. Place the dry yeast first, then dry ingredients, butter, and finally water into the bread pan. You might also try adding an extra 10 – 20 mL of water. Be sure you are using a dry yeast from a sachet, which has instant dry yeast written on it.
Why does the kneading blade rattle in my Panasonic SD-ZP2000?
The kneading blade may rattle because it fits loosely on the kneading mounting shaft. This is normal and not a fault.
What if kneading mounting shaft in Panasonic SD-ZP2000 Bread Maker is stiff?
If the kneading mounting shaft does not rotate when the kneading blade is attached, you will need to replace the kneading mounting shaft unit.
Why is there excess flour around the bottom and sides of my Panasonic SD-ZP2000 Bread Maker?
Excess flour around the bottom and sides of your bread typically means you've used too much flour or not enough liquid. To fix this, carefully check the recipe and measure the flour using scales and liquids using the measuring cup provided.
What to do if my Panasonic SD-ZP2000 jam is too runny and not firmly set?
If your jam is too runny, it likely means the cooking time was insufficient. Let the jam cool completely, as it will continue to set as it cools. You can still use the runny jam as a sauce for desserts.
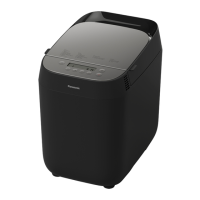
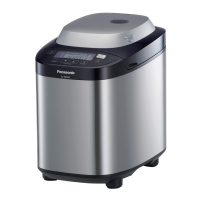
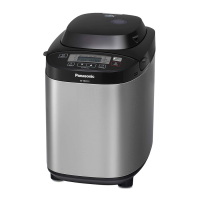
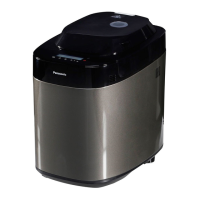
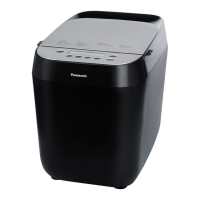
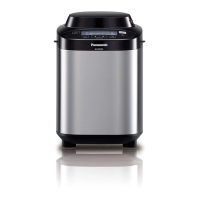
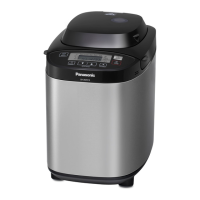
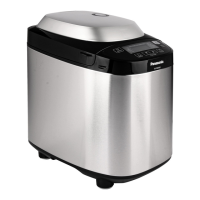
Details the main components and accessories of the bread maker, including the bread pan, lid, and control panel.
Explains the operation panel, buttons, and display indicators for controlling the bread maker.
Details how to add dried fruits, nuts, and cheese to flavored breads using specific menus.
Provides guidance on making gluten-free bread, including consultation with doctors and specific ingredient advice.
Details the functions available for each menu and the time required for various processes, considering room temperature.
Instructions for initial setup and cleaning before operating the bread maker for the first time.
Steps for preparing the bread pan, kneading blade, and ingredients before starting the baking process.
Detailed steps for baking various types of bread using menus 1 through 11, including timer and ingredient additions.
Provides specific recipes for different bread types like White, Raisin, Whole Wheat, Lean, and Soft bread variations.
Instructions for baking brioche using Menu 12, including ingredient quantities and special steps.
Instructions for baking cake using Menu 13, detailing ingredients, preparation, and baking time.
Guidance for baking gluten-free bread using Menu 14, including tips and ingredient considerations.
Instructions for baking gluten-free cake using Menu 15, with ingredient details and tips.
Steps to make basic bread dough using Menu 16, for subsequent baking in an oven.
Instructions for making pizza dough using Menu 17, including shaping and baking preparation.
Detailed steps for making jam using Menu 18, including ingredients, cooking time, and storage.
Guide to cleaning the bread pan and kneading blade, including tips for removing residue and preventing damage.
Instructions for cleaning the interior of the bread maker, focusing on wiping with a damp cloth.
Steps for cleaning the exterior surfaces and steam vent of the bread maker.
Guidance on cleaning the measuring cup and spoon, noting they are not dishwasher safe.
Addresses common problems encountered during or after the bread making process and provides solutions.
Details unusual occurrences or specific issues related to components or operation, offering explanations.
Explains error codes and display messages such as '1', 'H01', 'H02', 'U50' and their meanings.
| Cord length | 0.9 m |
|---|---|
| Display type | LCD |
| Product color | White |
| Viewing window | No |
| Built-in display | Yes |
| Housing material | Polypropylene (PP) |
| Delay start (max) | 13 h |
| Number of programs | 18 |
| Maximum bread weight | - g |
| Auto programs quantity | - |
| Bread & dough making programs | Dough, Gluten free bread, Pizza dough |
| Variable crust browning levels | Light crust, Medium crust |
| AC input voltage | 230 V |
| AC input frequency | 50 Hz |
| Package weight | 8500 g |
| Depth | 404 mm |
|---|---|
| Width | 273 mm |
| Height | 340 mm |
| Weight | 7000 g |