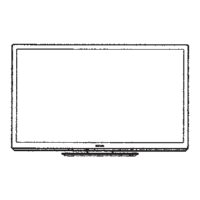
25
3. Remove the 15 screws (THEL0239).
4. Remove the Contact metal bottom.
9.2.24. C1-Panel
1. Disconnect the connector C14.
2. Disconnect the flexible cable C10.
3. Disconnect the flexible cables CB1, CB2, CB3, CB4 and
CB5.
4. Remove the 4 screws (XYN3+F6FJ).
5. Remove the C1-Panel.
9.2.25. C2-Panel
1. Disconnect the connector C25 and C28.
2. Disconnect the flexible cables C20, C21 and C26.
3. Disconnect the flexible cables CB6, CB7, CB8, CB9,
CB10 and CB11.
4. Remove the 5 screws (XYN3+F6FJ).
5. Remove the C2-Panel.
9.2.26. C3-Panel
1. Disconnect the flexible cables C31 and C36.
2. Disconnect the flexible cables CB12, CB13, CB14 and
CB15.
3. Remove the 4 screws (XYN3+F6FJ).
4. Remove the C3-Panel.
9.2.27. Replace the Plasma panel
Caution:
Place the Plasma panel on a flat surface of a table
(covered by a soft cloth) and a cushion.
A new Plasma panel itself without Contact metals is fragile.
To avoid the damage to new Plasma panel, carry a new
Plasma panel taking hold of the Contact metals.
1. Place a carton box packed a new Plasma panel on the
flat surface of the work bench.
2. Open a box and without taking a new Plasma panel.
3. Attach the Cabinet assy and each P.C.Board and so on,
to the new Plasma panel.
 Loading...
