55
English
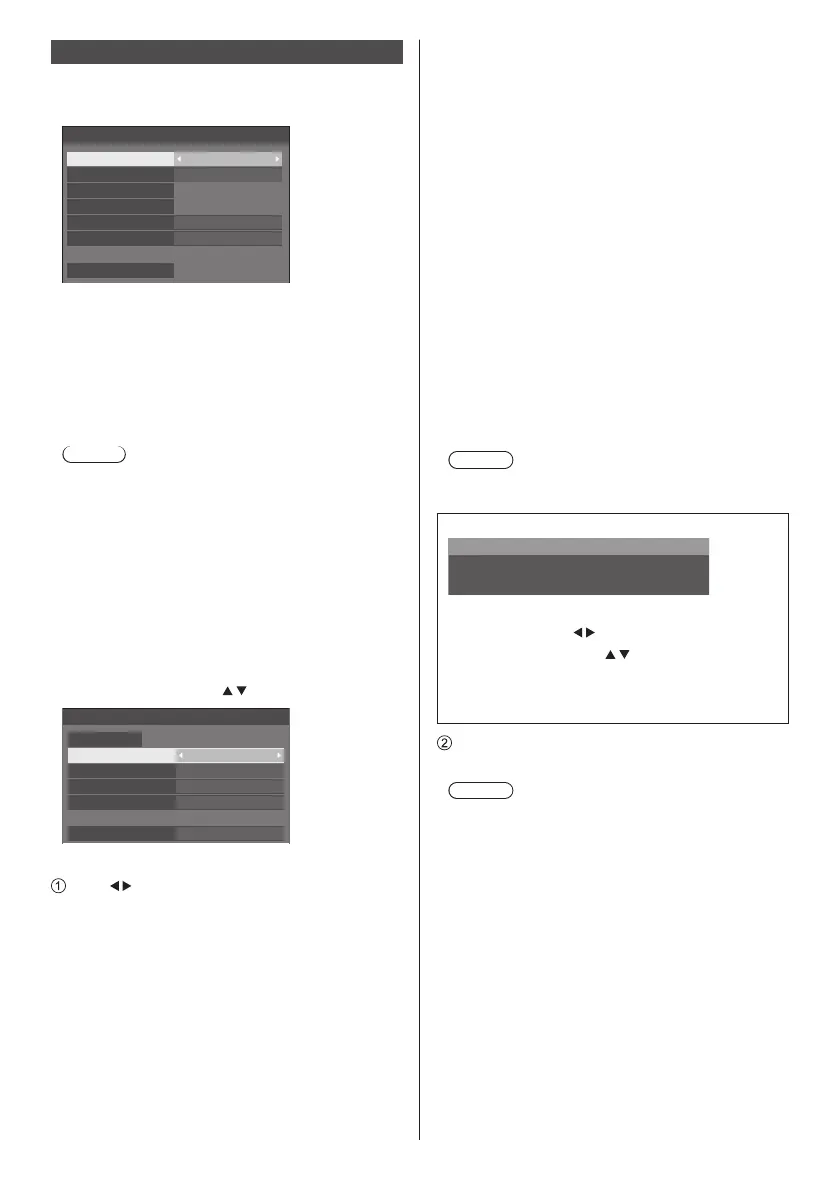
Network settings
Set when networking with a computer.
[Network settings] submenu will be displayed.
Network settings
Network control
LFE8-00
Off
Off
Off
Display name
Network status
LAN setup
AMX D.D.
Crestron Connected™
Reset
Ŷ [Network control]
Set when controlling with the unit’s LAN terminal.
[On]:
Controls via LAN using the LAN terminal of the
Display.
[Off]:
Invalidates control with LAN terminal.
Note
Ɣ
When using the LAN control function for “Using
Network Function” (page 64-72), set this function
to [On].
Ŷ [Display name]
The name of the Display that is shown on the network
can be changed.
Ŷ [LAN setup]
Detailed network settings for the LAN established via
the LAN terminal of the Display or twisted pair cable
transmitter can be configured.
Select [LAN setup] with and press <ENTER>.
192.168. 0. 8
255.255.255. 0
192.168. 0. 1
1024
LAN setup
Save
DHCP
Off
IP address
Subnet mask
Gateway
Port
[DHCP], [IP address], [Subnet mask], [Gateway]
Press to set [On] / [Off] of [DHCP] and press
<ENTER>.
When [Off] is selected, IP address and other settings
can be set manually.
[DHCP]:
(DHCP client function)
[On]:
Obtains an IP address automatically when a
DHCP server exists in the network the Display is
going to be connected.
[Off]:
When a DHCP server does not exist in the
network the Display is going to be connected,
set [IP address], [Subnet mask] and [Gateway]
manually.
[IP address]:
(IP address display and setting)
Enter an IP address when DHCP server is not used.
[Subnet mask]:
(Subnet mask display and setting)
Enter a Subnet mask when DHCP server is not
used.
[Gateway]:
(Gateway address display and setting)
Enter a gateway address when DHCP server is not
used.
Note
Ɣ
When [DHCP] is set to [On], the IP address, etc. will
be displayed in gray.
Entering numbers
I
192.168. 0. 8
IPaddress
1. Select the address and press <ENTER>.
2. Select digits with .
3. Change numbers with
.
4. Press <ENTER>.
You can cancel the change by pressing
<RETURN>.
Select [Save] and press <ENTER>.
Save the current network Setup.
Note
Ɣ
To use a DHCP server, make sure the DHCP server
is started.
Ɣ
Contact your network administrator for details on [IP
address], [Subnet mask] and [Gateway].
Ɣ
Shipping condition
[DHCP]: Off
[IP address]: 192.168.0.8
[Subnet mask]: 255.255.255.0
[Gateway]: 192.168.0.1
[Port]
Set the port number used for command control.
Select [Port] and press <ENTER> to set the number.
Ɣ
The available setting range is 1024 - 65535.
Ɣ
Entering numbers (see page 55)
 Loading...