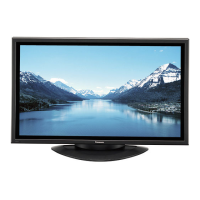
TH-50PF30U
19. Remove 4 screws (О) and then remove SU-Board and
SD-Board.
23. Remove the flexible cables from the connectors (C10,
C20, C26, C36).
Note: when fixing SU-Board and SD-Board
• Screw on 2 screws (1) firstly.
20. Disconnect the connectors (SC2).
21. Remove 7 screws and then remove SC-Board.
22. Remove 7 screws and then remove P-Board.
24. Remove the Duct Barrier (C).
25. Remove 7 screws (♦ ) and then remove the Handle Fixing
Metal (L, R).
26. Pull the bottom of the Plasma Display Panel forward
(arrow1).
27. Slide the Plasma Display Panel and then remove the
Plasma Display Panel (arrow2).
28. Remove 10 screws and then remove the Hanger Assy L,
the Hanger Assy R, the Stand Pole Bracket Assy (L, R)
and the Hanger Fixing Metal Assy (L, R).
31
 Loading...