ADJUSTMENT PROCEDURE
Item / Preparation Adjustment/Confirmation
+B SET-UP
4. Receive a Window pattern.
5. Set the controls :-
Brightness Minimum
Contrast Minimum
Volume Minimum
Confirm the following voltages.
A - Board
A1 Pin3 7 ± 0.2V A3 Pin10 30 ± 0.2V
A1 Pin4 7 ± 0.2V A44 Pin21 5 ± 0.5V
A2 Pin6 -15 ± 0.2V A44 Pin11 9 ± 0.5V
A2 Pin7 -15 ± 0.2V TPA18 2.5 ± 0.5V
A2 Pin8 15 ± 0.2V A1002 Pin1 3.3 ± 0.5V
A2 Pin9 15 ± 0.2V A1002 Pin14 2.5 ± 0.5V
A3 Pin2 4.5 ± 0.2V A1002 Pin3 5 ± 0.5V
A3 Pin4 4.5 ± 0.2V IC2303 8.3 ± 0.5V
A3 Pin6 4.5 ± 0.2V RT2 Pin1 7.53 ± 0.5V
A2 Pin16 12 ± 0.2V RT2 Pin4 7.53 ± 0.5V
A1 Pin2 7 ± 0.2V
A1 Pin15 40 ± 0.2V
A1 Pin16 40 ± 0.2V
D – Board
TPD7 12 ± 2V
TPD8 3.3 ± 1V
TPD9 38.17 ± 1V
TPD10 -6.5 ± 1V
TPD13 15.5 ± 5V
TPD14 -15.5 ± 5V
TPD15 144 ± 2V
TPD17 30 ± 2V
TPD18 6.5 ± 1V
D2 PIN6 -15.0 ± 5V
TPD35 220.0 ± 10V
CUT OFF
1. Receive a Window pattern.
2. Degauss the tube externally.
3. Set the TV into Service Mode 1.
4. Select Sub brightness mode.
To adjust Cutoff connect an oscilloscope to the Blue cathode. Adjust "Cutoff"
value using the "Yellow" and "Blue" buttons until the black level is 170V ± 5V,
press "STR" to store the value. Remove the oscilloscope.
Select Highlight/Lowlight mode press "5" to collapse the screen and adjust the
screen “VR” until the display is just visible, press "5" to return to service mode.
Using the "Yellow" and "Blue" buttons adjust until optimum picture white
balance is achieved, press "STR" to store the value. Select Sub Brightness
mode and adjust until optimum picture brightness is achieved.
SELF CHECK
Self-Check is used to automatically check the bus lines and hexadecimal code of the TV set.
To get into Self-Check mode press the down (-/v) button on the customer controls at the front of the TV set, at the same time
pressing the STATUS button on the remote control, and the screen will show: -
To exit Self-Check, switch off the TV set at the power button.
If the CCU
orts have been checked and found to be incorrect or not located then " - - " will a
ear in
lace of "O.K.".
4
Factory use only
Sum : ****
MEM : O.K.
GC2M : O.K.
GC2P : O.K.
GC2S : O.K.
GC2V : O.K.
EFC : O.K.
HAD : O.K.
LSYNC : O.K.
AVSW : O.K.
TUN1 : O.K.
TUN2 : - -
DAC1 : O.K.
DAC2 : - -
MSP : O.K.
DPL : - -
DOLBY : - -
OPTION 1:
OPTION 2:
OPTION 3:
OPTION 4:
OPTION 5:
OPTION 6:
OPTION 7:
OPTION 8:
OPTION 9:
OPTION 10:
OPTION 11:
OPTION 12:
OPTION 13:
Check :
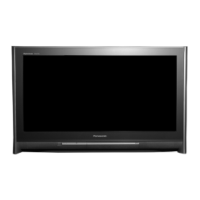
TX-32/36PD30D
0F
00
B9
11
00
A0
7F
D0
0E
80
19
40
01
B0
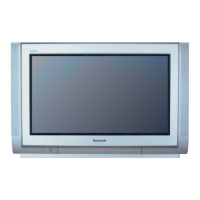
TX-32/36PD30F
0F
00
B9
11
00
A0
7F
50
0E
80
19
40
01
30
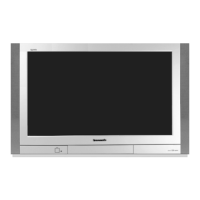
TX-32/36PD30F/P
0F
00
B9
11
00
A0
7F
50
0E
80
19
40
01
30