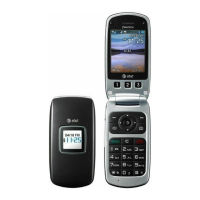
132
133
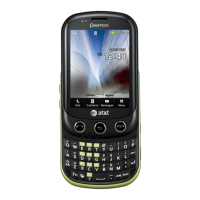
01
02
03
04
06
07
05
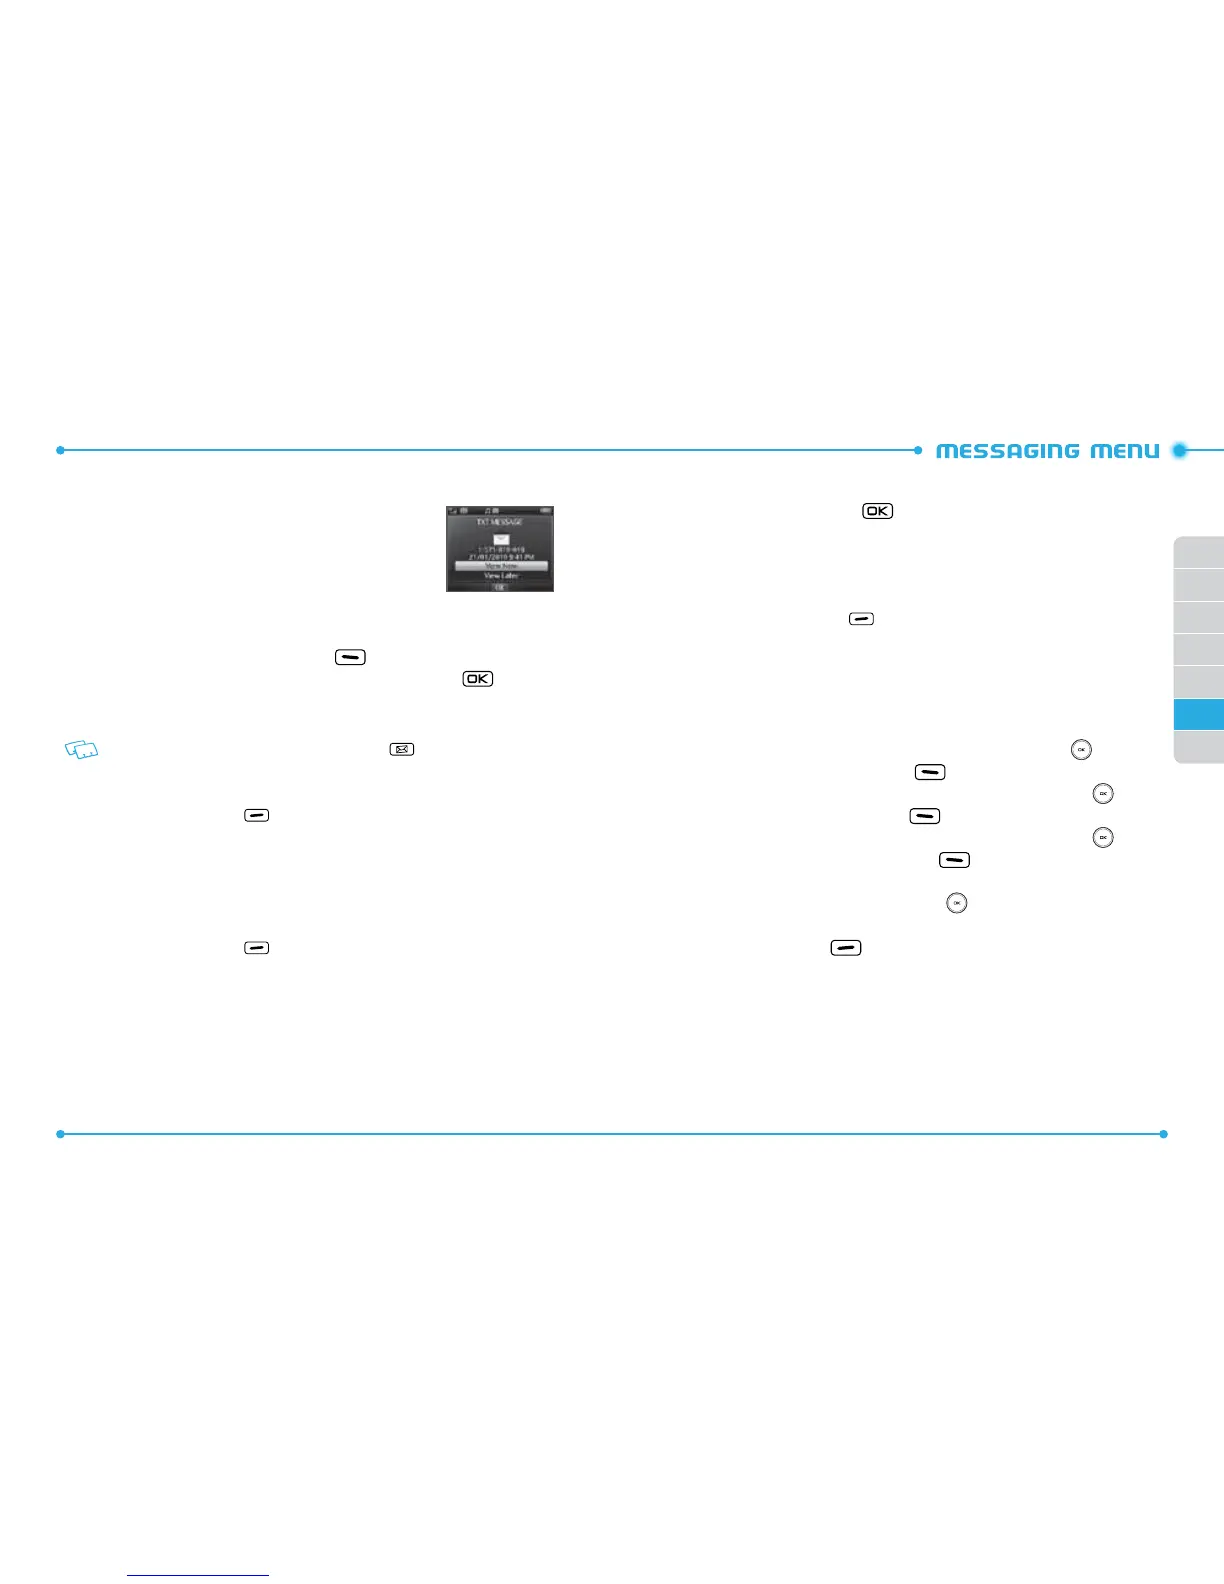
WHEN A NEW MESSAGE ARRIVES
1. The following display appears when a new message arrives.
2. To display the message, select
View Now
and then press
the OK Key.
NEW MESSAGE
TXT MESSAGE
1. Slide the phone up, press the Left Soft Key
[
Message
], then select
New
Message
and press the OK Key. Or slide the phone up, press the
[
MENU
],
then press
2. Messaging
,
1. New Message
.
2. Press
1. TXT Message
.
Shortcut:
From idle mode, press the TXT Composer Key .
3. Under
To
, input the phone number or email address of the recipient, then press
the OK Key.
• By pressing the Right Soft Key
[
Add
], you can choose from the following:
1. From Contacts:
Search for a phone number which is stored in the Contact List.
2. Recent Calls:
Search for a phone number which is stored in the Recent Calls menu.
3. Groups:
Search for a group stored in the Groups menu.
4. To Contacts:
Save the number or email address to the Contact List that you have
entered in the To eld.
4. Under
Text
, input your message.
• By pressing the Right Soft Key
[
Options
], you can choose from the following:
1. Insert Quick Text:
Inserts predened sentences in the text message.
2. Save As Draft:
Save the text message to Drafts.
3. Add:
Allows you to add a Graphic, Sound or Name Card.
4. Format Text:
Allows you to edit Alignment, Font Size, Font Style, Font Color or
Background Color.
5. Priority Level:
Select High or Normal, then press the OK Key.
6. Cancel Message:
Cancel the message and select whether to save it in Drafts.
5. When completed, press the OK Key [
SEND
] to send the text message.
PICTURE MESSAGE
1. Slide the phone up, press the
[
MENU
], then press
2. Messaging
,
1. New
Message
.
2. Press
2. Picture Message
.
3. Under
To
, input the phone number or email address of the recipient, then press
the OK Key.
• By pressing the Right Soft Key
[
Add
], you can choose from the following:
1. From Contacts:
Search for a phone number which is stored in the Contact List.
2. Recent Calls:
Search for a phone number which is stored in the Recent Calls menu.
3. Groups:
Search for a group stored in the Groups menu.
4. To Online Album:
Send the picture message to your Online Album.
5. To Contacts:
Save the number or email address to the Contact List that you have
entered in the To eld.
4. Under
Text
, input your message, then swipe the Directional Key down.
5. Under
Picture
, press the Left Soft Key
[
My Pics
] to select the picture you
would like to send, then press the OK Key. Swipe the Directional Key
down.
6. Under
Sound
, press the Left Soft Key
[
Sounds
] to select the sound you
would like to send, then press the OK Key. Swipe the Directional Key
down.
7. Under
Name Card
, press the Left Soft Key
[
Add
], select
1. My Name
Card
or
2. From Contacts
, then press the OK Key. Select the desired card and
press the OK Key. Swipe the Directional Key
down.
8. Under
Subject
, input the message subject.
9. Press the Right Soft Key
[
Options
] to access the following:
•
Preview:
Shows the picture message before it is sent.
•
Save As Draft:
Save the picture message to Drafts.
•
Insert Quick Text:
Inserts predened sentences in the picture message.
•
Add Slide:
Allows you to insert multiple picture messages.
•
Priority Level:
Select High or Normal, then press the OK Key.
•
Remove Picture:
Removes an inserted picture from the Picture eld.
•
Remove Sound:
Removes an inserted sound from the Sound eld.
•
Remove Name Card:
Removes an inserted name card from the Name Card eld.