109
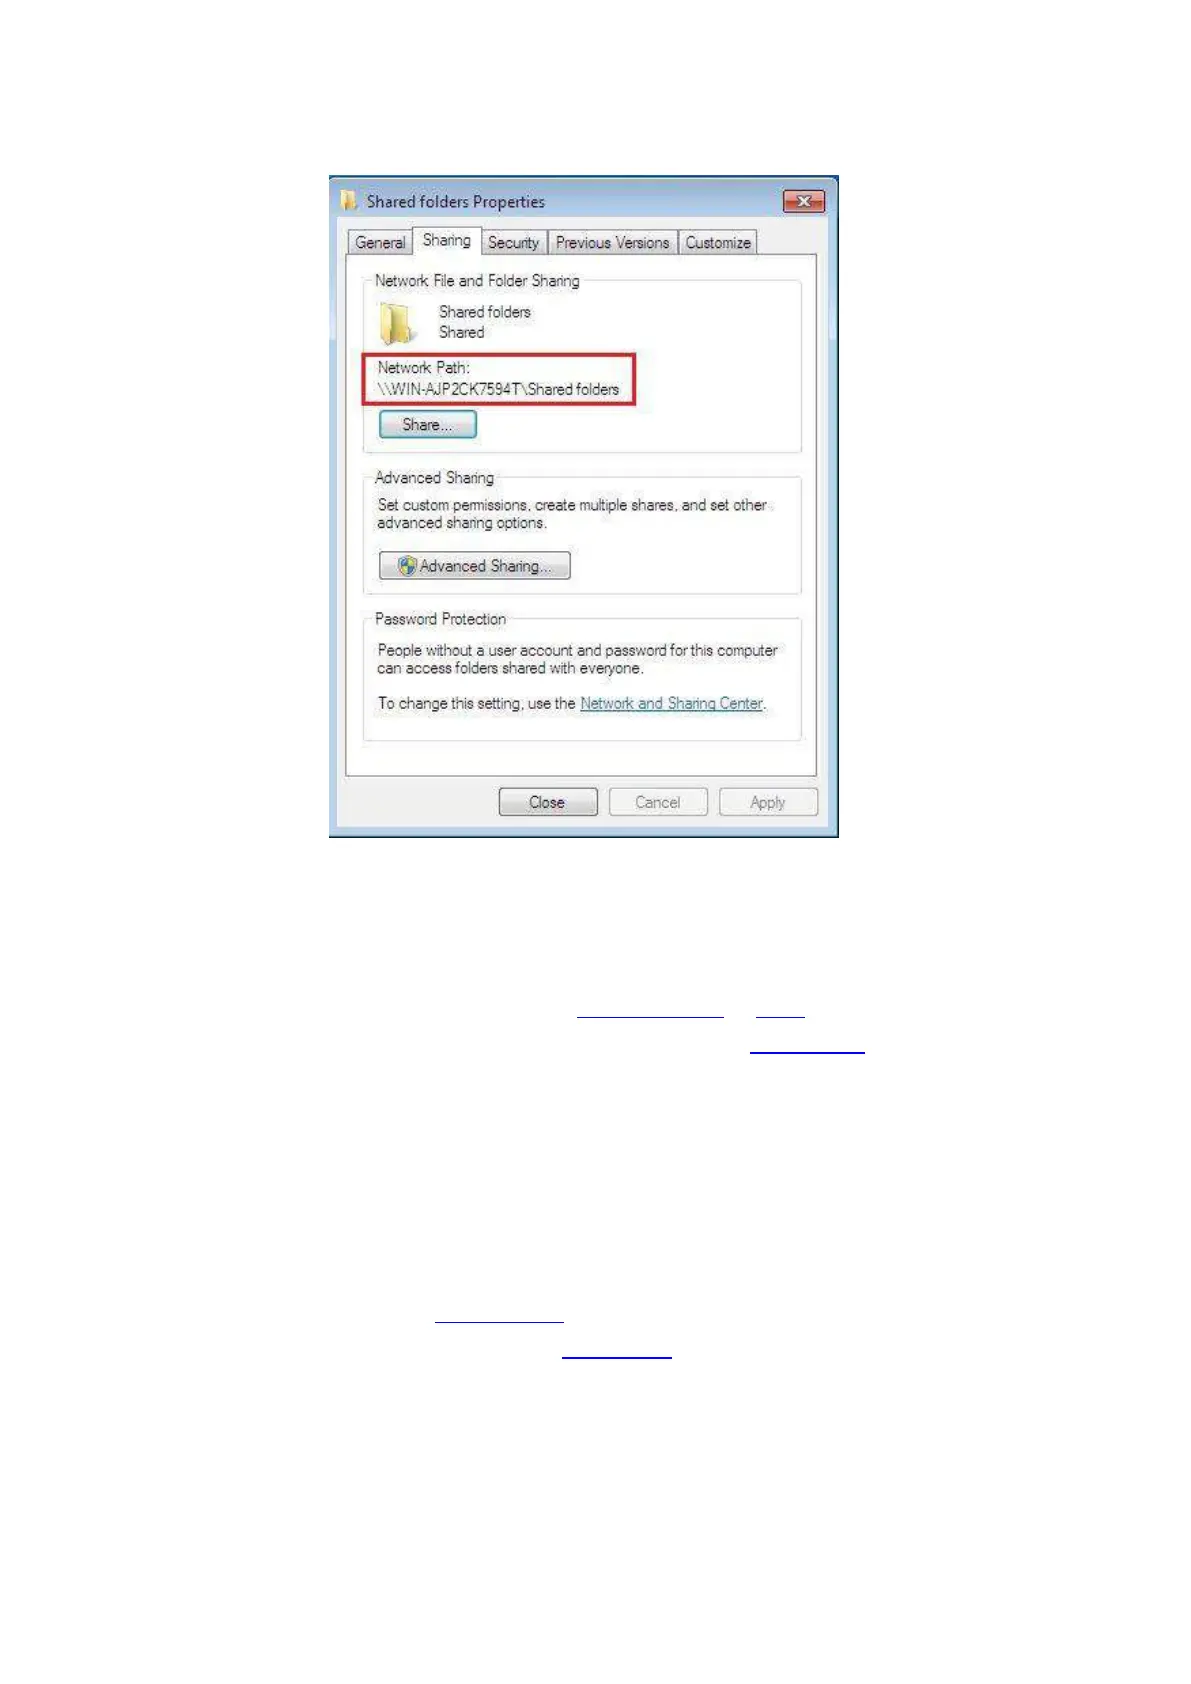
5. If your shared folder path is displayed at the network path, it means it is successfully shared.
9.1.3.5.2. “Scan to SMB” configuration
1. Be sure the printer and the computer are both switched on and connected with each other
properly.
2. To configure SMB address book, please see Section 6.2.3.4 or 12.8.
3. Put an original on the glass platen or into the ADF (please see Chapter 2.5 for how to put an
original).
4. Click “Scan - Scan to SMB” on printer control panel.
5. Select proper scan setting, click “Scan” button to make a scan.
9.2. Scanning function
This machine supports ADF automatic duplex scanning. Take Pantum scanning application
software as an example:
1. Place the original in ADF (see Section 2.5.2 for specific operation).
2. Recall “Pantum Scanning Application” (see Section 9.1 for specific operation).

 Loading...