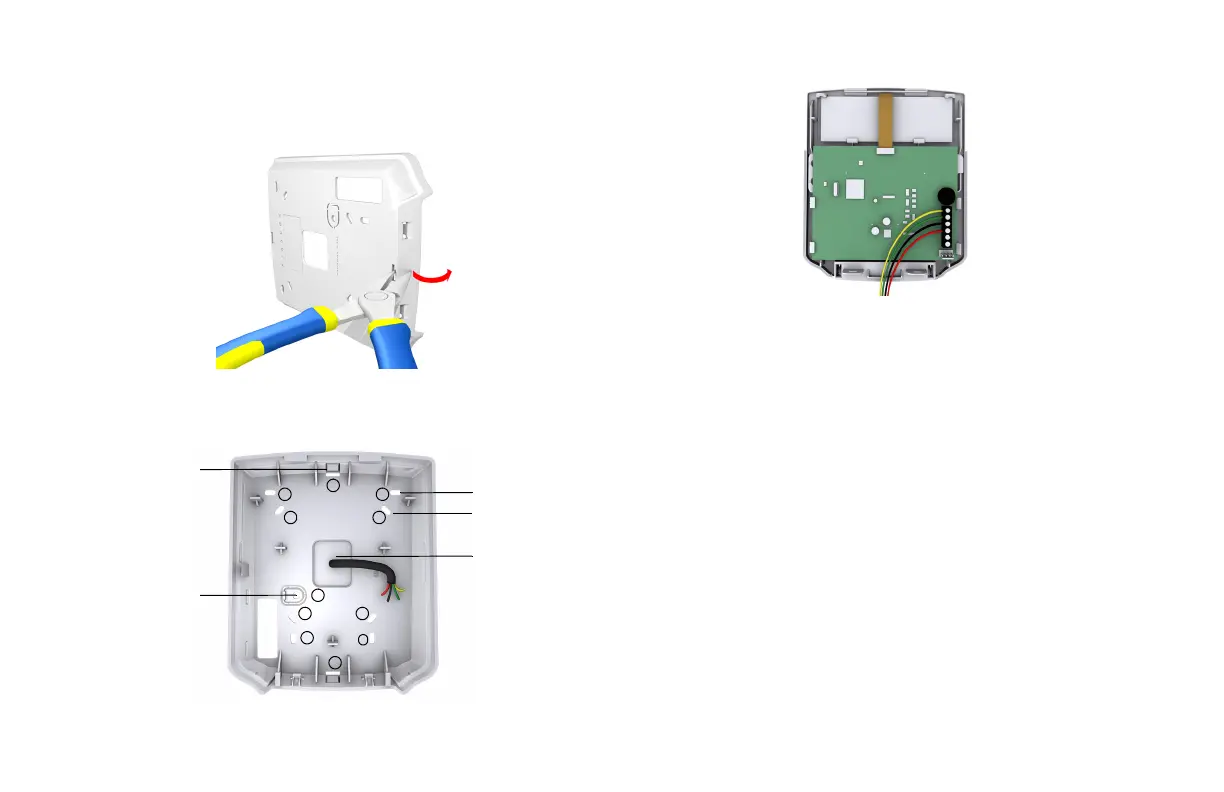
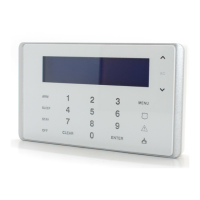
2. If using surface mounted cabling, you will need to knock out the plastic tab (#1)
at the top or bottom of the K32LCD+ backplate in order to for the cable to pass
through, refer to Figure 3.
3. Insert needle nose pliers into the appropriate plastic tab and carefully break off.
Figure 2: Surface-mount cabling plastic tab removal
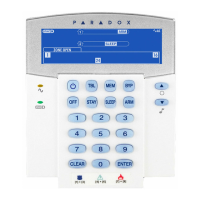
4. Mount the backplate to the wall by securing a M3.5 #6 screw in each of the
dedicated mounting holes and tamper hole while ensuring that the top is up, as
shown in Figure 3. For EN installations, use the designated mounting holes (#3).
Figure 3: K32LCD+ Backplate
5. Connect the 4-wire combus wires to the connector bus, as shown.
Figure 4: Wiring
6. Assemble both items by joining the hooks on the backplate to their respected
slots on the front housing assembly.
7. Secure the front housing to the backplate by snapping it into place.
The installation process is now complete.
Compatibility
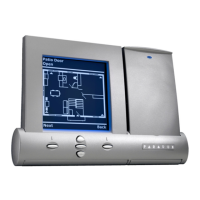
The K32LCD+ is compatible with Magellan and Spectra Series control panels only.
Please refer to the Technical Specifications section for more details.
1
2 2
3
1
2
3
3
3
Cable pass-through
2
EN Wall Tamper
Plastic tab
EN mounting holes
Mounting holes
3