15
Parker Hannifin Corporation | Pump & Motor Division | Kings Mountain, NC
WARNING: This product can expose you to chemicals including lead or DEHP which are known to the state of California to cause cancer,
birth defects, and other reproductive harm. www.p65warnings.ca.gov
Catalog HY13-PMD300-SM/US
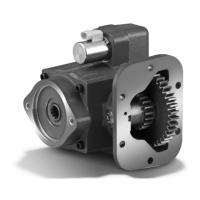
PGP/PGM 300 Series
Gear Pumps & Motors Service Manual
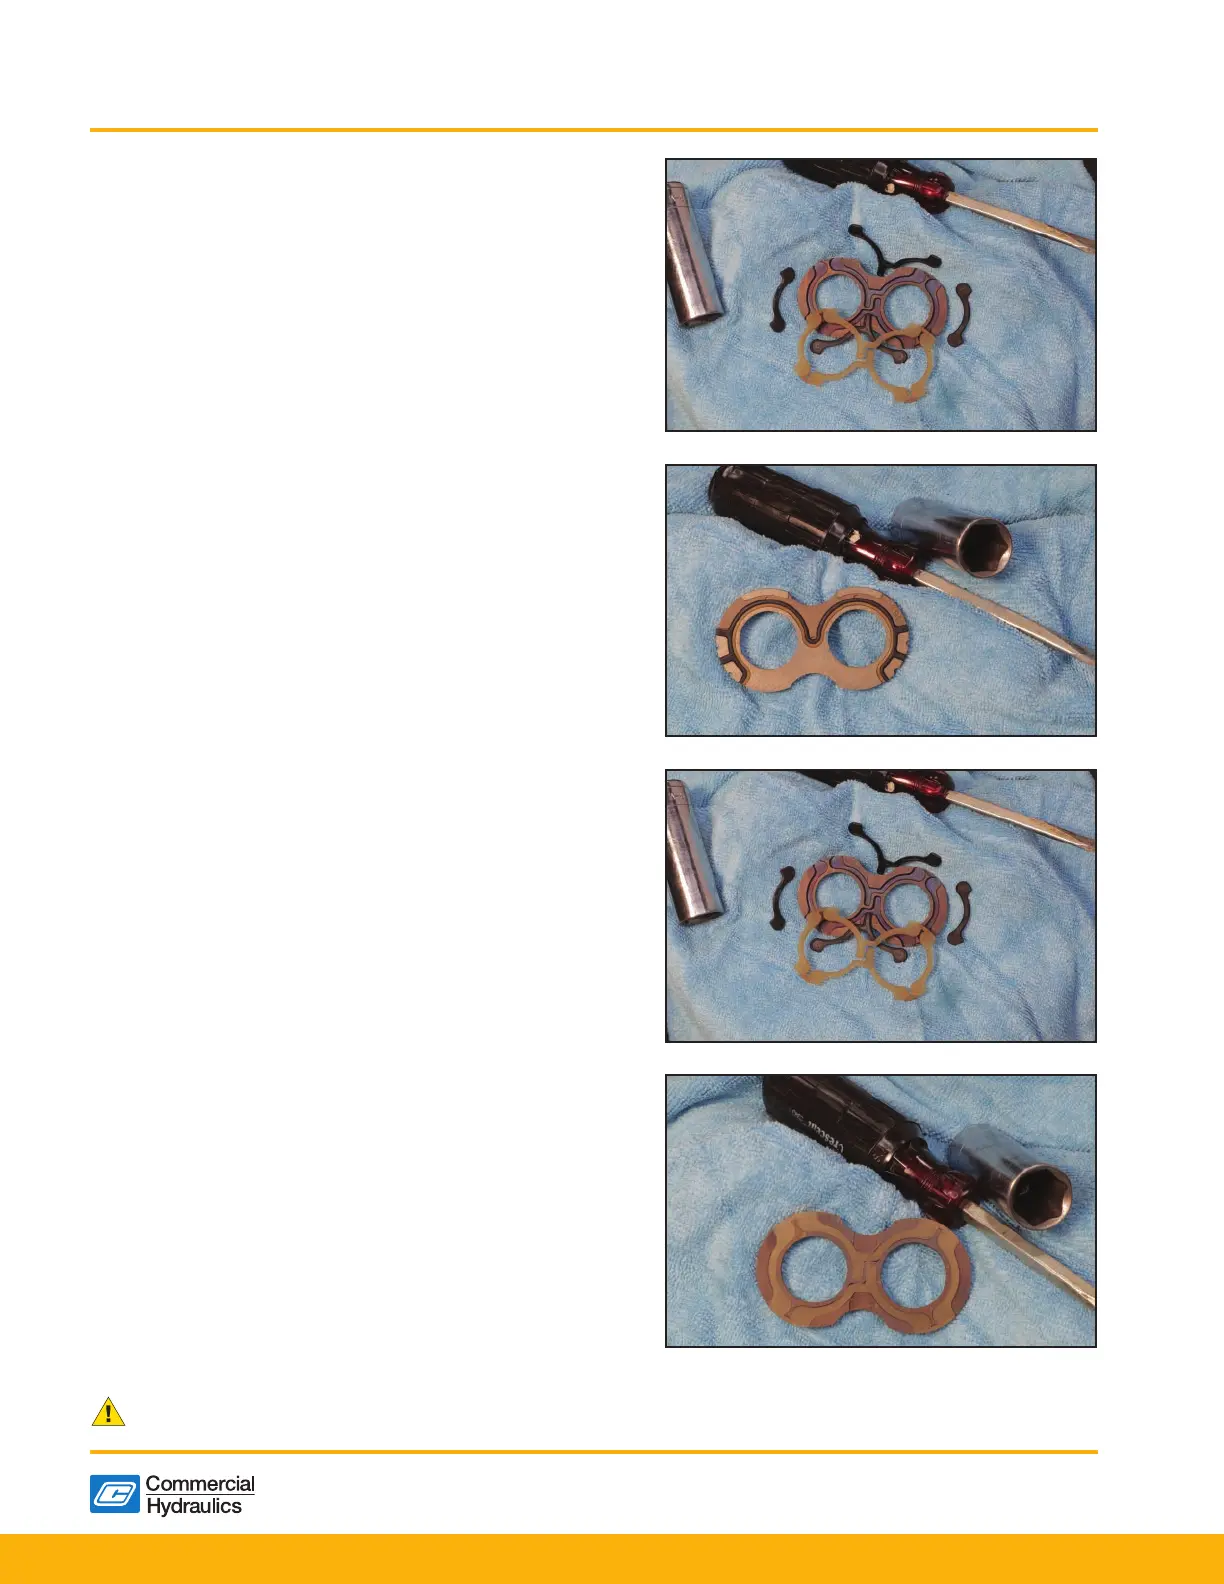
10) Assemble new sealing parts in pressure plate and verify
orientation.
The sealing parts can be xed with grease (see below for
steps to install sealing parts correctly).
i. Turn the pressure plates so the seal groove faces up.
ii. Place the soft black into the seal groove with the at
side down.
iii. Place the hard nylon back-up seal, at side up, into
the groove on top of the rubber seal.
Pump Pressure Plate - Back Side
(Fig. 13)
Pump Pressure Plate - Seals in Place
(Fig. 14)
Motor Pressure Plate - Back Side
(Fig. 15)
Motor Pressure Plate - Seals in Place
(Fig. 16)
The proper seal installation is very important. If these
seals are assembled upside down, they will most likely
fail in a short period of time under system pressure.
Figure 13 - Pump Pressure Plate - Back Side
Figure 14 - Pump Pressure Plate - Seal in Place
Figure 15 - Motor Pressure Plate - Back Side
Figure 16 - Motor Pressure Plate - Seal in Place
 Loading...