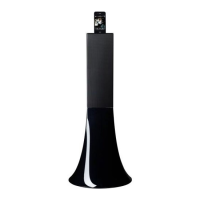
1. Make sure your speakers are connected and correctly synchronized.
2. Launch the Parrot Audio Configuration Tool application.
> The connection window appears.
3. If you’re using the Parrot DS1120 with your computer for the first time, select the option New to
display the list of the available Bluetooth peripherals. If it’s not the case, select directly your device.
4. Push the Configuration key on one of your speakers.
> The LEDs blink rapidly.
5. Once you selected the Parrot DS1120 among the available Bluetooth peripherals, click on
Connect.
> A window appears at the bottom right of your screen.
6. Click on this window and enter « 0000 » in the Bluetooth Security Code field.
NOTE: THIS ACTION IS ONLY REQUIRED FOR THE FIRST USE OF THE PARROT DS1120 WITH YOUR
COMPUTER.
> The Parrot DS1120 is now connected to your computer. You can begin to listen to music files.
> Now, you can start the audio streaming.
> Refer to the «USING PARROT AUDIO CONFIGURATION TOOL» section if you wish to change
audio parameters.
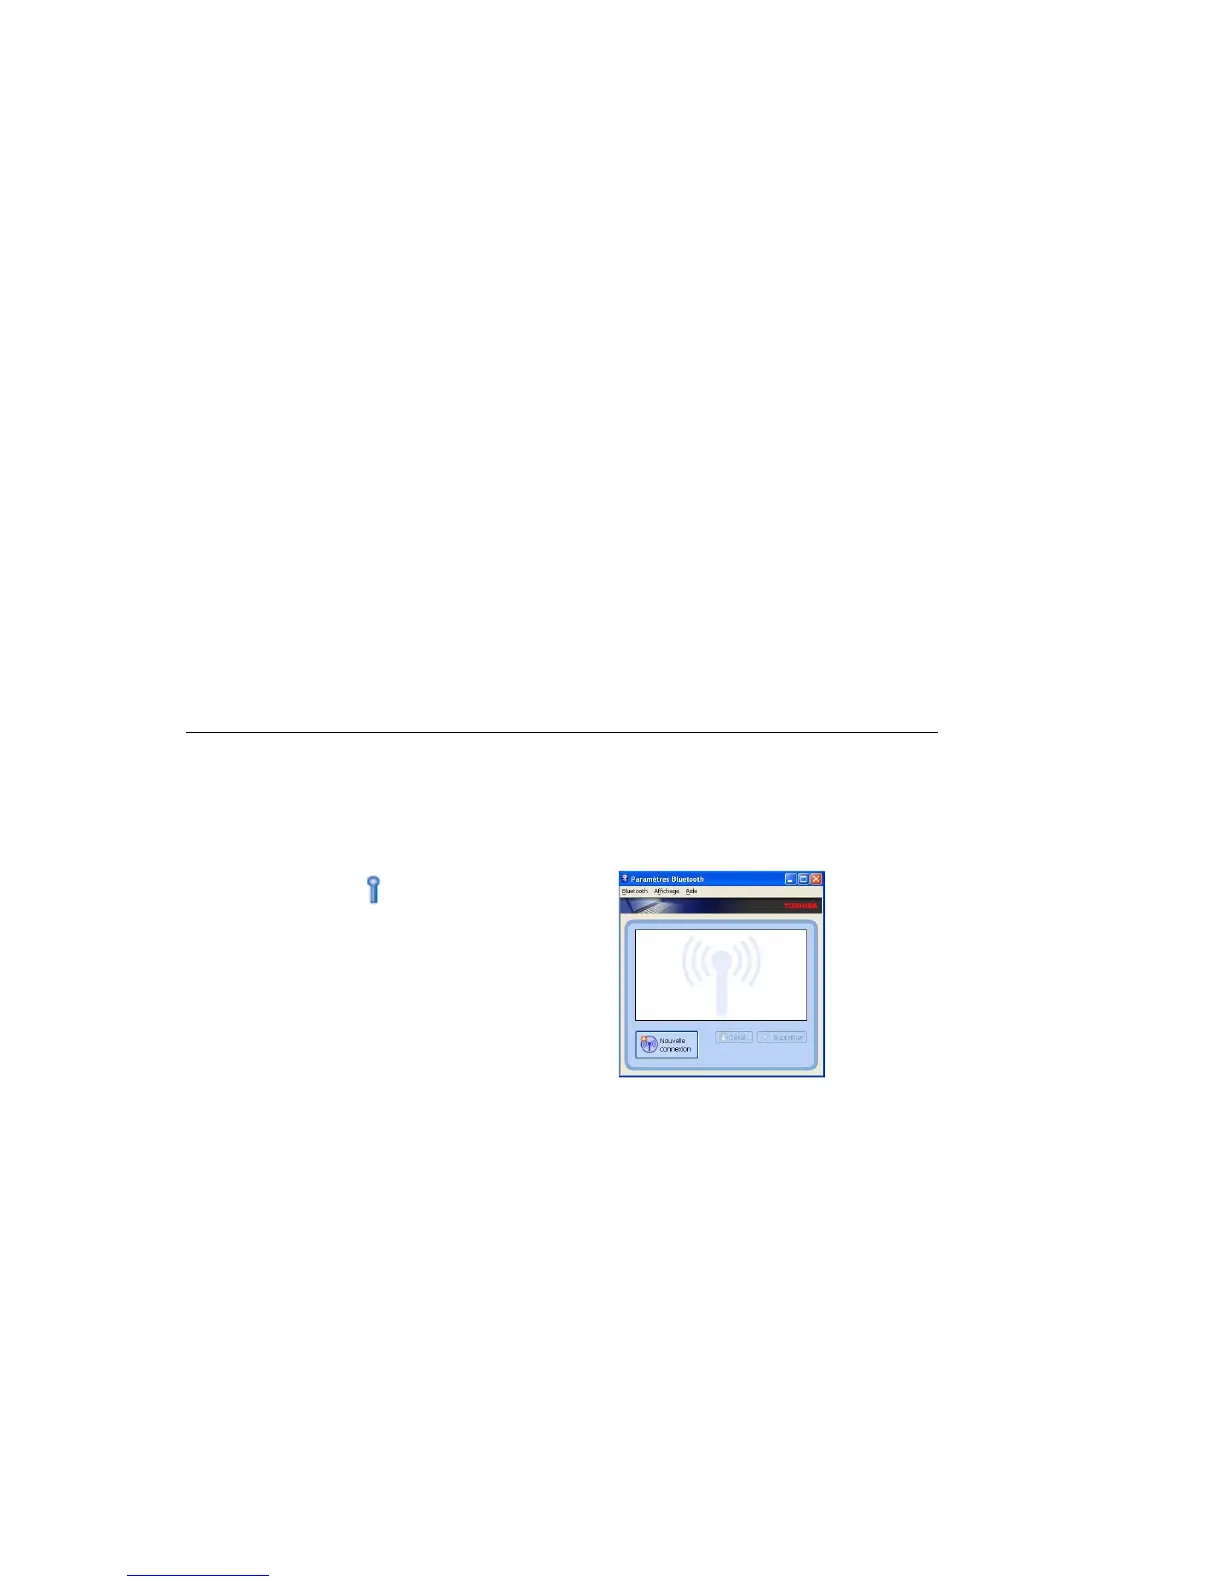
Connecting the Parrot DS1120 to your PC using the Bluetooth Toshiba stack
If you are using the Toshiba Bluetooth stack, you have to connect the Parrot device to your computer
before connecting your device with the Parrot Audio Configuration Tool software. This step is only
necessary at the first use. To do so:
1. Double-click on at the bottom right of
the screen.
2. Click on New connection.
3. Click on New connection then click on Next.
4. Push the Configuration key of your Parrot device.
> The LED blinks in blue.
5. Select the Parrot DS1120 and click on Next.
> The Bluetooth security window is displayed.
6. Enter « 0000 » in the password Bluetooth field.
 Loading...