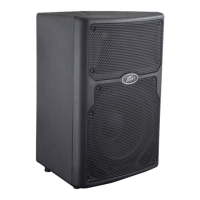
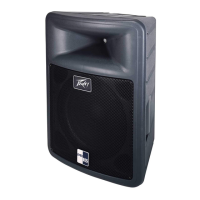
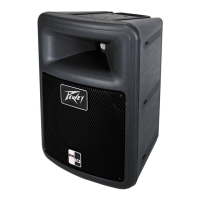
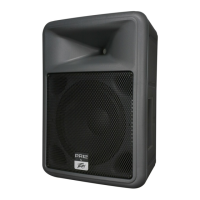
Loudspeaker System Specifications
5
unscrew the cap out until it comes free from the rear portion of the holder. The
blown fuse should come out with the cap.
Remove the blown fuse and replace it with the proper type per instructions
previously supplied. Then, once the new fuse has been put in place, re-insert the
fuse enclosure cap, push in and screw the cap in CW, and make sure it is fully
seated.
Before re-attaching the IEC power cord to the IEC socket, make sure the Power
switch is in the OFF position, so that intermittent contact of the IEC cord while it
is being connected will not unduly stress the amplifier or the fuse.
Now re-attach the IEC power cord, and you can then use the Power switch (3) to
turn the unit on.
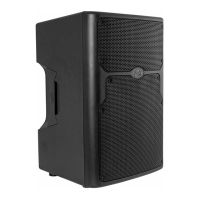
IEC POWER CORD CONNECTION (2)
This receptacle is for the IEC line cord (supplied) that provides AC power to the
unit. It is very important that you ensure the PVX™p 15 Bluetooth® has the
proper AC line voltage supplied. You can find the proper voltage for your PVX™p
15 Bluetooth® printed next to the IEC line (power) cord on the rear panel of the
unit.
Please read this guide carefully to ensure your personal safety as well as the
safety of your equipment. Never break off the ground pin on any equipment. It is
provided for your safety. If the outlet used does not have a ground pin, a suitable
grounding adapter should be used and the third wire should be grounded
properly. To prevent the risk of shock or fire hazard, always be sure that the
mixer and all other associated equipment are properly grounded.
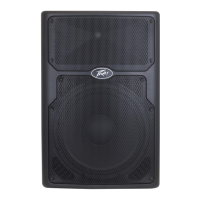
ON-OFF SWITCH (3)
This rocker switch supplies AC power to the PVX™p 15 Bluetooth® when
switched to the ON position. The ON position is with the top side of the switch
pushed “in” or nearly flush with the rear panel.
 Loading...