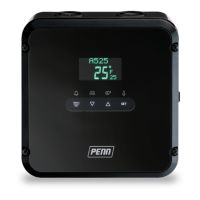
A52x Series Refrigeration Controller with Adaptive Defrost Installation Instructions
3
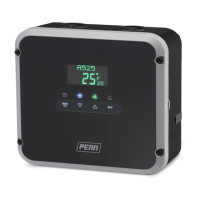
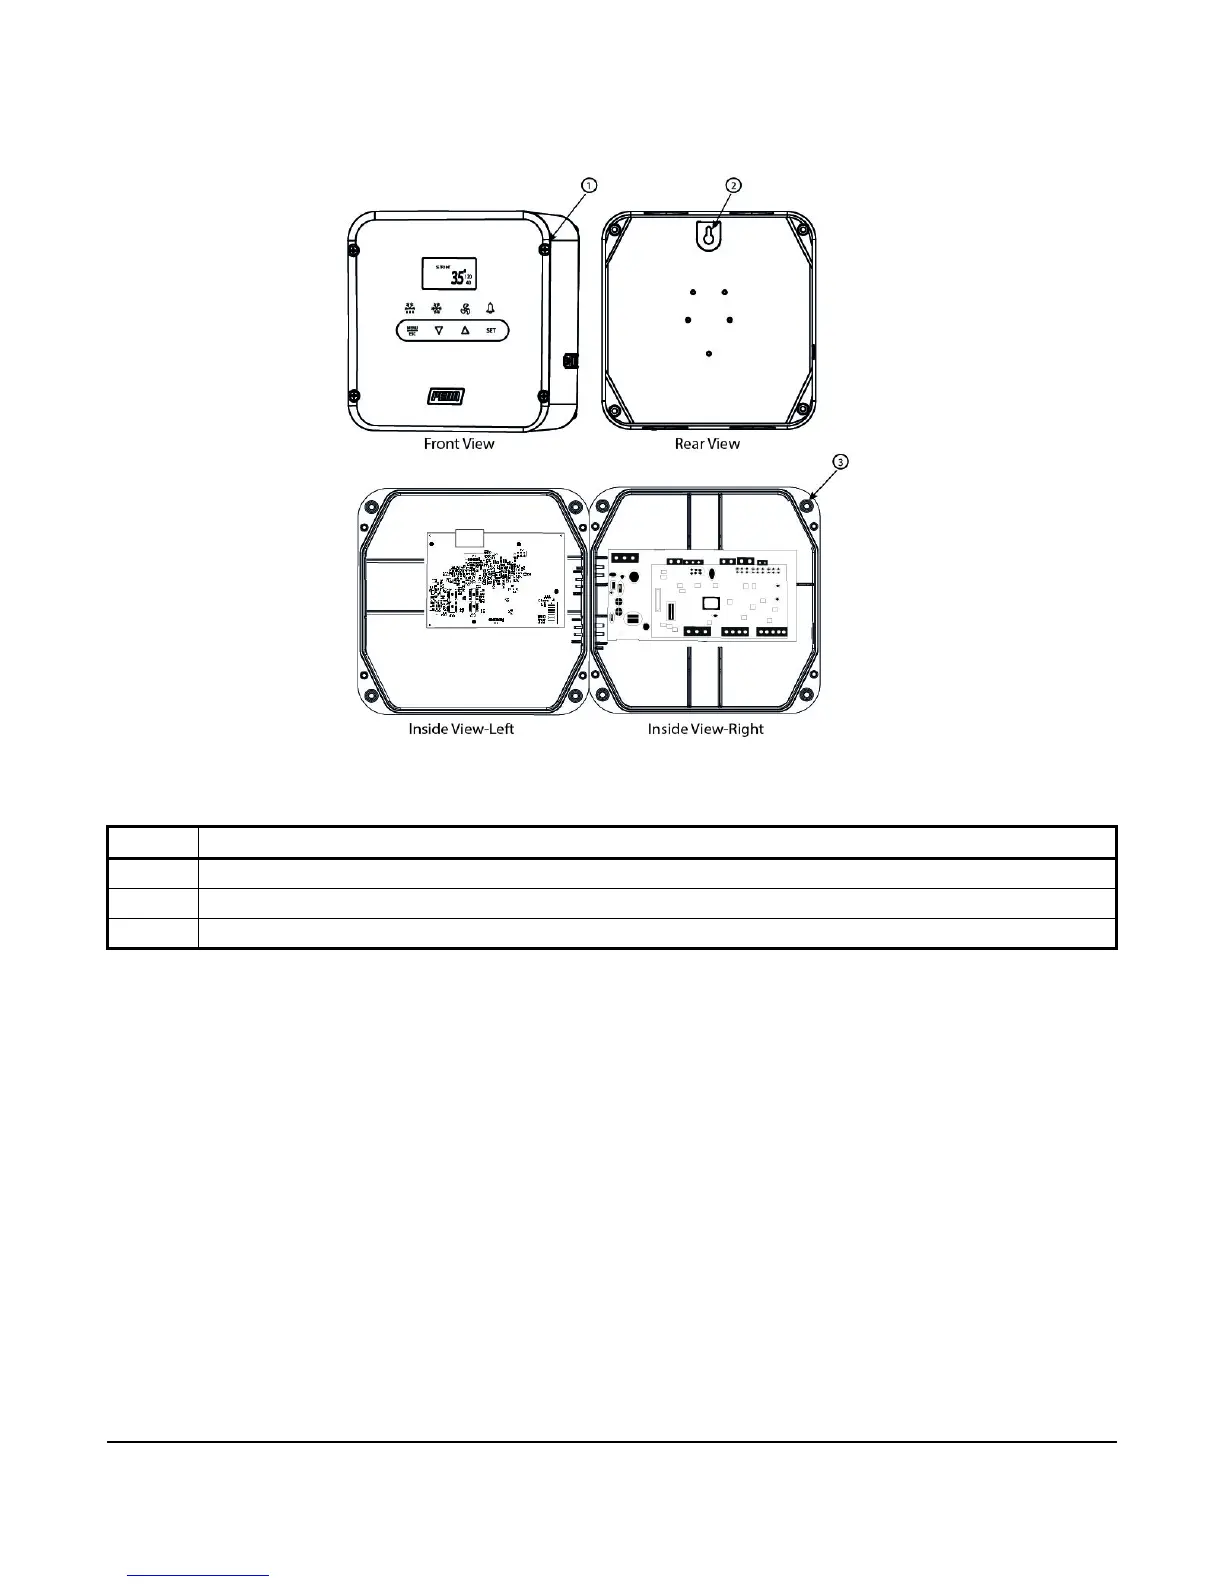
Wall Mounting
To mount the A52x Controller on a wall or other flat surface, complete the following steps:
1. Loosen the four spring-loaded cover screws to open the controller cover. Be careful not to damage the
controller’s interior components.
2. Attach an appropriate fastener onto the wall or other flat surface.
3. Position the keyhole slot on the rear of the enclosure base over the fastener. Ensure that the controller hangs
securely on the fastener.
4. Mark the location for the mounting screws using the four holes on the corners of the enclosure base, and
remove the keyhole slot fastener from the wall surface.
5. Mount the controller using four screws (M4 [#8] panhead screw; 12 mm [0.5 in.] or longer).
6. Tighten the screws securely. Use shims to prevent warping the enclosure when mounting the controller on an
uneven surface.
7. Close the front cover and tighten the spring-loaded cover screws to 0.9–1.1 N·m (8–10 in·lbs) to seal the cover.
Table 1: A52x Refrigeration Control Wall-Surface Mounting
Callout Description
1 Spring-loaded cover screw on the controller cover
2 Keyhole slot on the rear of the enclosure base
3 Mounting screw hole on the enclosure base
Figure 2: A52x Refrigeration Control Wall-Surface Mounting
 Loading...