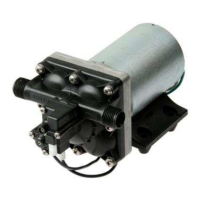
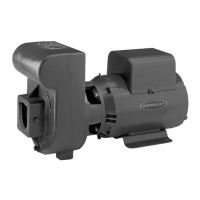
Pump Storage
Drain pump to prevent freezing.
Keep motor dry and loosely covered. Do not wrap with
plastic sheeting; trapped moisture could cause corrosion
or insulation deterioration.
NOTICE: A good rust inhibitor in the liquid end of
cast iron pumps is recommended to prevent excessive
corrosion.
Pump Start-Up After Storage
Replace all drain plugs and close all drain valves in
thesystem.
Be sure all connections are tightly sealed.
After initial check is made, fill pump according to
Priming the Pump.
Shaft Seal Replacement
NOTICE: The highly polished and lapped faces of the
seal are easily damaged. Follow instructions and handle
the seal with care.
Hazardous voltage. Be sure unit is grounded
and power disconnected before attempting any work on
pump or motor.
Removal Of Old Seal
Refer to Figure 3 for Mechanical Seal parts indentification.
1. Disconnect all power to pump.
2. Close isolation valves to cut pump off from system.
3. Drain pump; be sure to vent pump.
4. Remove motor hold down bolts and bolts holding
adapter/seal plate (Ref. No. 6, Repair Parts) to
pump body (Ref. No. 20). Slide motor, adapter/ seal
plate and impeller (Ref. No. 12) backward to clear
pumpbody.
5. Remove impeller screw and washer from end of shaft
and slide impeller off of shaft.
6. Unbolt adapter/seal plate from motor.
7. Use two screwdrivers (Figure 4) or bearing puller
to carefully separate motor from adapter/seal plate,
bringing rotating half of seal (Ref. No. 10) off with
adapter/seal plate. Shaft sleeve (Ref. No. 2A) may
come off with seal.
8. Use hammer, if necessary, to drive shaft sleeve out
of seal. Clean up shaft sleeve with emery paper if
necessary.
9. Place adapter/seal plate face down on bench and
drive old stationary half of seal out of adapter/
seal plate by carefully taping with screwdriver and
hammer (Figure 5).
10. Use a wire brush to thoroughly clean adapter/seal
plate cavity. Be sure all dust and grime are out of
seal cavity before installing new seal.
Stationary
Seat
Seal
Spring
Figure 3
Figure 5
place jackscrew here.
Rotating Seat will come off
with adapter/sealplate.
Figure 4
Service 7
 Loading...


